

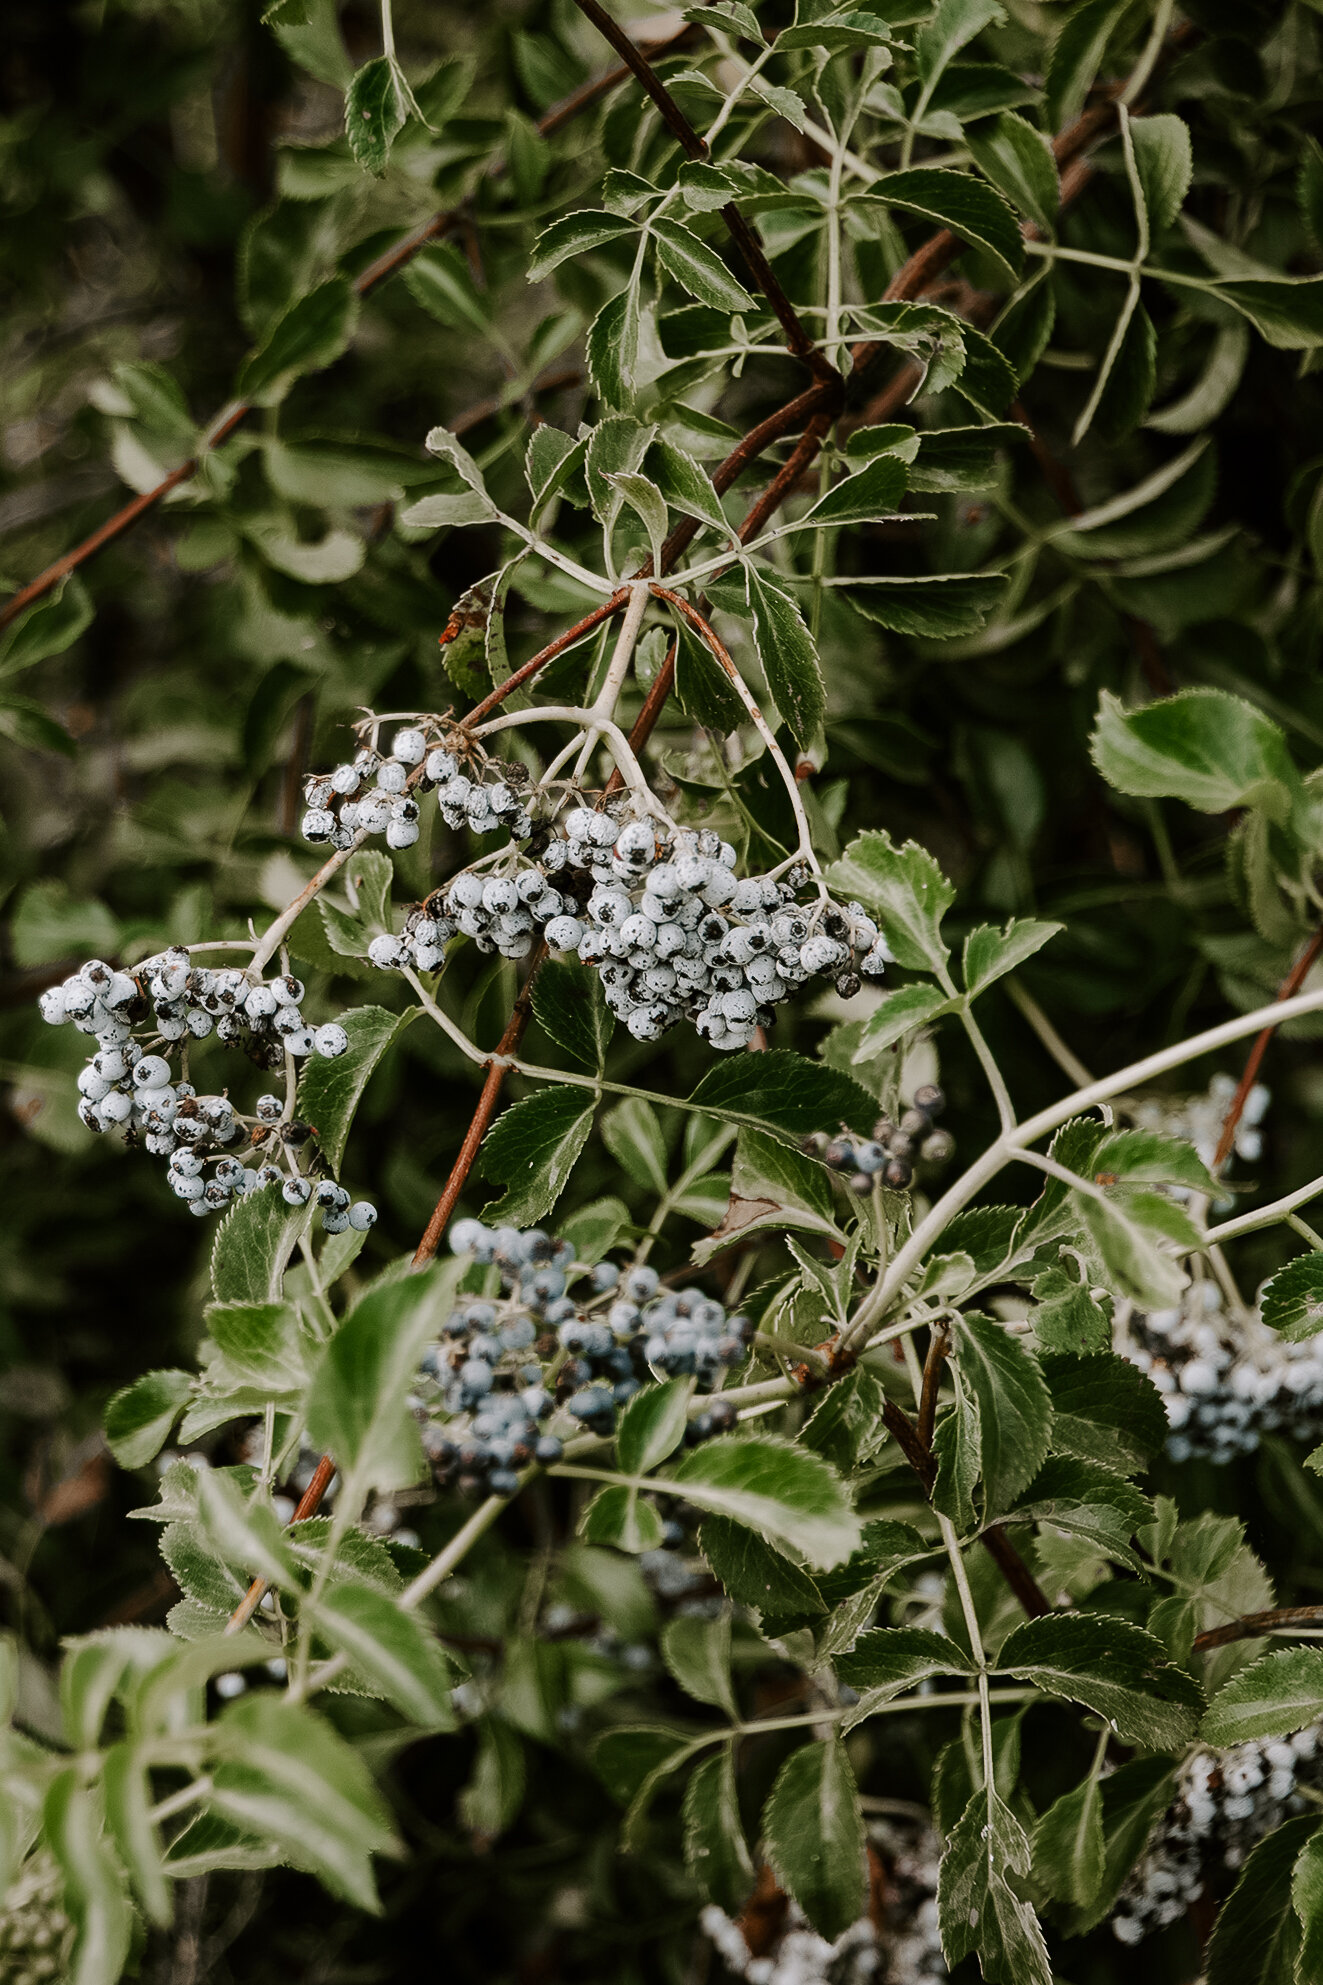
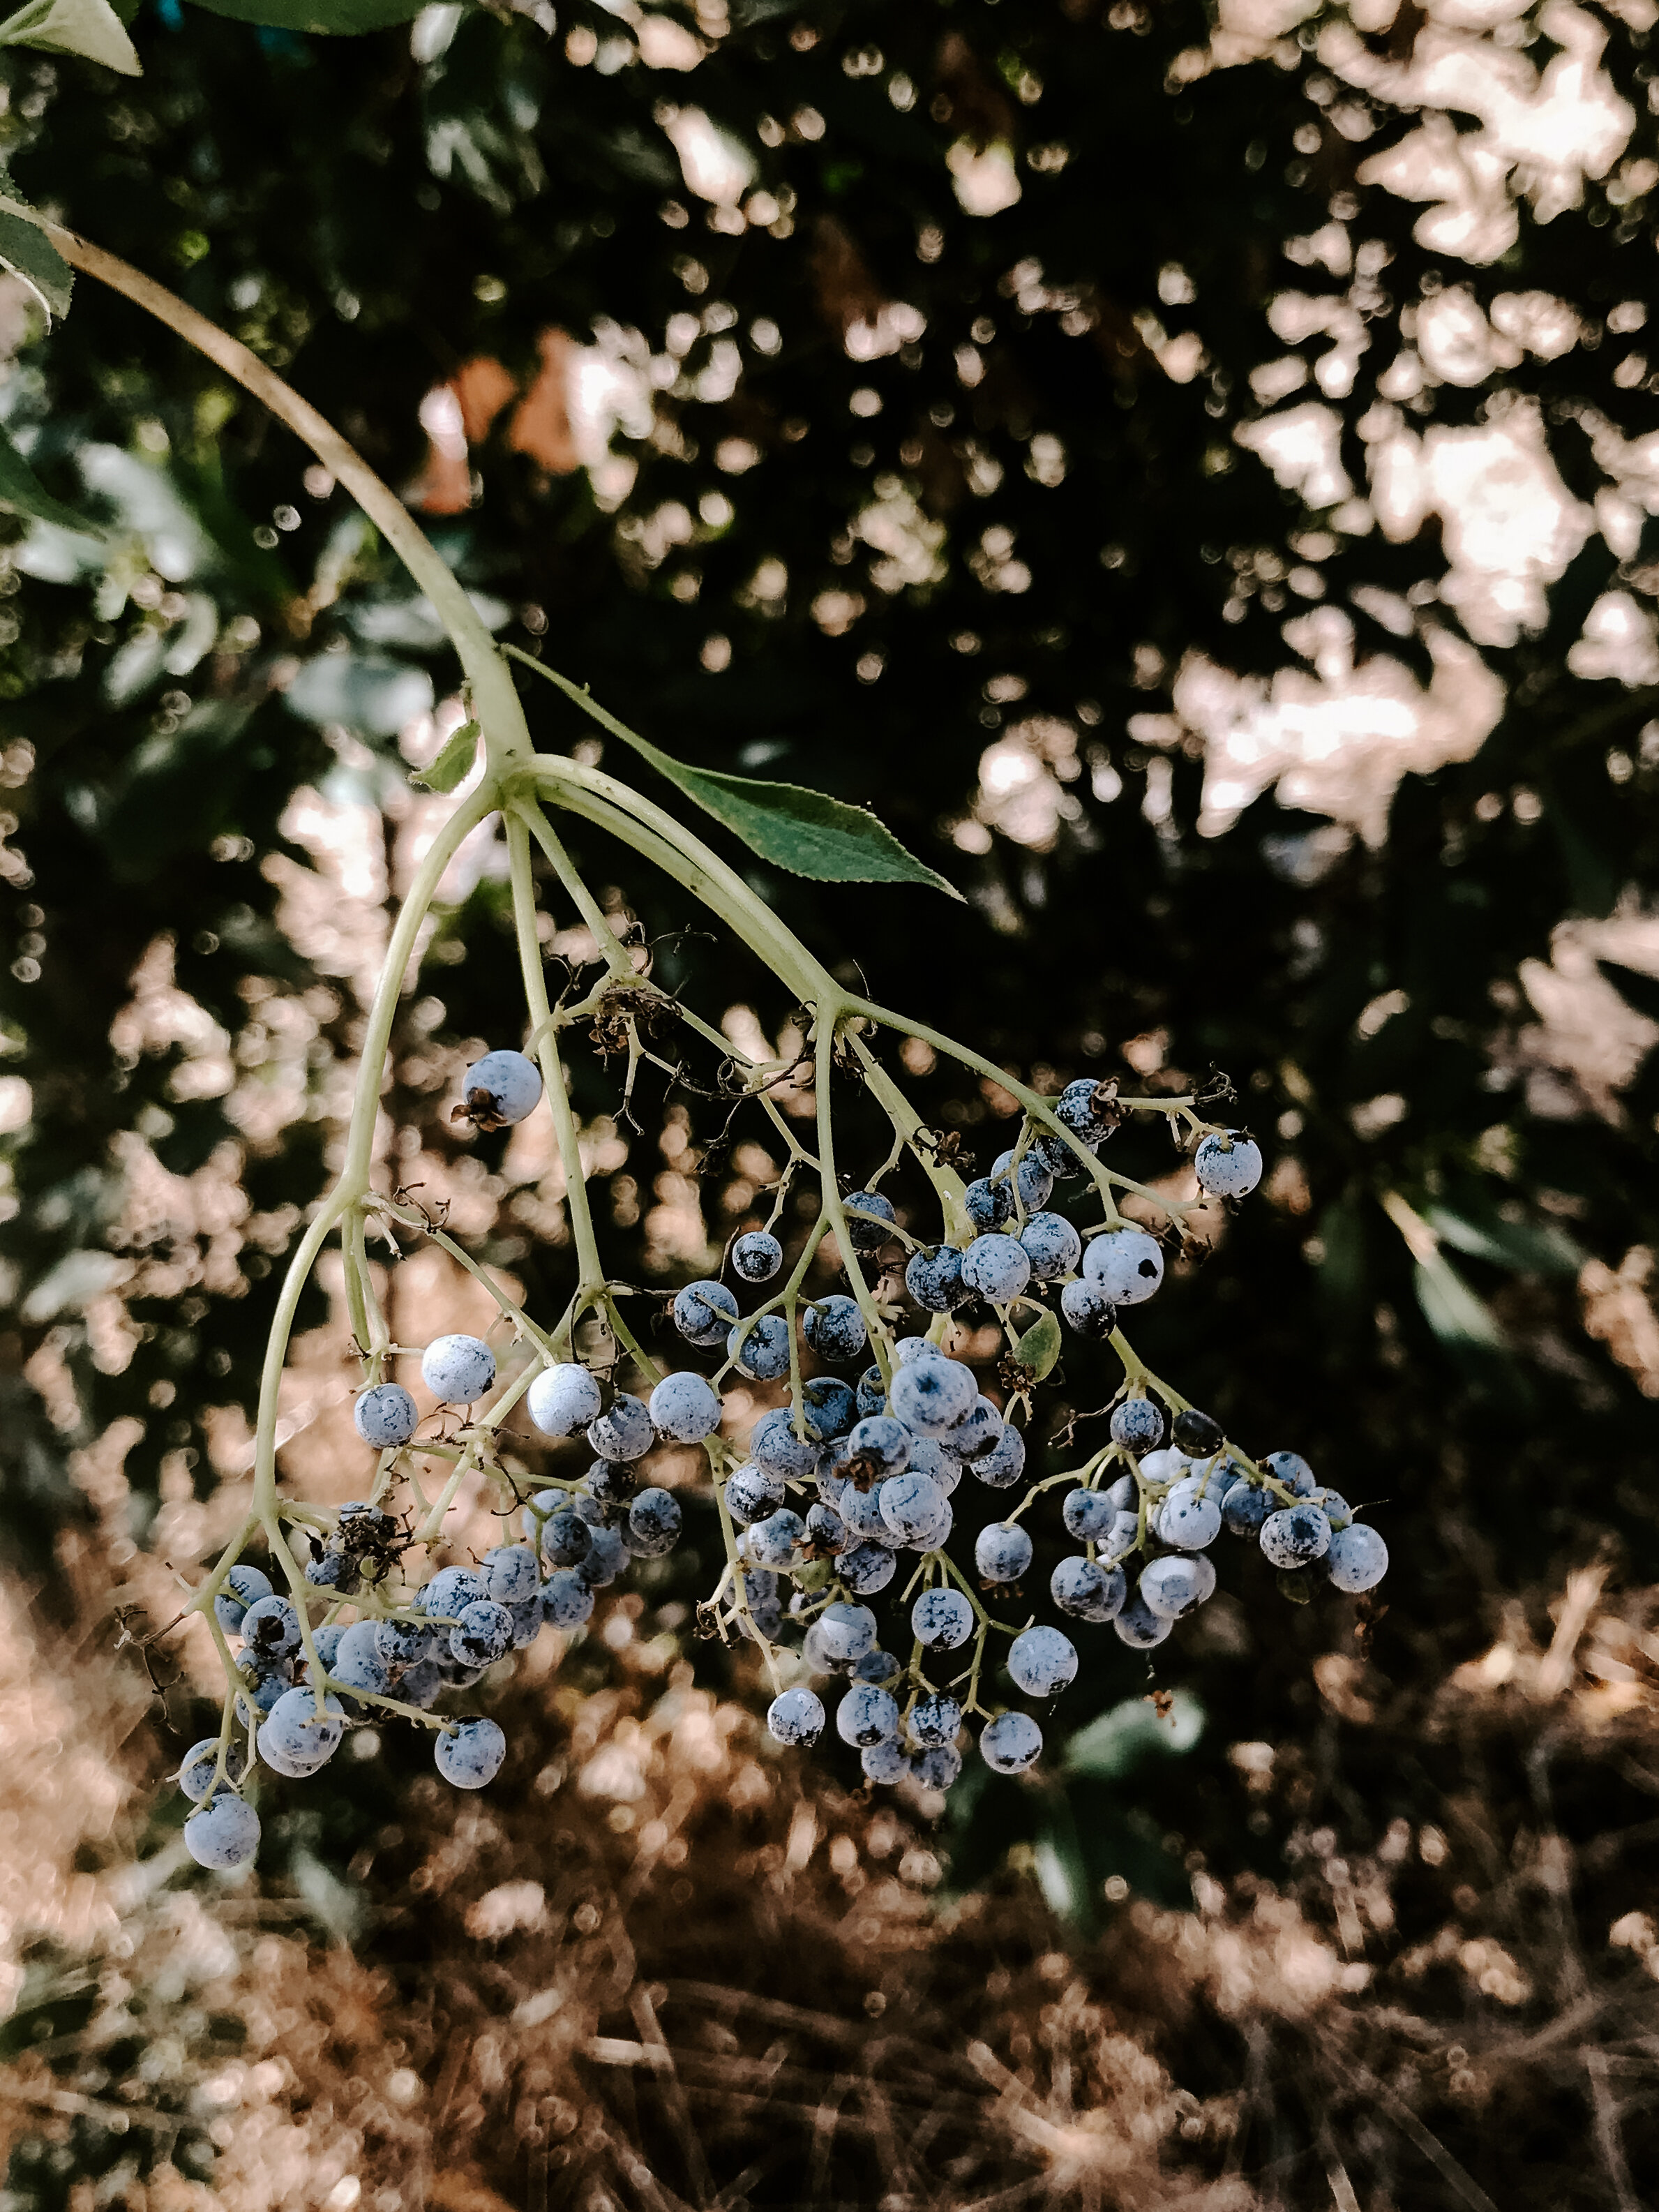
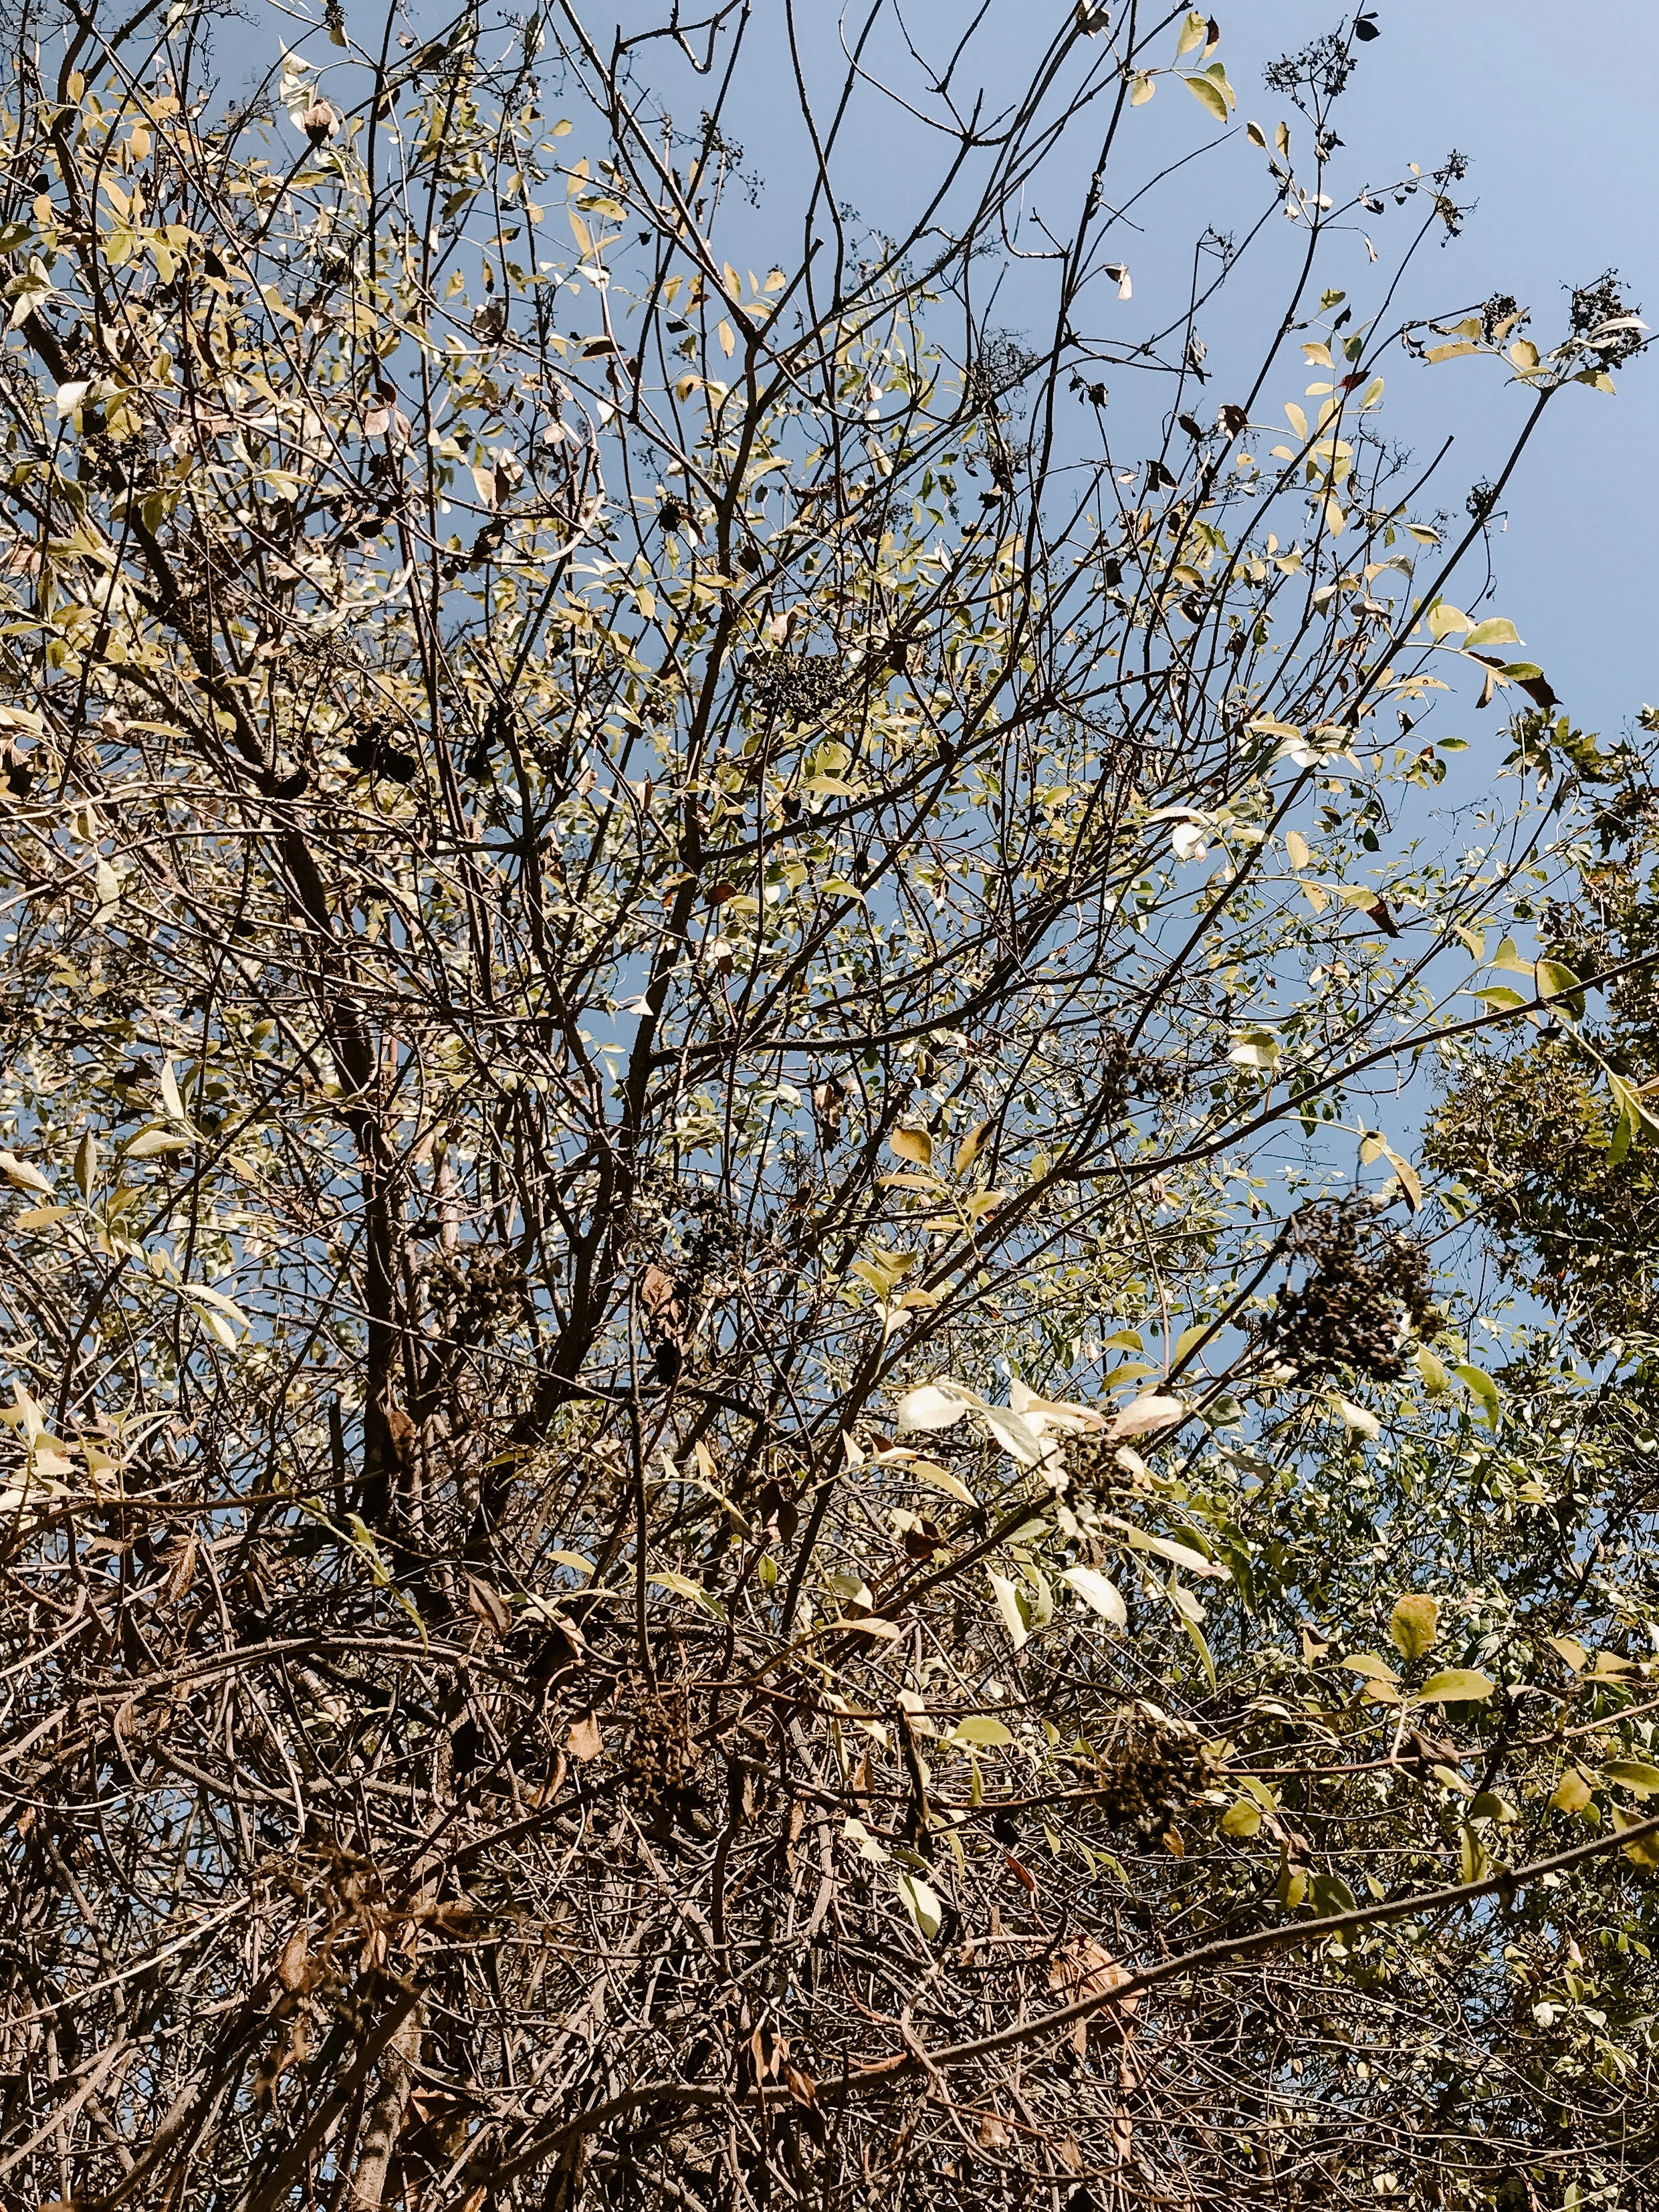
The blue elder is a large, deciduous shrub that is native to California. It is distinguishable from other elderberries by the glaucous powder coating on its bluish-black berries.
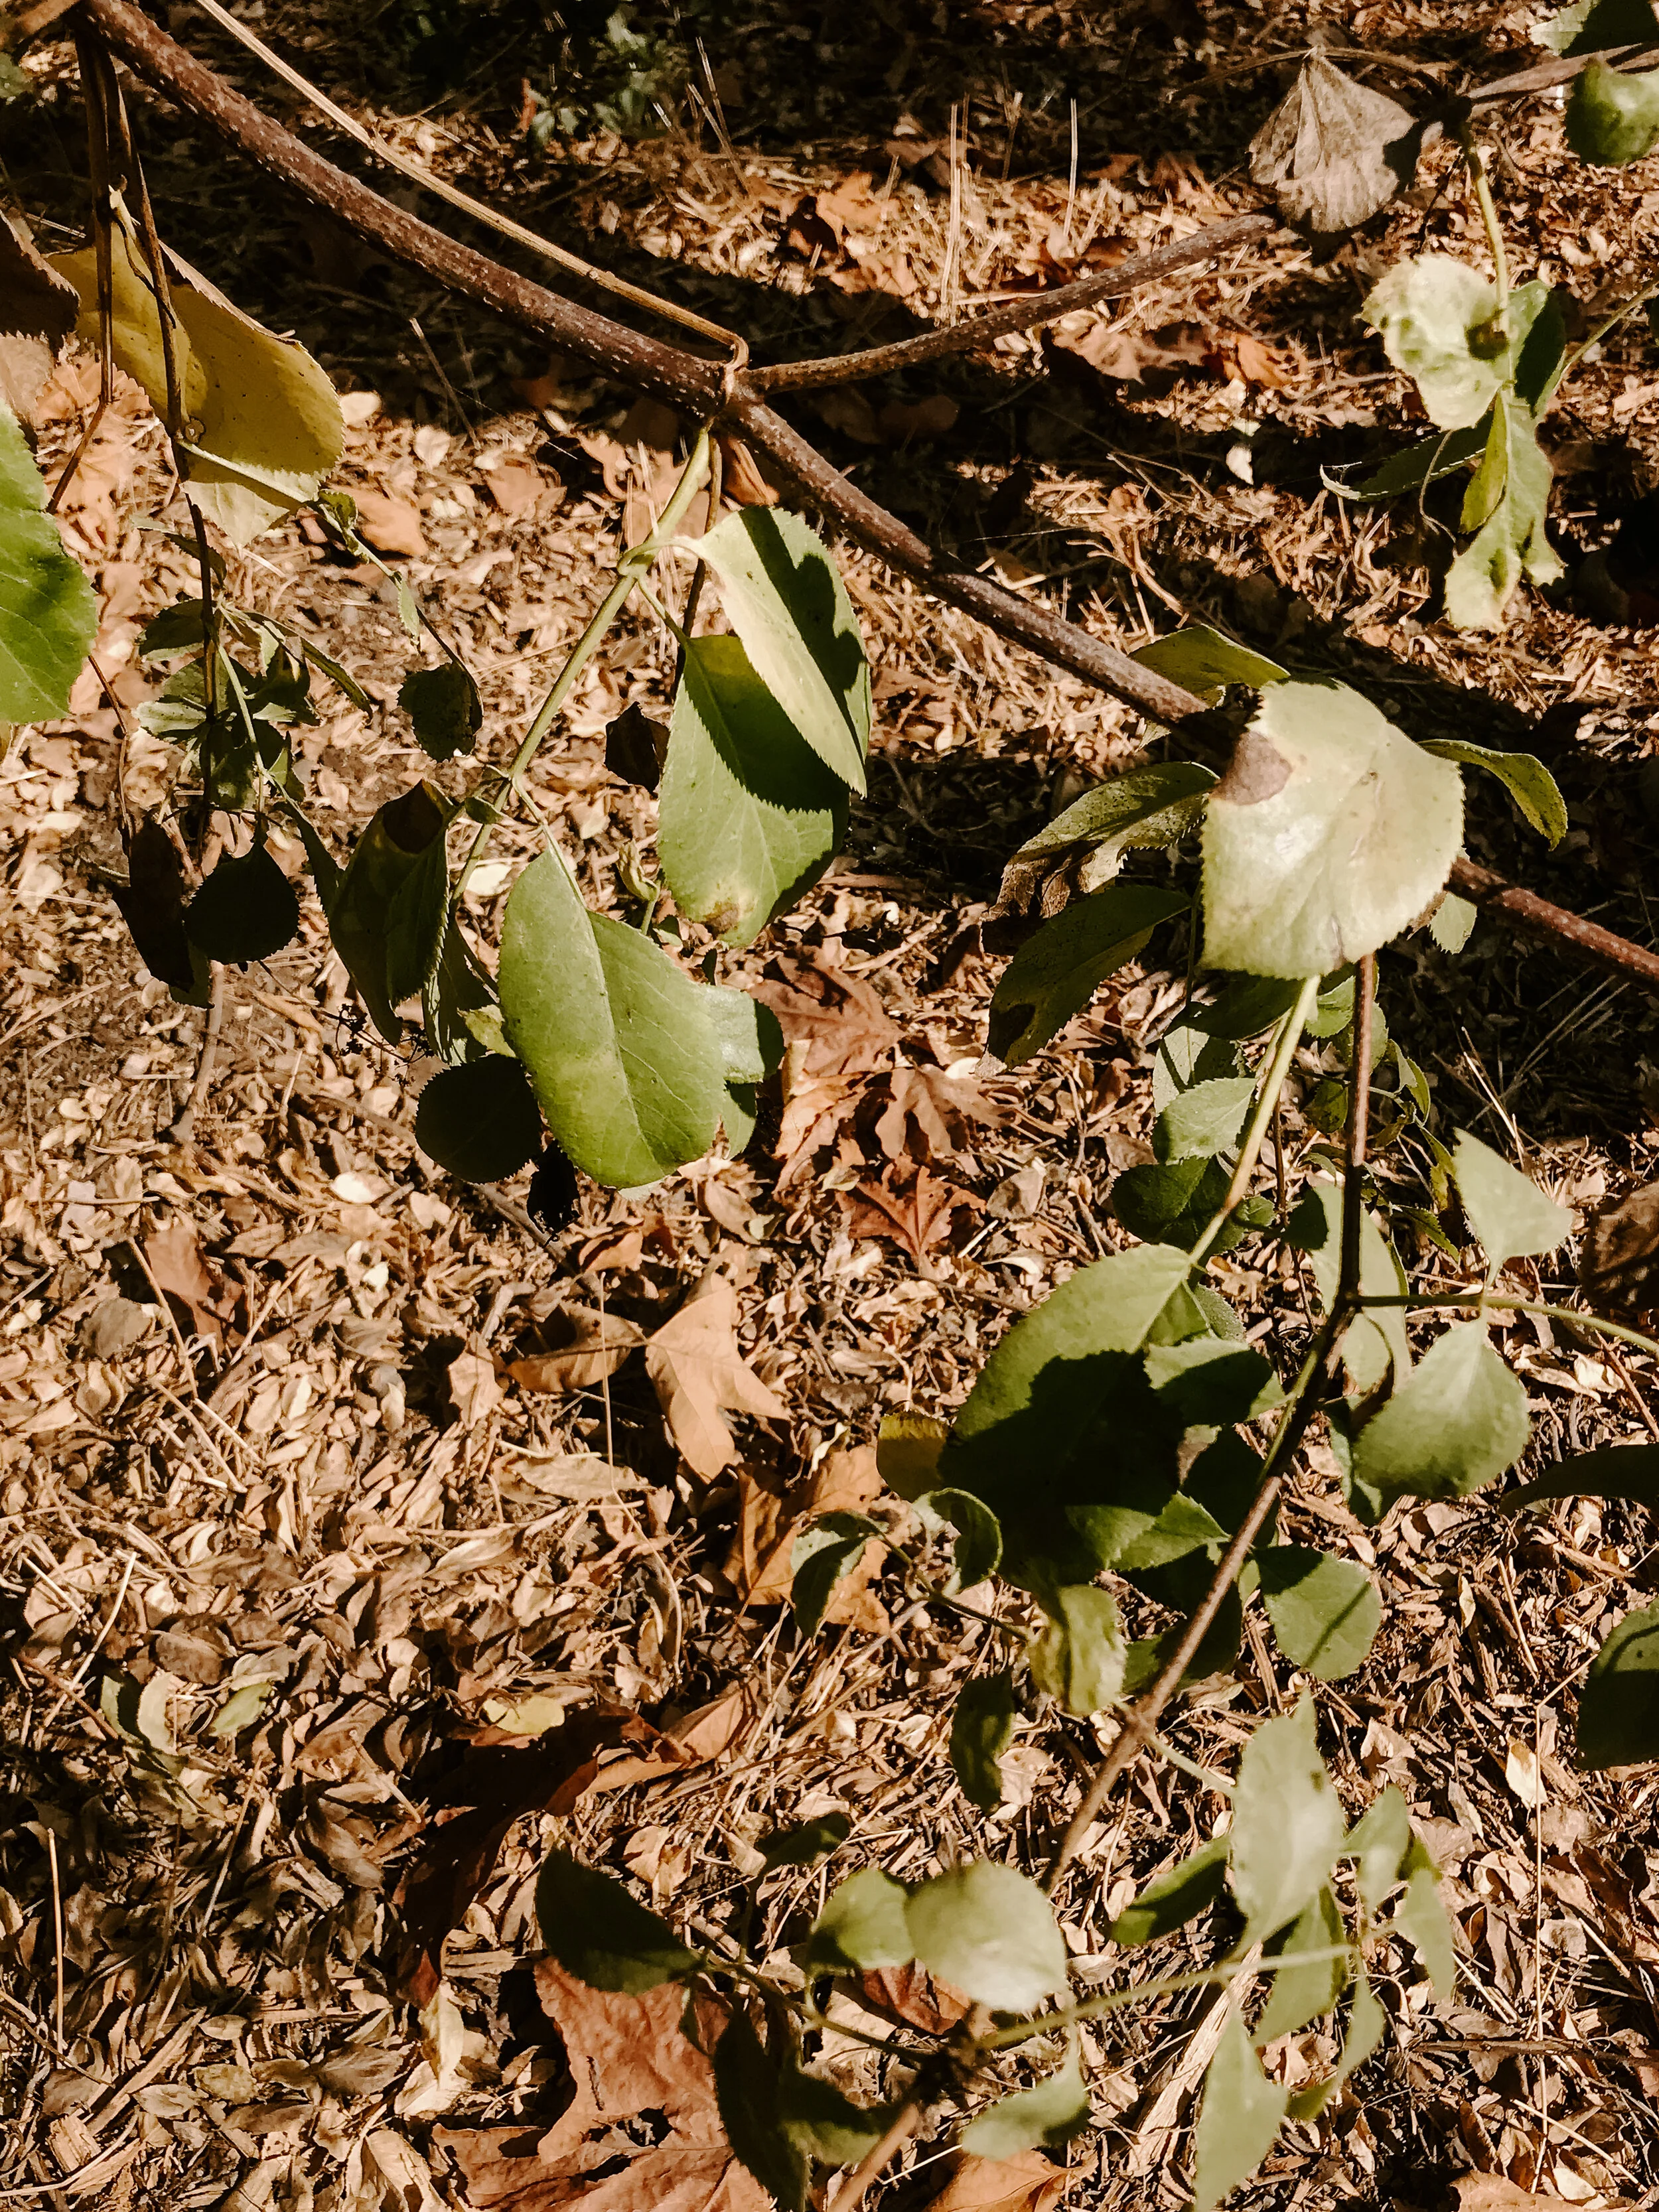
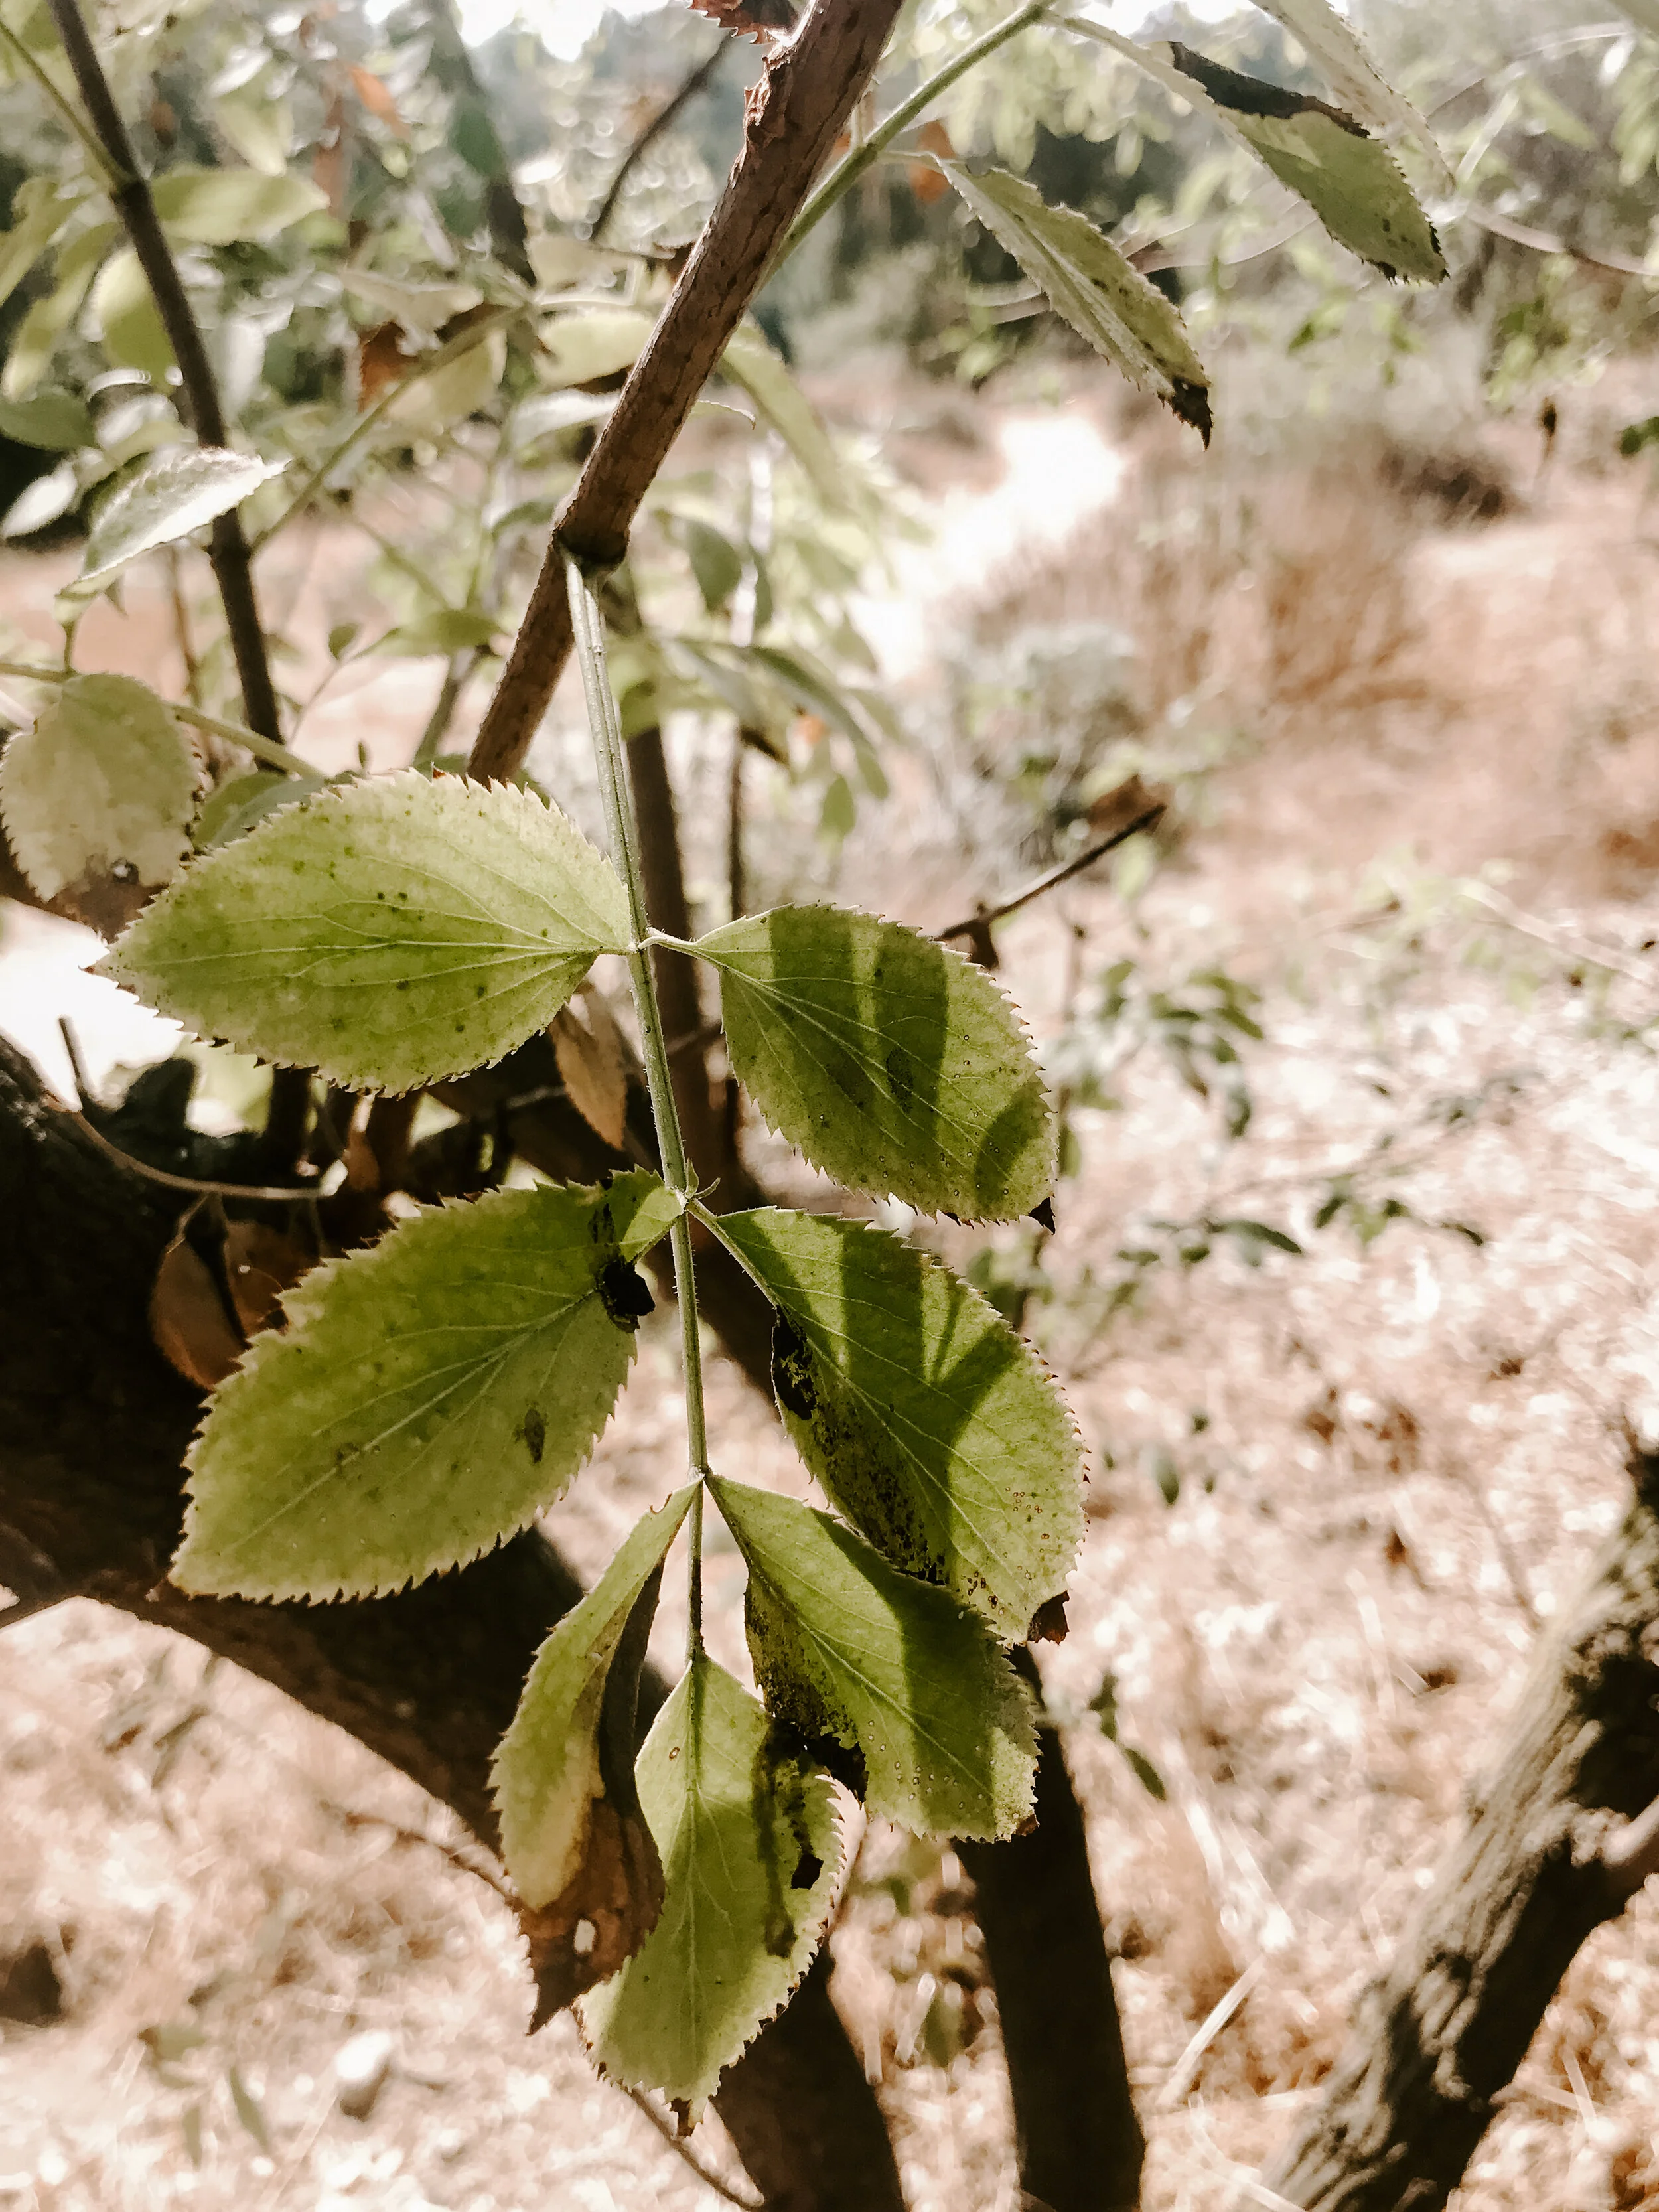
Rich in vitamin C and antioxidants, consuming Blue Elderberries naturally boosts the immune system. Studies have shown that Elderberries’ anti-inflammatory and antiviral properties have proven to be effective in treating and preventing colds and flu. Perhaps you may have noticed the plethora of Elderberry syrups, cough drops, lozenges, and gummies that fill the “Cold and Flu” aisle of your local natural foods store.
Step 1
Harvest the berries of the Blue Elder in the late summer or early fall, when the fruits are dark blue in color*. They might have a white powdery bloom on them, which is a natural occurrence when the fruits have reached maturity. Use scissors to snip entire clusters of berries off the branches.
Step 2
Time to separate the berries from their stems! The easiest way to do this is to first freeze the berry clusters. They don't need to be in the freezer for too long, just bag them up and leave them in there for an hour or two. This will make separating them from their stems much, much easier.
Step 3
Once you have picked all the berries off their stems, give them a good rinse in a strainer and make sure to remove any straggling pieces of stems. You don't want to accidentally mix to too many of the stems into your syrup as they are are mildly toxic.
ELDERBERRY CORDIAL
2 cups (500g) of elderberries
500g of water
350g of caster sugar
1/2 lemon, rind plus 1tbsp lemon juice
Step 4
Drain the berries and place in a pan along with the lemon rind. Cover with the water and simmer on a low heat for 30 minutes, until the berries have broken down. Skim away any scum that appears on the surface
Step 5
Strain the juice through a colander lined with muslin cloth set over a bowl. Gently press the berries to extract as much juice as possible
Step 6
Return the juice to the pan and add the sugar and lemon juice. Gently heat and stir until the sugar has dissolved
Step 8
Taste and add more sugar or lemon juice to your taste
- Decant into a sterilized bottle and seal
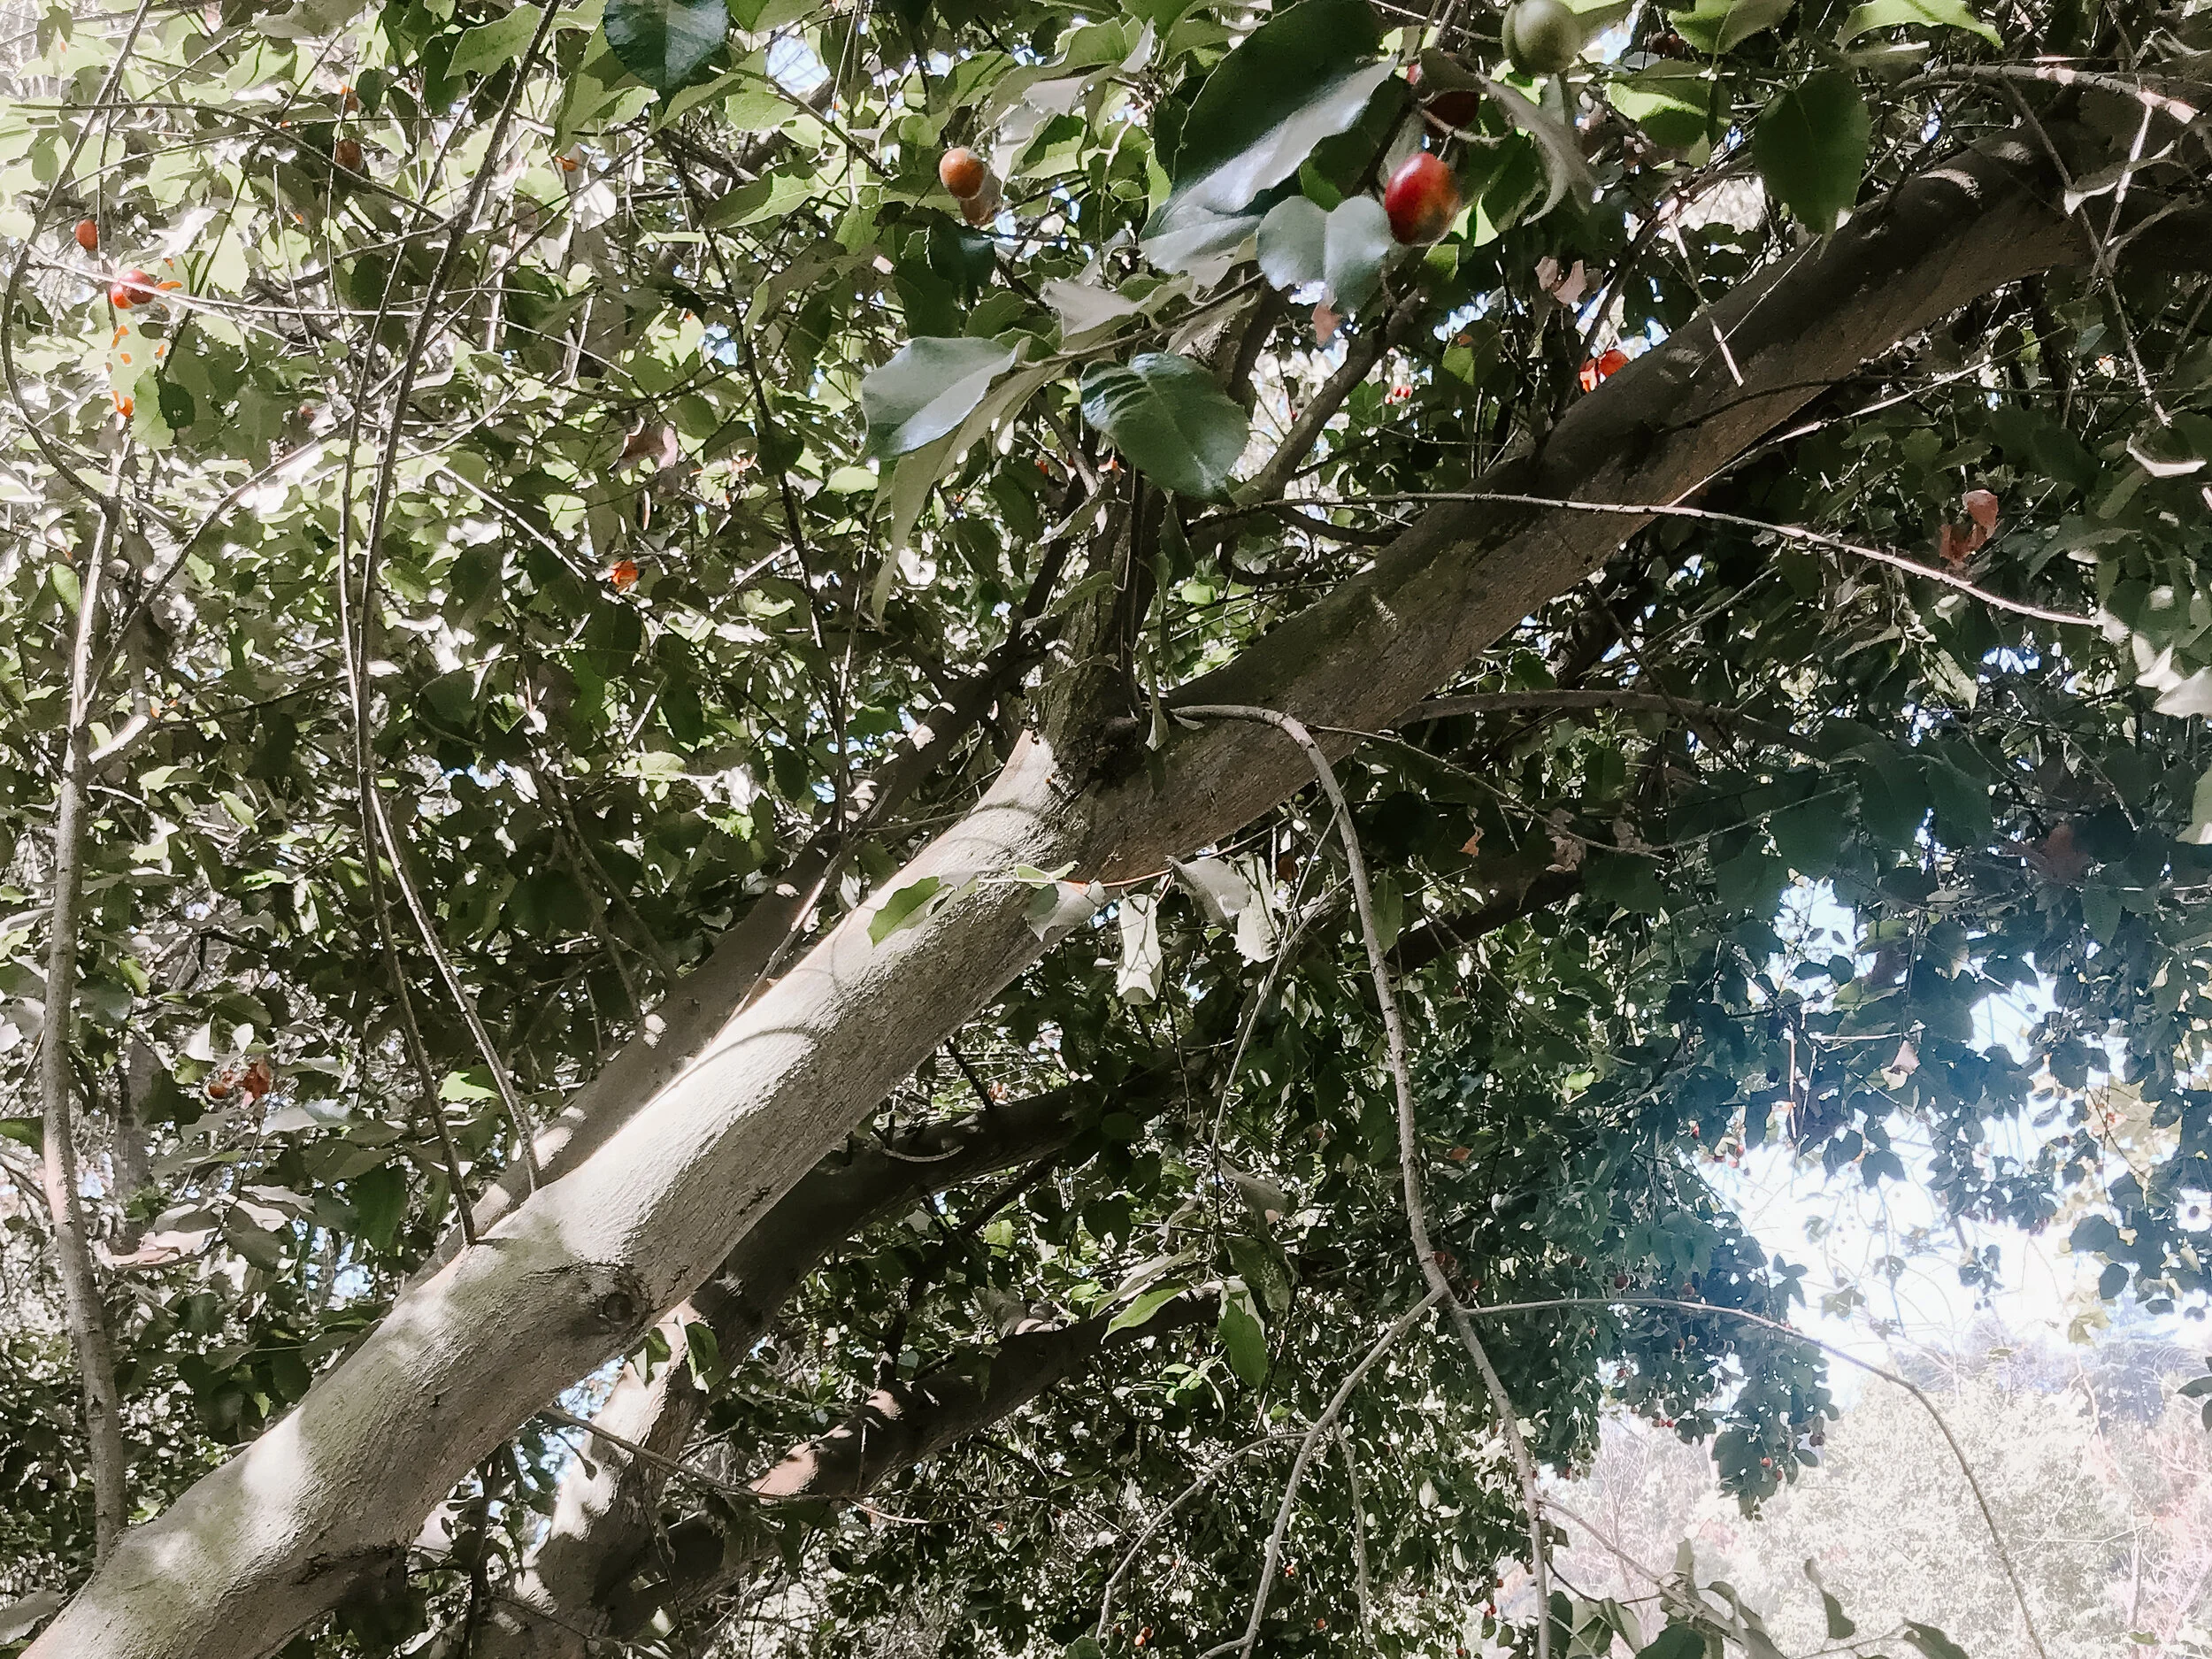
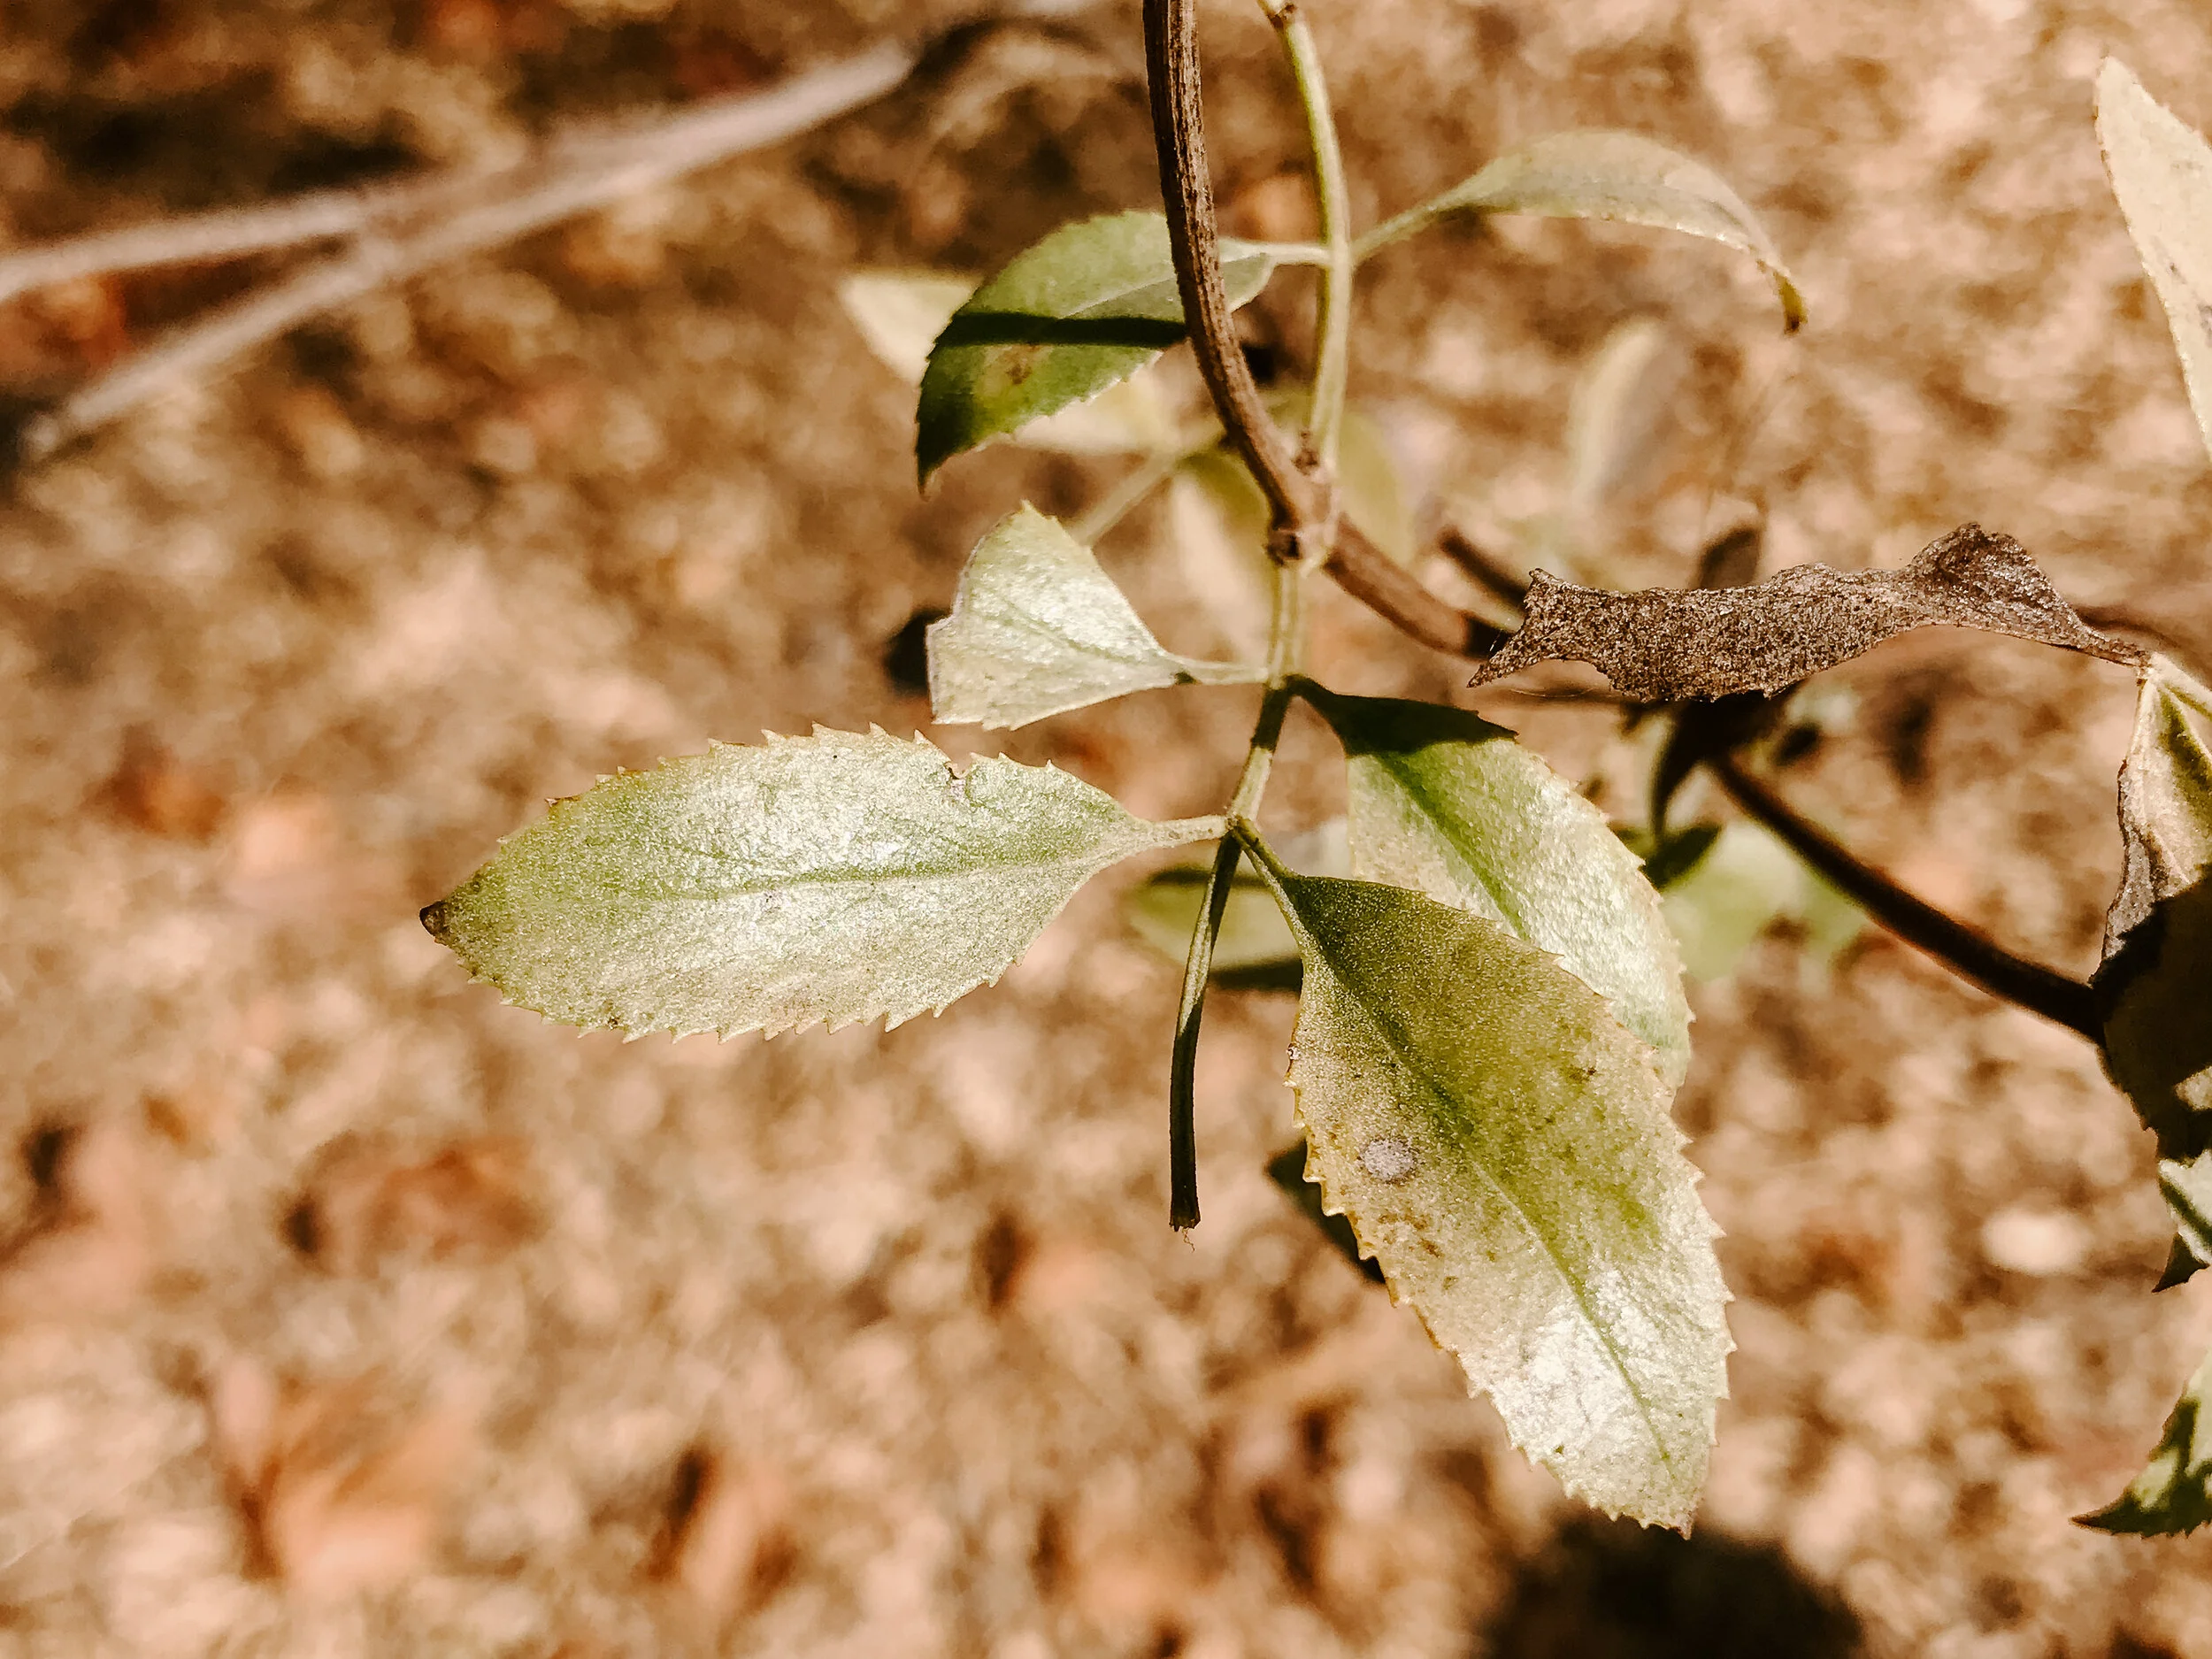
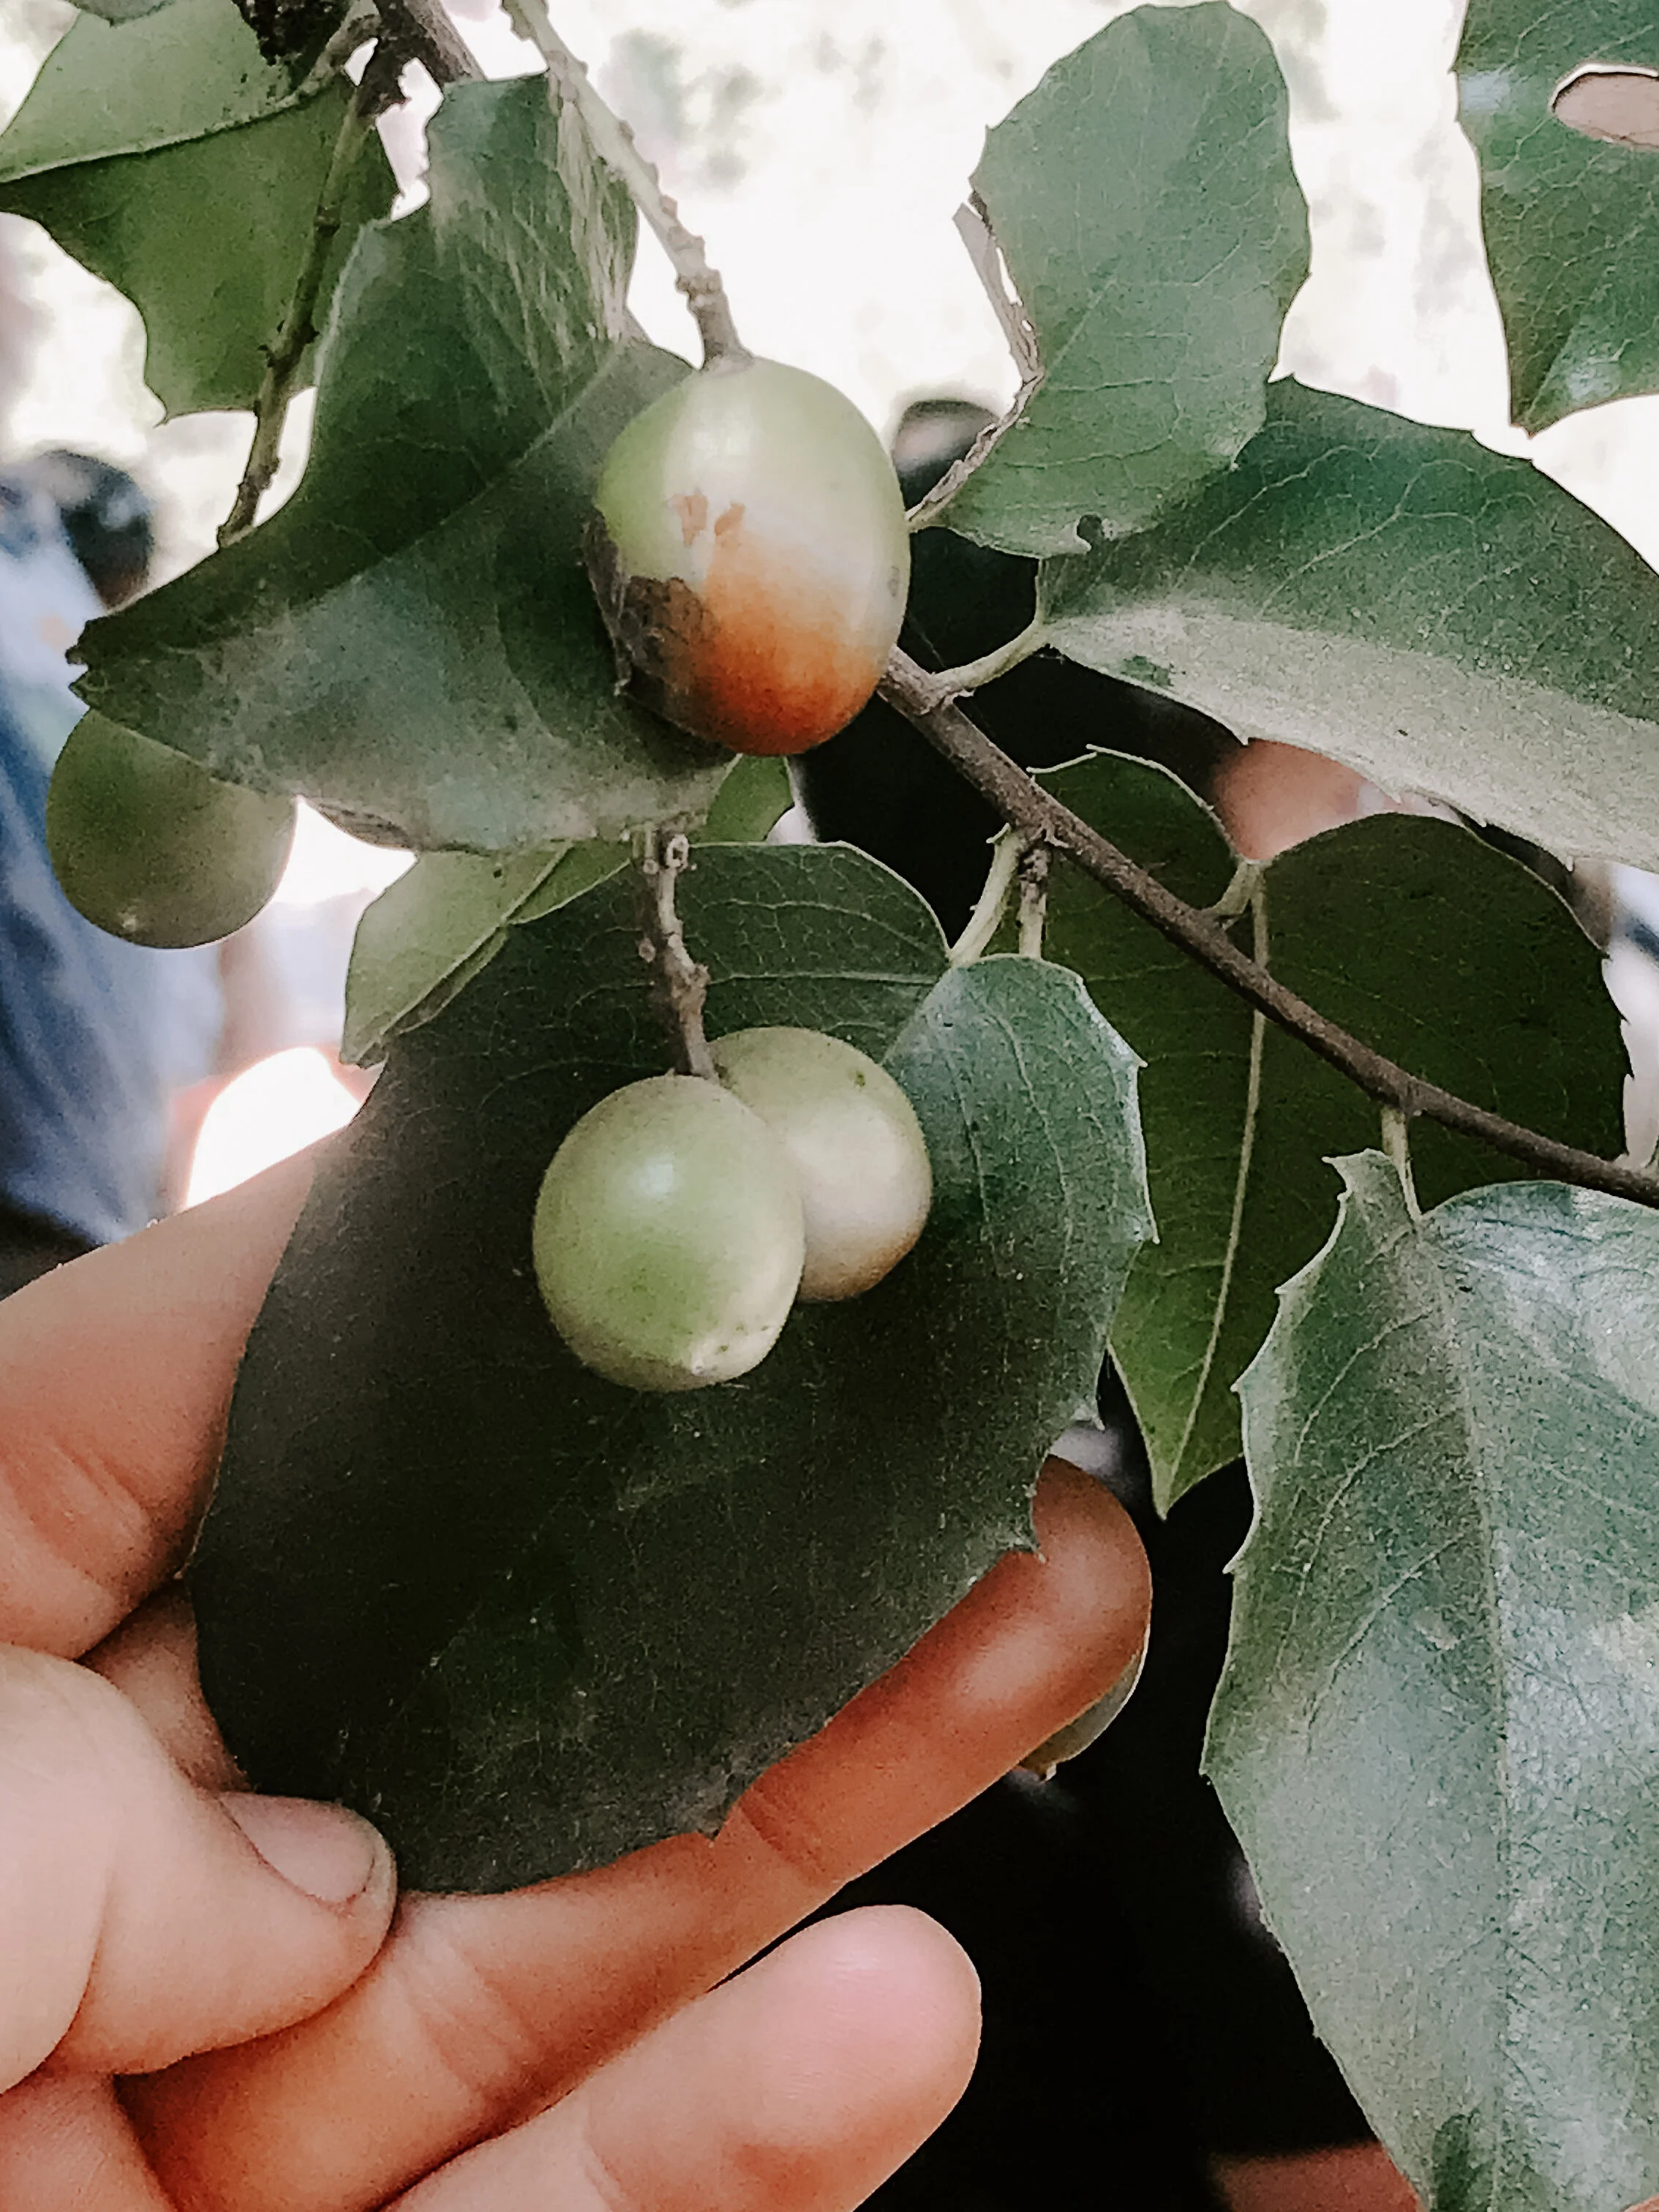
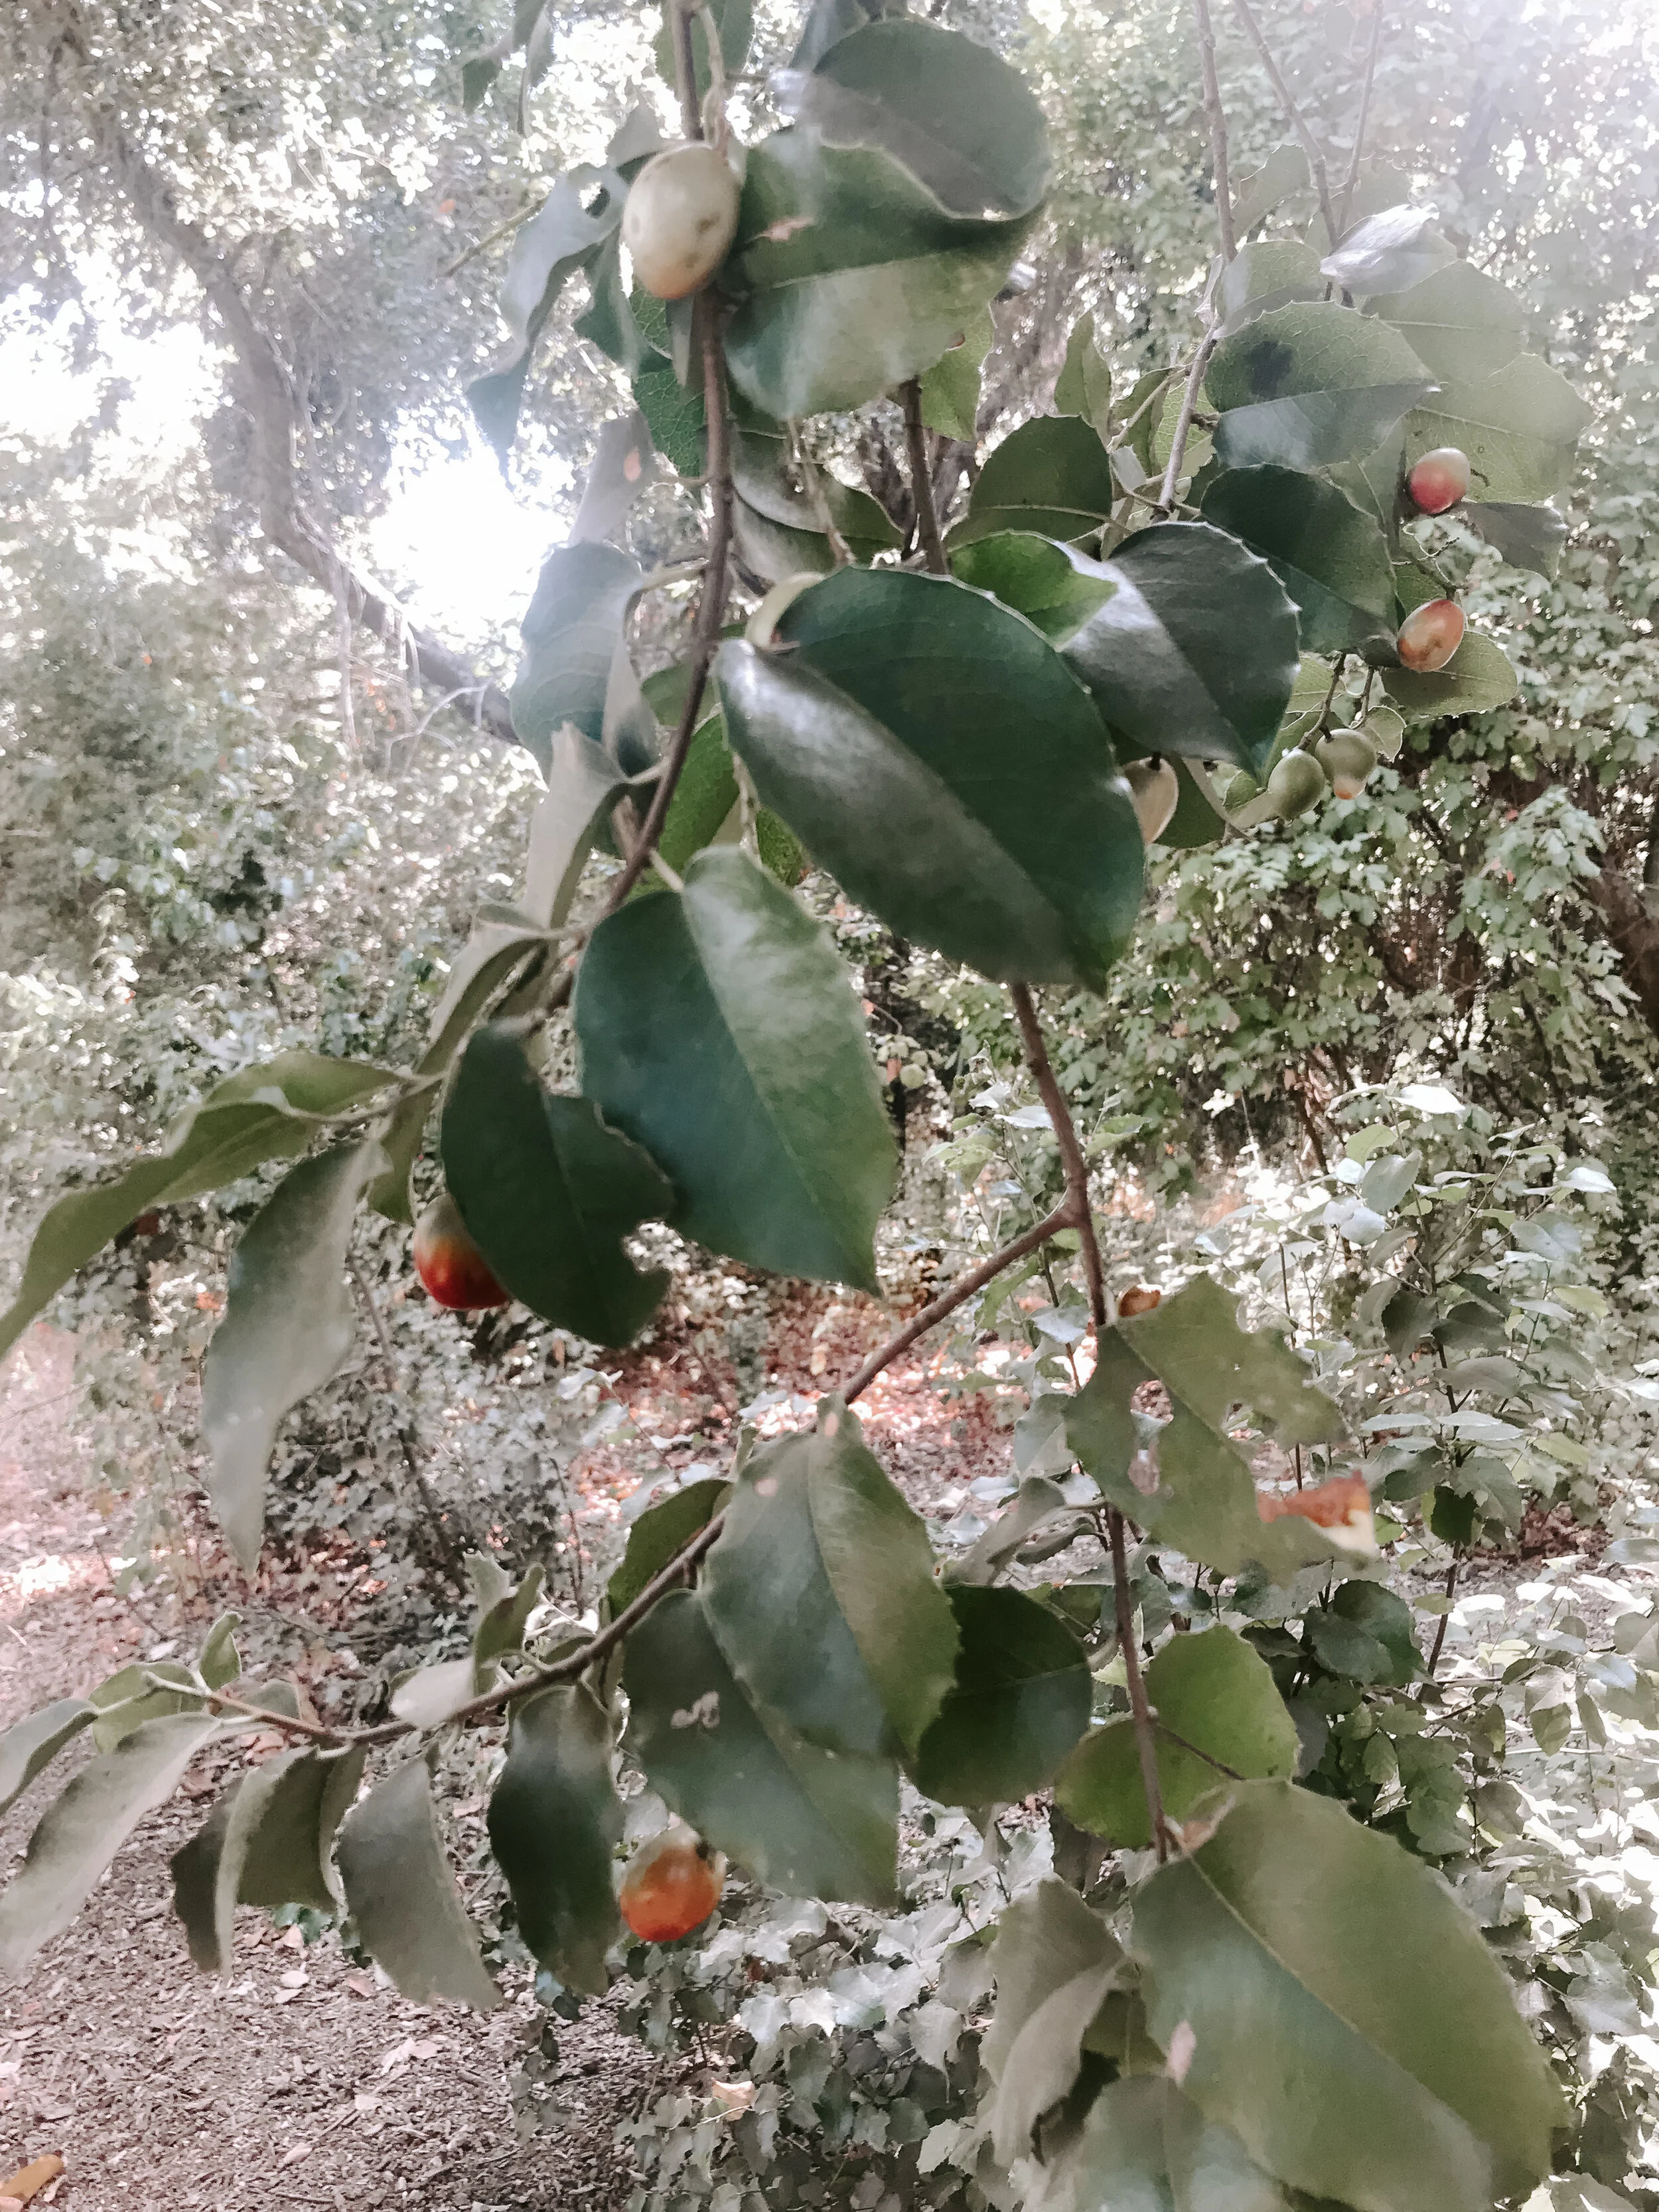
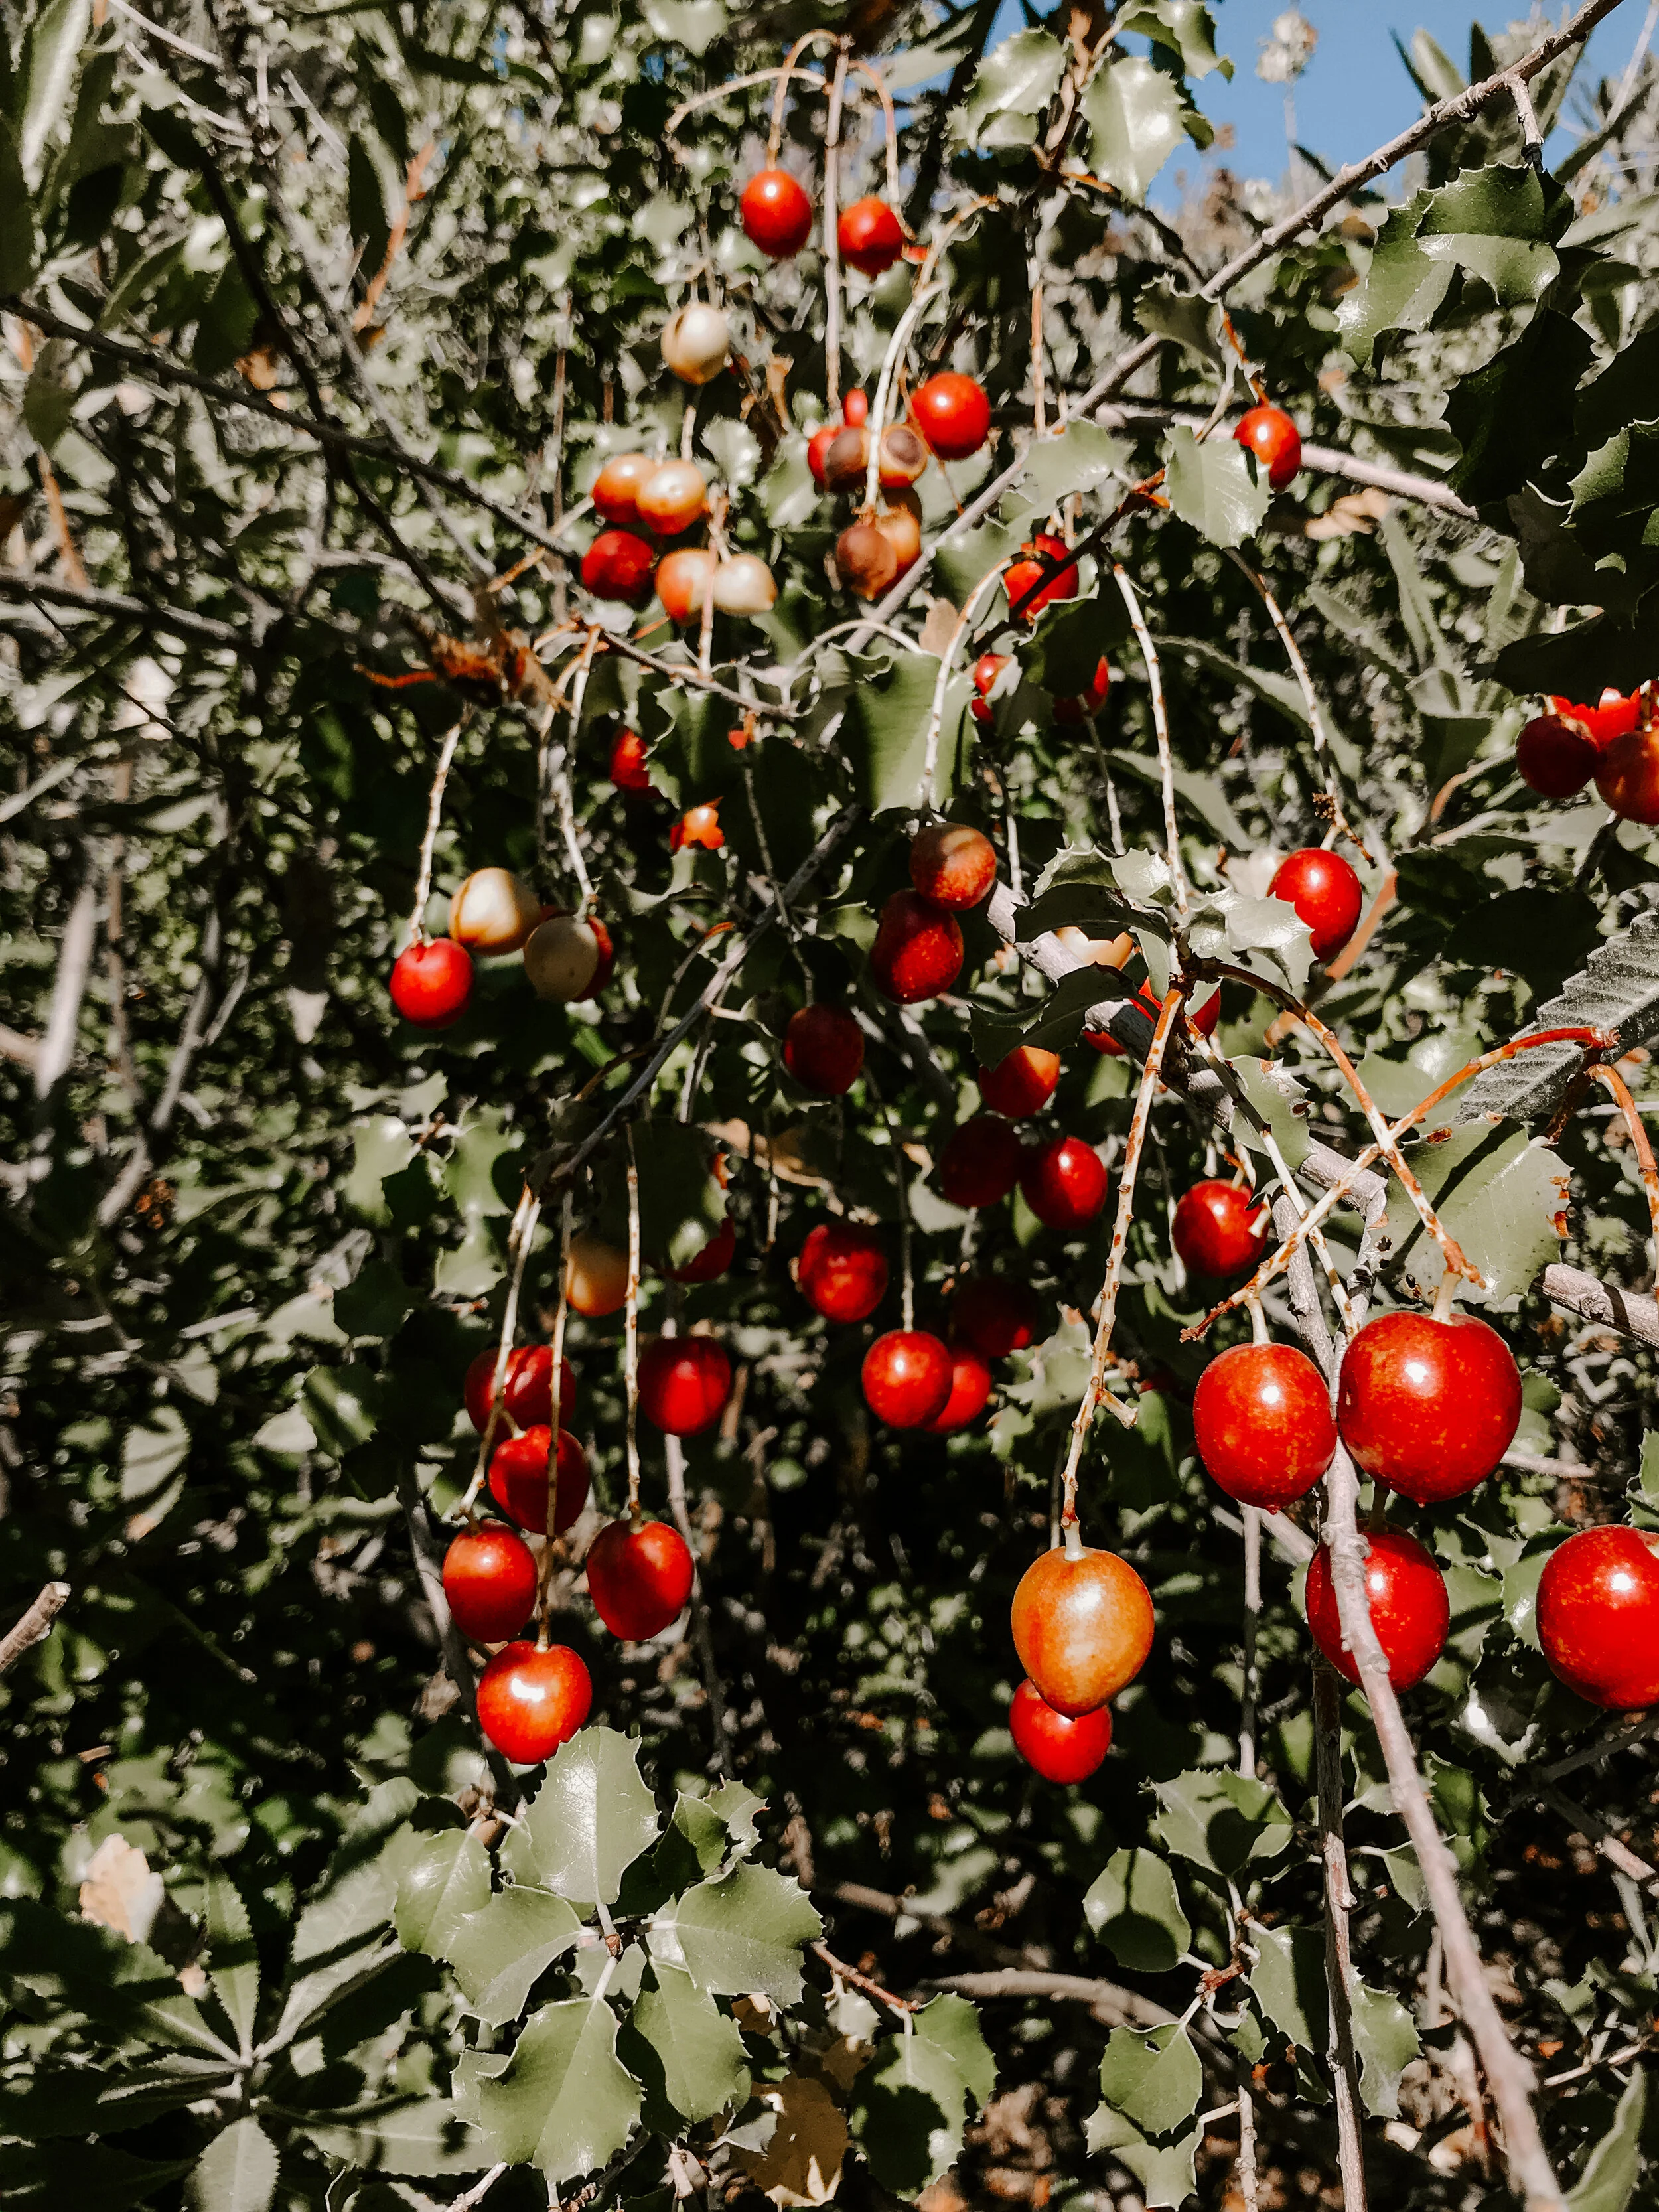
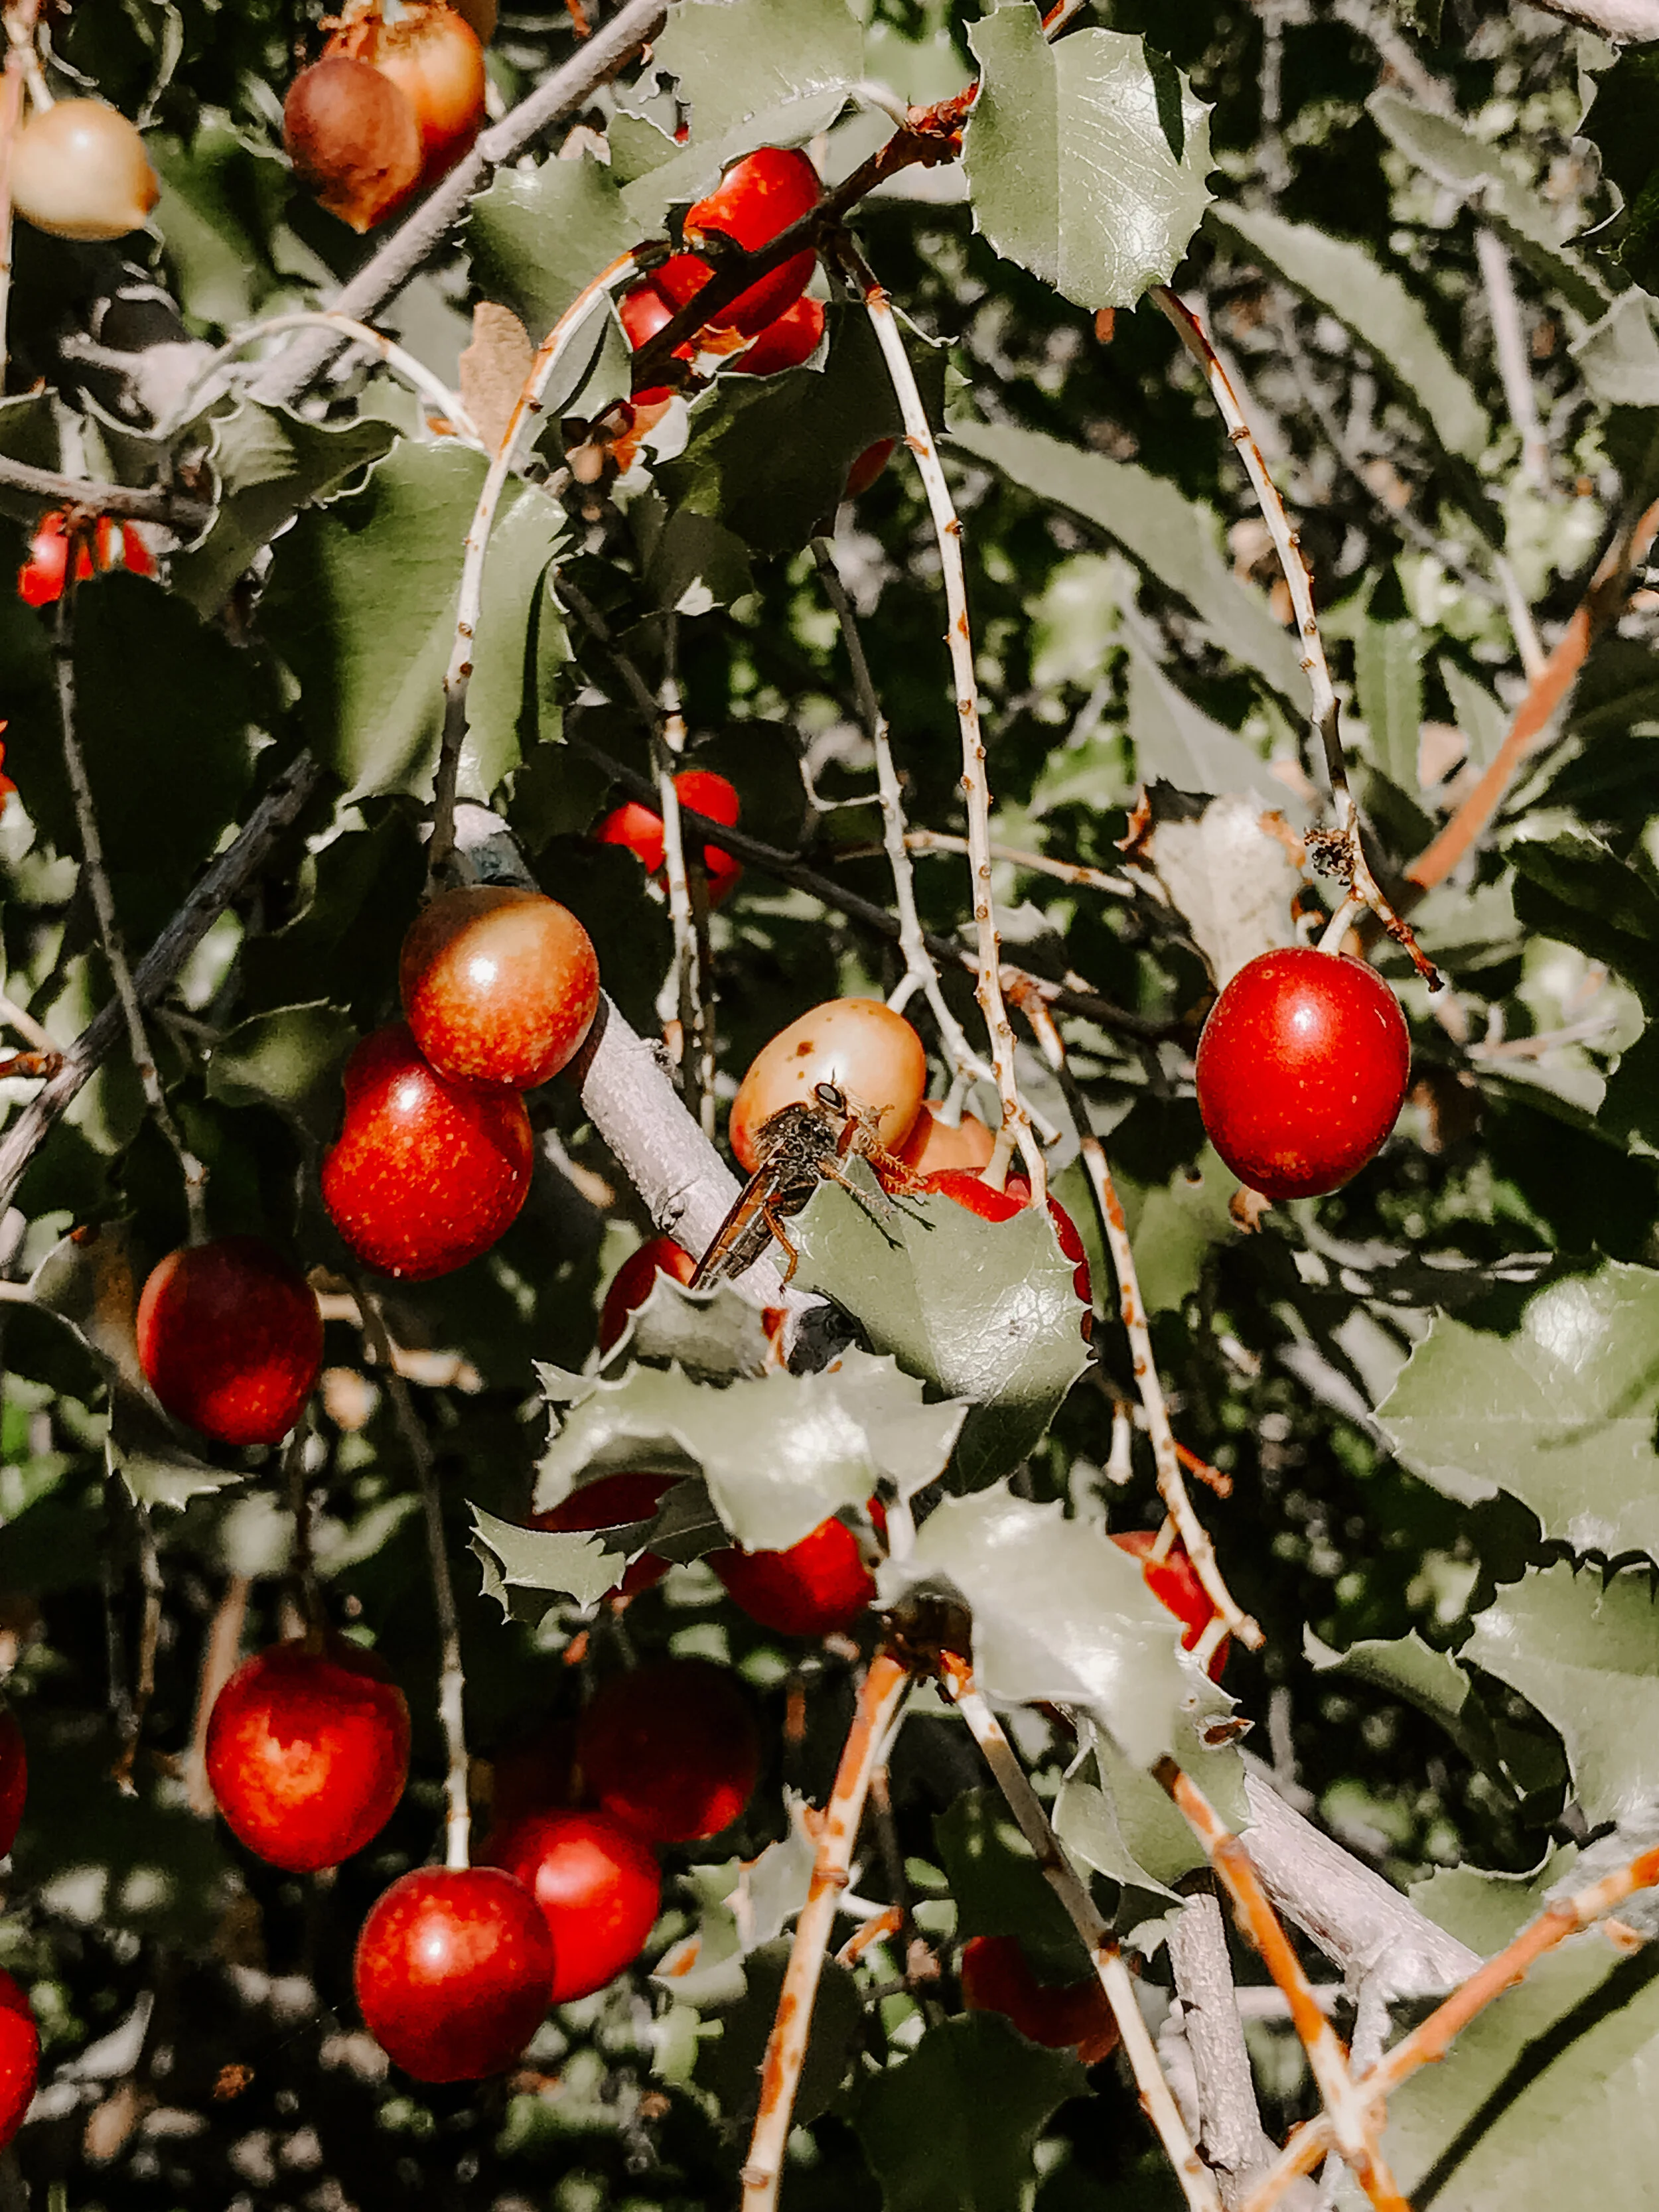
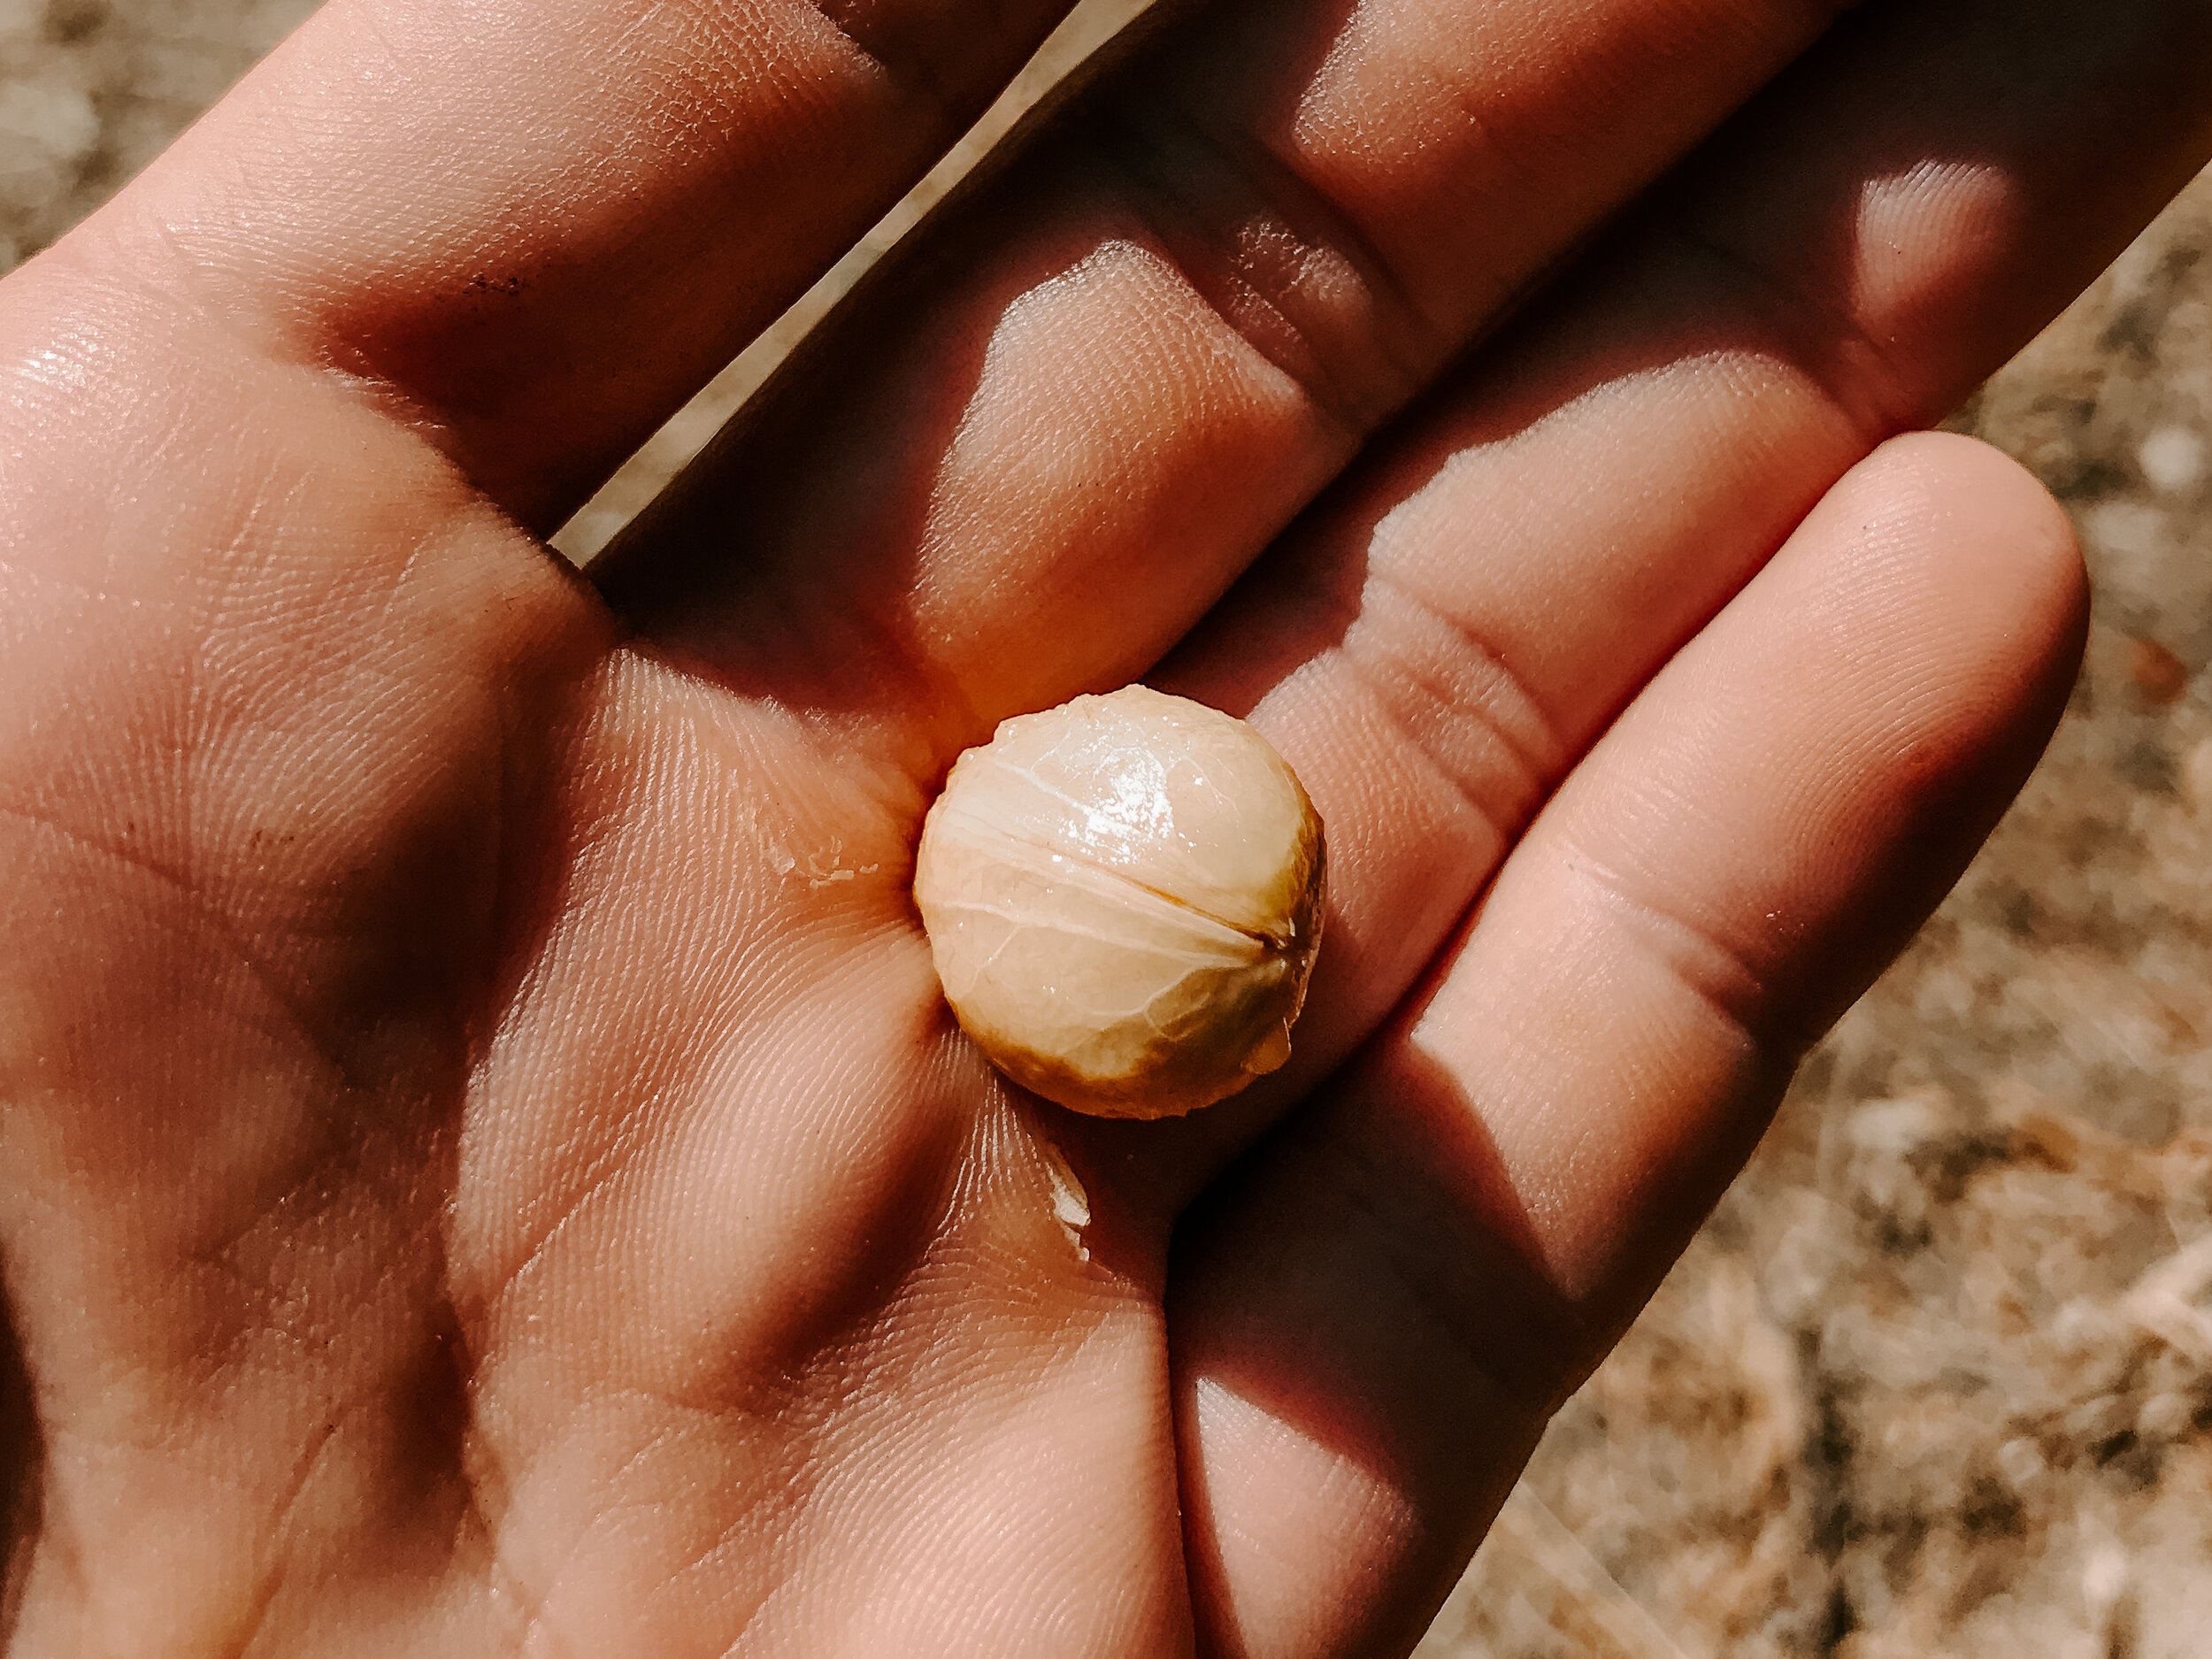
California native. Hollyleaf cherry grows comfortably in chaparral, desert and woodland biomes. Much like other holly species, this plant features shiny and spiny-toothed leaves. The cherries have a large pit in the center surrounded by a thin layer of fruit.
Uses
The thin outer pulp of the fruit may be eaten, or made into a sweet sauce or drink by simmering it in a little water and adding lemon and sugar to taste. The kernel is dried, crushed, and leached. The nut can be substituted into acorn recipes and has traditionally been boiled into a soup by the Cahuilla. The bark was also used to make tea for treating colds.
The fruits were eaten both fresh and dried. The thin, sweet flesh was eaten sparingly as it was purported to upset the stomach if too much is consumed. The thin pulp was welcome moisture for thirsty hunters. The juice from the fruits was fermented and drunk. The kernels within the large pits were particularly valued for food by many Native Californians.
The Diegueño and the Cahuilla are among the tribes that treated colds and coughs with infusions made from hollyleaf cherry bark and roots (Almstedt 1977, Romero 1954). During the spring and summer, while the sap of the tree was running the infusion was made from the bark. During the winter, while the tree was dormant, the roots were used for the infusion. The Costanoan used the wood to make bows (Bocek 1984). The Tipai people of Baja California are among the few tribes that still gather islay today.
Harvest Time
Fall is the time to harvest hollyleaf cherry fruits. Cherries ripen best when allowed to fully mature on the tree. To harvest, simply pluck the fruits, including the long stem, from the trees, making sure to leave the knobby part at the top of the stem where it attaches to the tree. This part, called the fruit spur, is the point where next year's crop will grow from. Cherries ripen over several weeks in fall. Harvest daily as the fruits are ripening to get the cherries at their sweetest.
Kernel Uses
While the fruit is tasty and sweet, traditionally, the primary use of the hollyleaf cherry is the kernels. Native Californians ground the kernels into flour for use in baking and other traditional foods. Like other types of cherries, hollyleaf cherries have a pit covered by the kernel and then encased in fruit. The pit is poisonous and must be removed. Once the pit is removed, the remaining kernels can be cooked whole or ground into a flower.
Fruit Uses
Good fresh, dried or cooked, the hollyleaf cherry can be used as you would use commercial cherries. The fruits are exceptionally juicy, ideal for making into juice or fermenting for a sweet wine as the native Californians did. Cooked cherries are made into preserves, jams and jelly, or frozen for use throughout the year. When harvesting hollyleaf cherries, it's worth leaving a few fruits behind to encourage birds to visit your garden through the fall and early winter.
Lemonade Berry // Rhus integrifolia
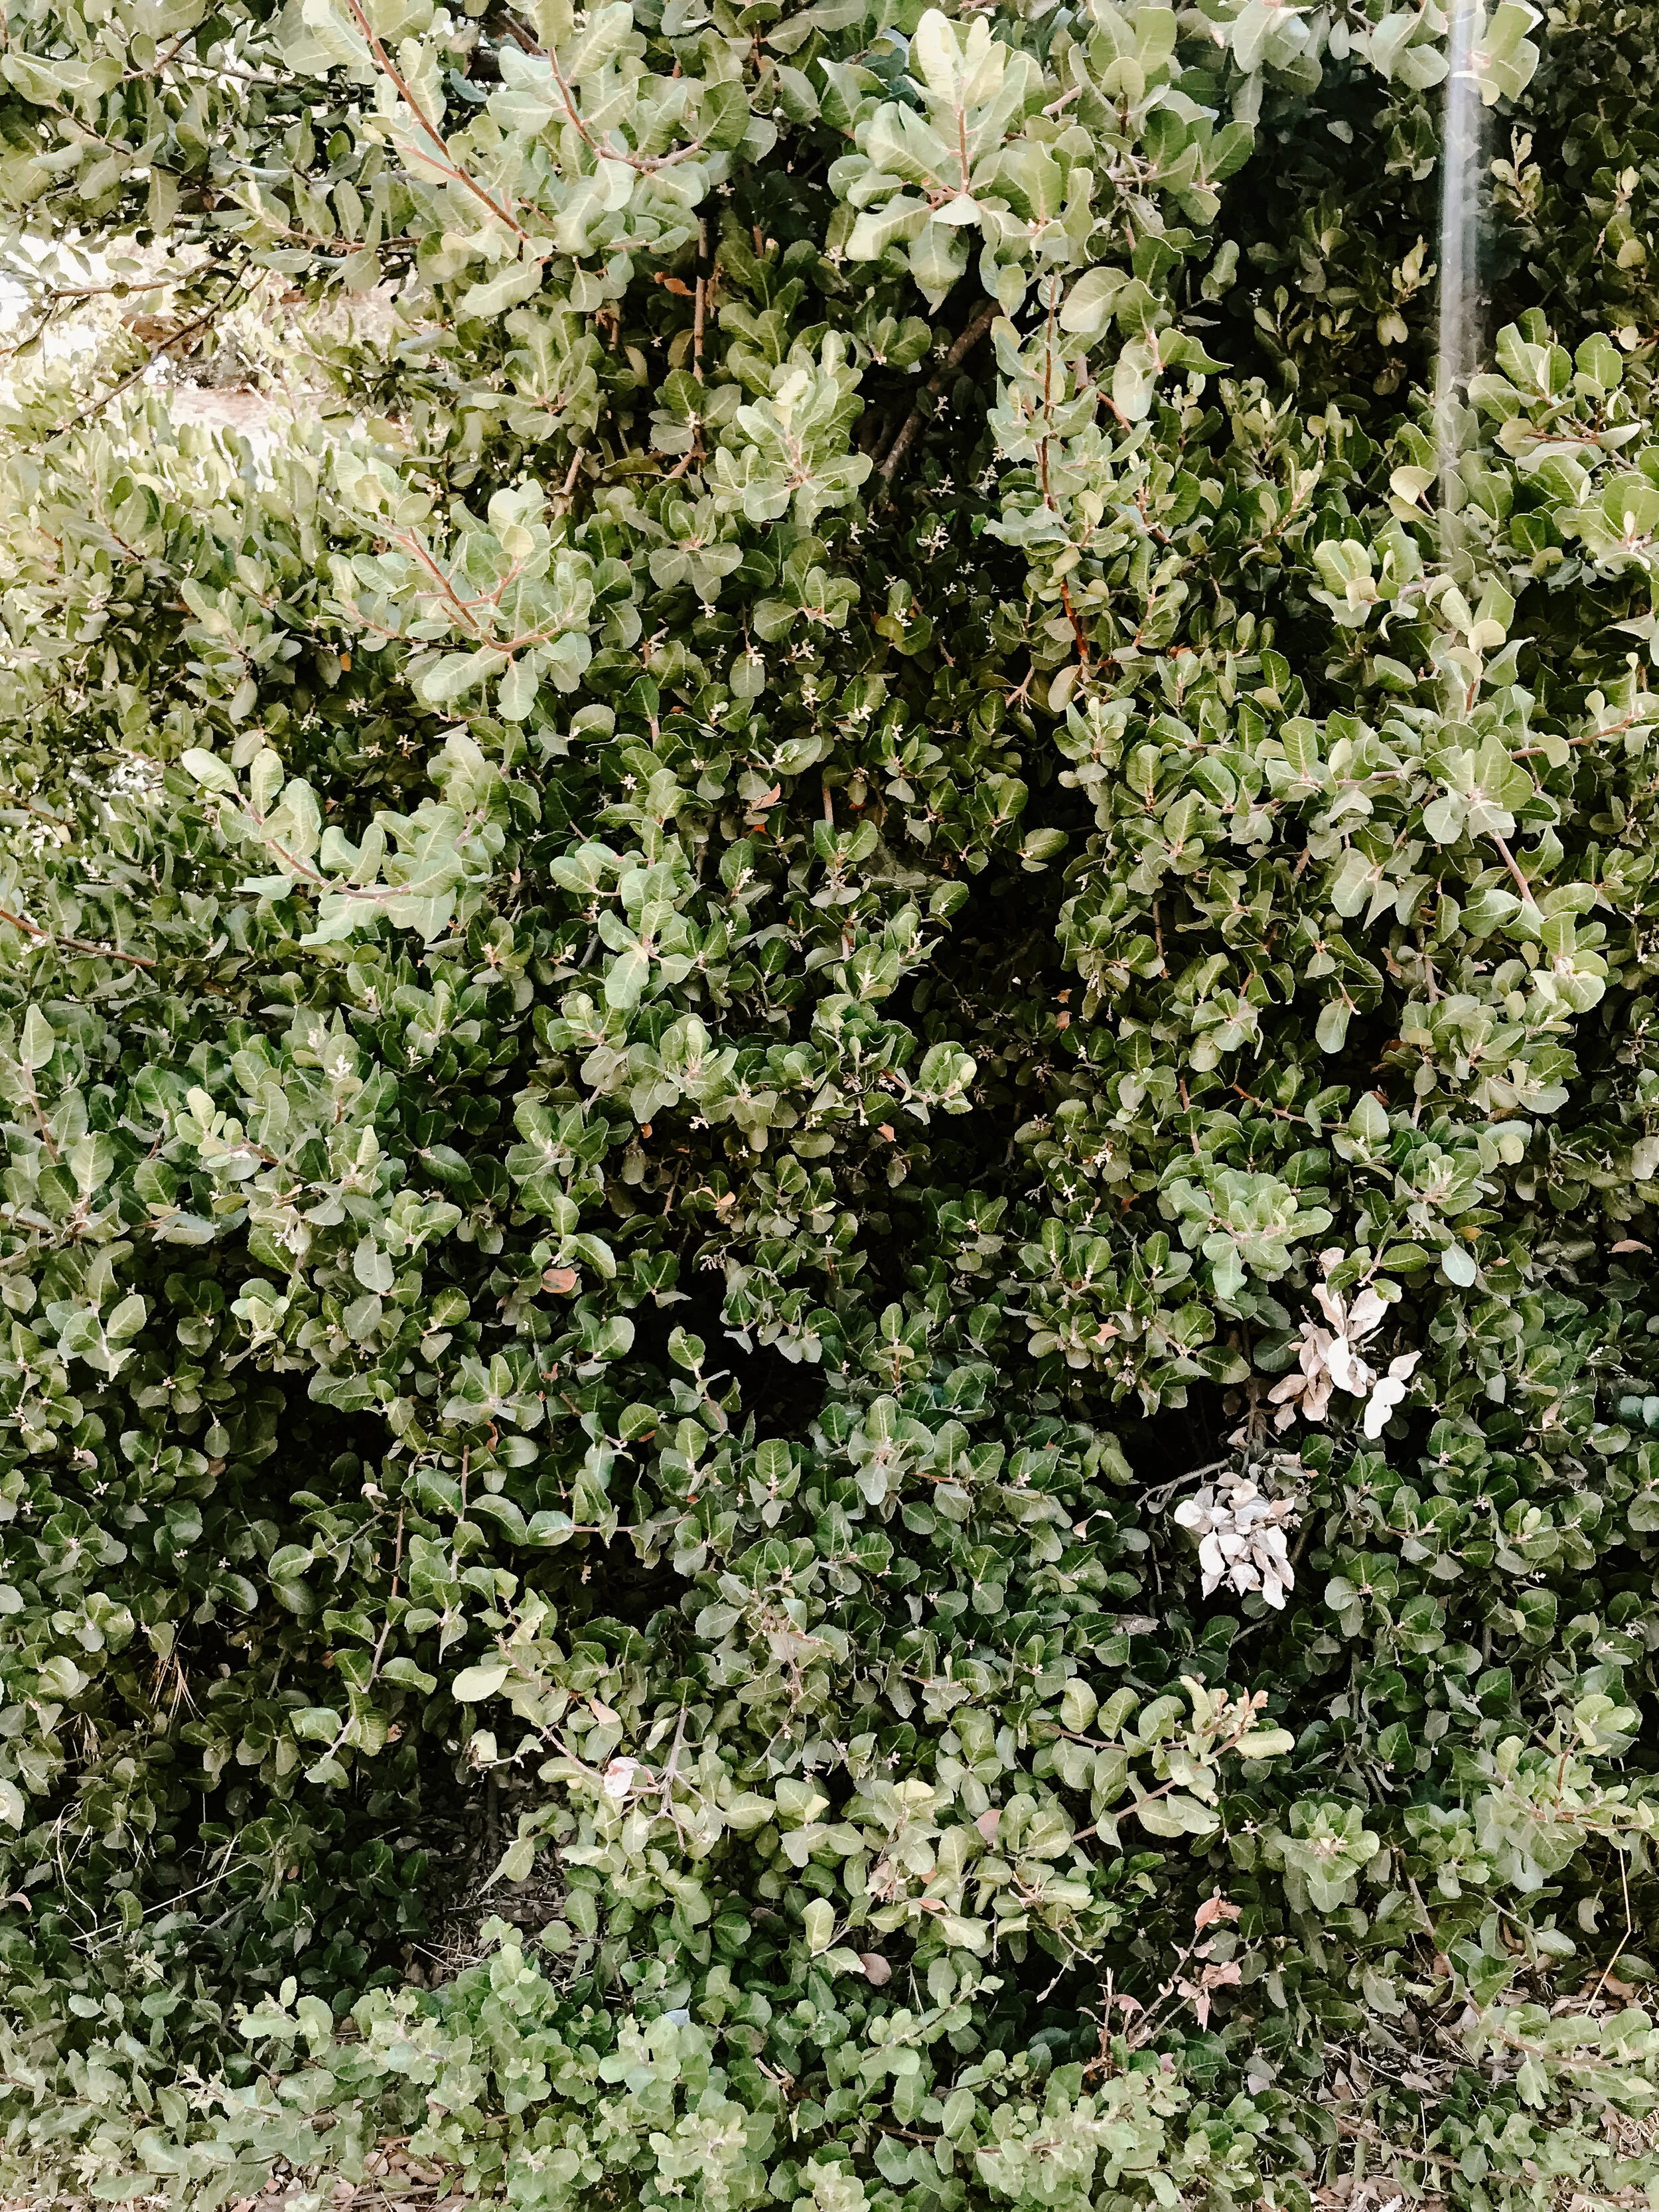
Lemonade berry, also known as lemonade sumac, is a shrubby tree unique to the plant communities of southern California and Baja. The shrub can grow up to to 25 feet in height and is most commonly found in the chaparral biome, often along north facing slopes of low elevation.
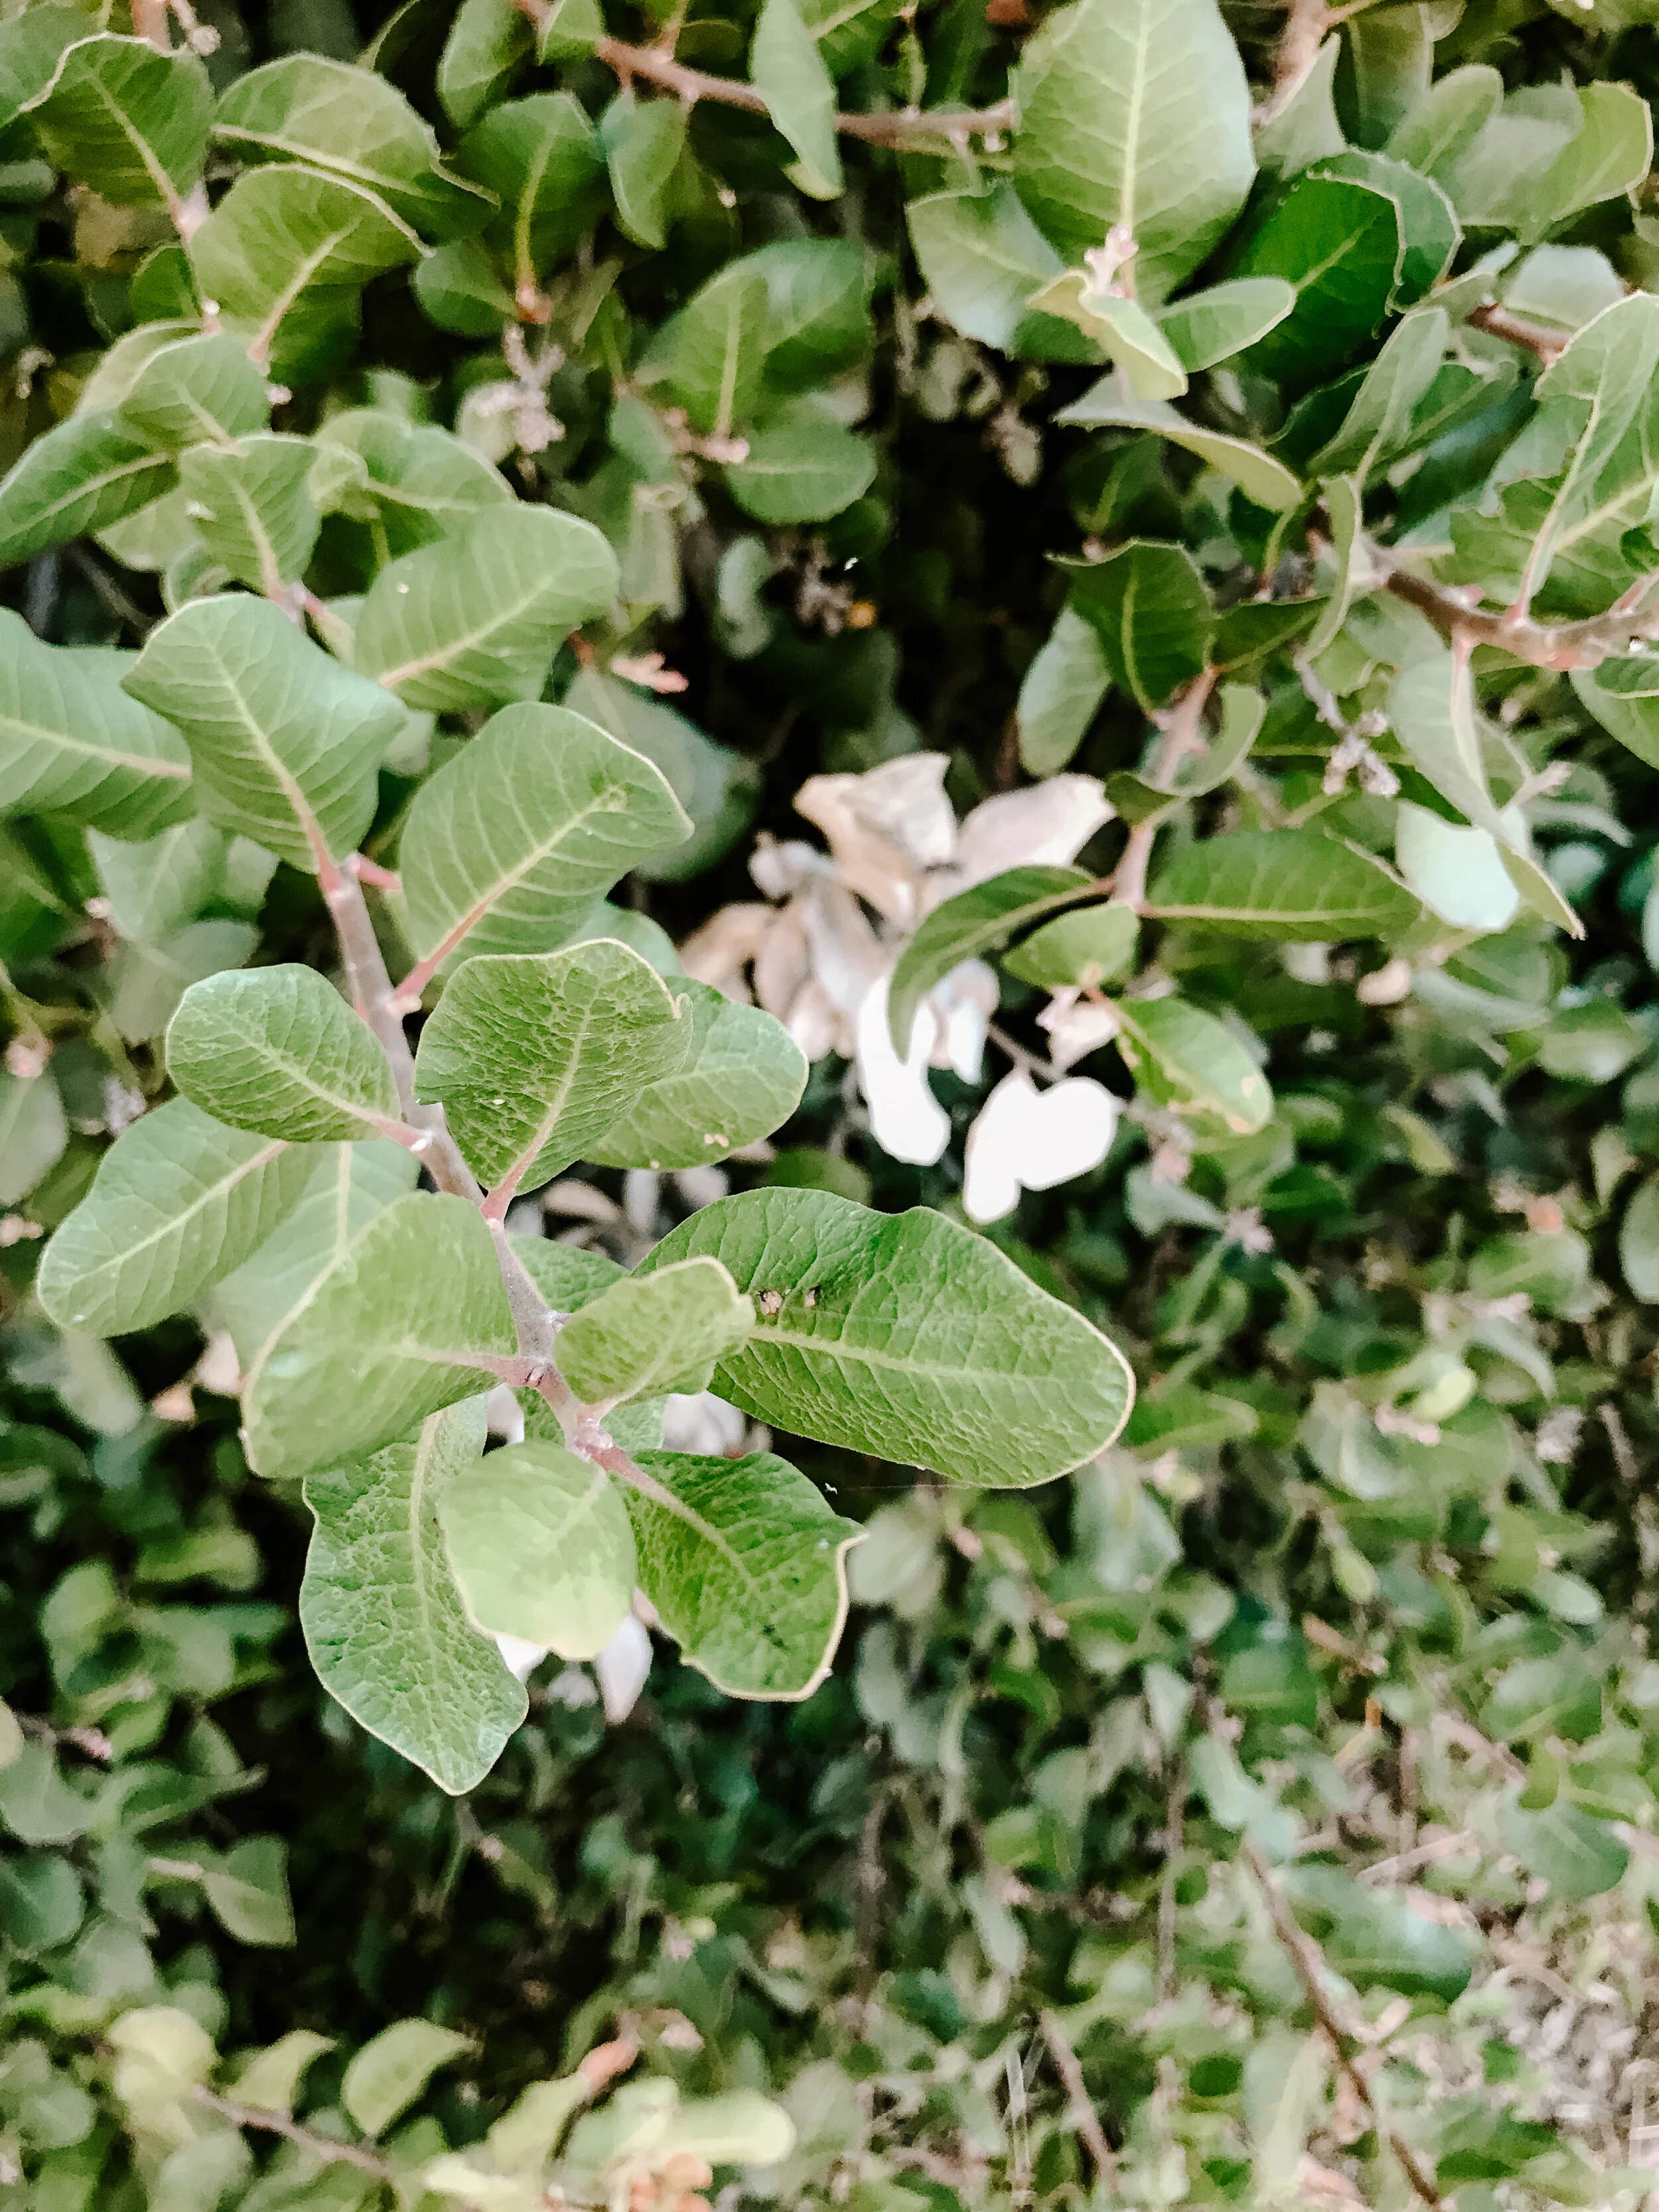
The fruit from this plant is edible. Although, the berry is not quite as tasty as the name suggests. This fruit is very high in various types of tannins. These tannins impart a sharp, tart taste to the berry. In general, Native Americans made a mush from the berries that was edible. It is likely the tannins were then leached from the mush before consumption.
The Mahuna people ate the lemonade berries to quench their thirst.
The Kumeyaay of the San Diego region would wad up leaves from this plant to keep their thirst at bay during long, hot journeys.
The Cahuilla people, near the Mojave Desert, soaked the berries in water and drank as a tart beverage.
LEMONADE BERRY VEGAN LEMON CURD
For this recipe HERITAGEGOODSANDSUPPLY.COM played with the idea of making something with the flower buds that was also edible. They decided to infuse lemonade berry flower buds in vegan lemon curd. By using coconut cream as a base. This recipe infused the cream with sugar, flower buds, lemon juice and arrow root powder. You can eat the lemon curd on it's own, pair it with cookies!
INGREDIENTS:
1 Can Coconut Cream
Zest of one lemon
1/2 Cup lemon juice (juice of 4 lemons)
1/4 Cup lemonade berry flower buds (if you don't have, just omit)
2 Tablespoons arrowroot powder or cornstarch
3 Tablespoons sweetener of choice (cane sugar, sucunant, maple syrup, etc.)
DIRECTIONS:
1. Place lemon juice and arrowroot powder in a small bowl and whisk until combined.
2. Place coconut cream, lemon zest, sweetener of choice and lemonade berry flower buds in saucepan. Whisk to combine.
3. Add to lemon juice/arrowroot powder mixture to coconut cream, lemonade berry mixture. Stir well.
4. Cook over medium heat being careful not to let it boil. Once the mixture starts bubbling and thickening reduce heat to medium low and continue cooking until mixture is thick and jiggly.
5. Remove from heat and strain out solids. Let rest for 10 to 15 minutes then whisk one more time before transferring the curd to a vessel of choice.
California Live Oak // Quercus agrifolia
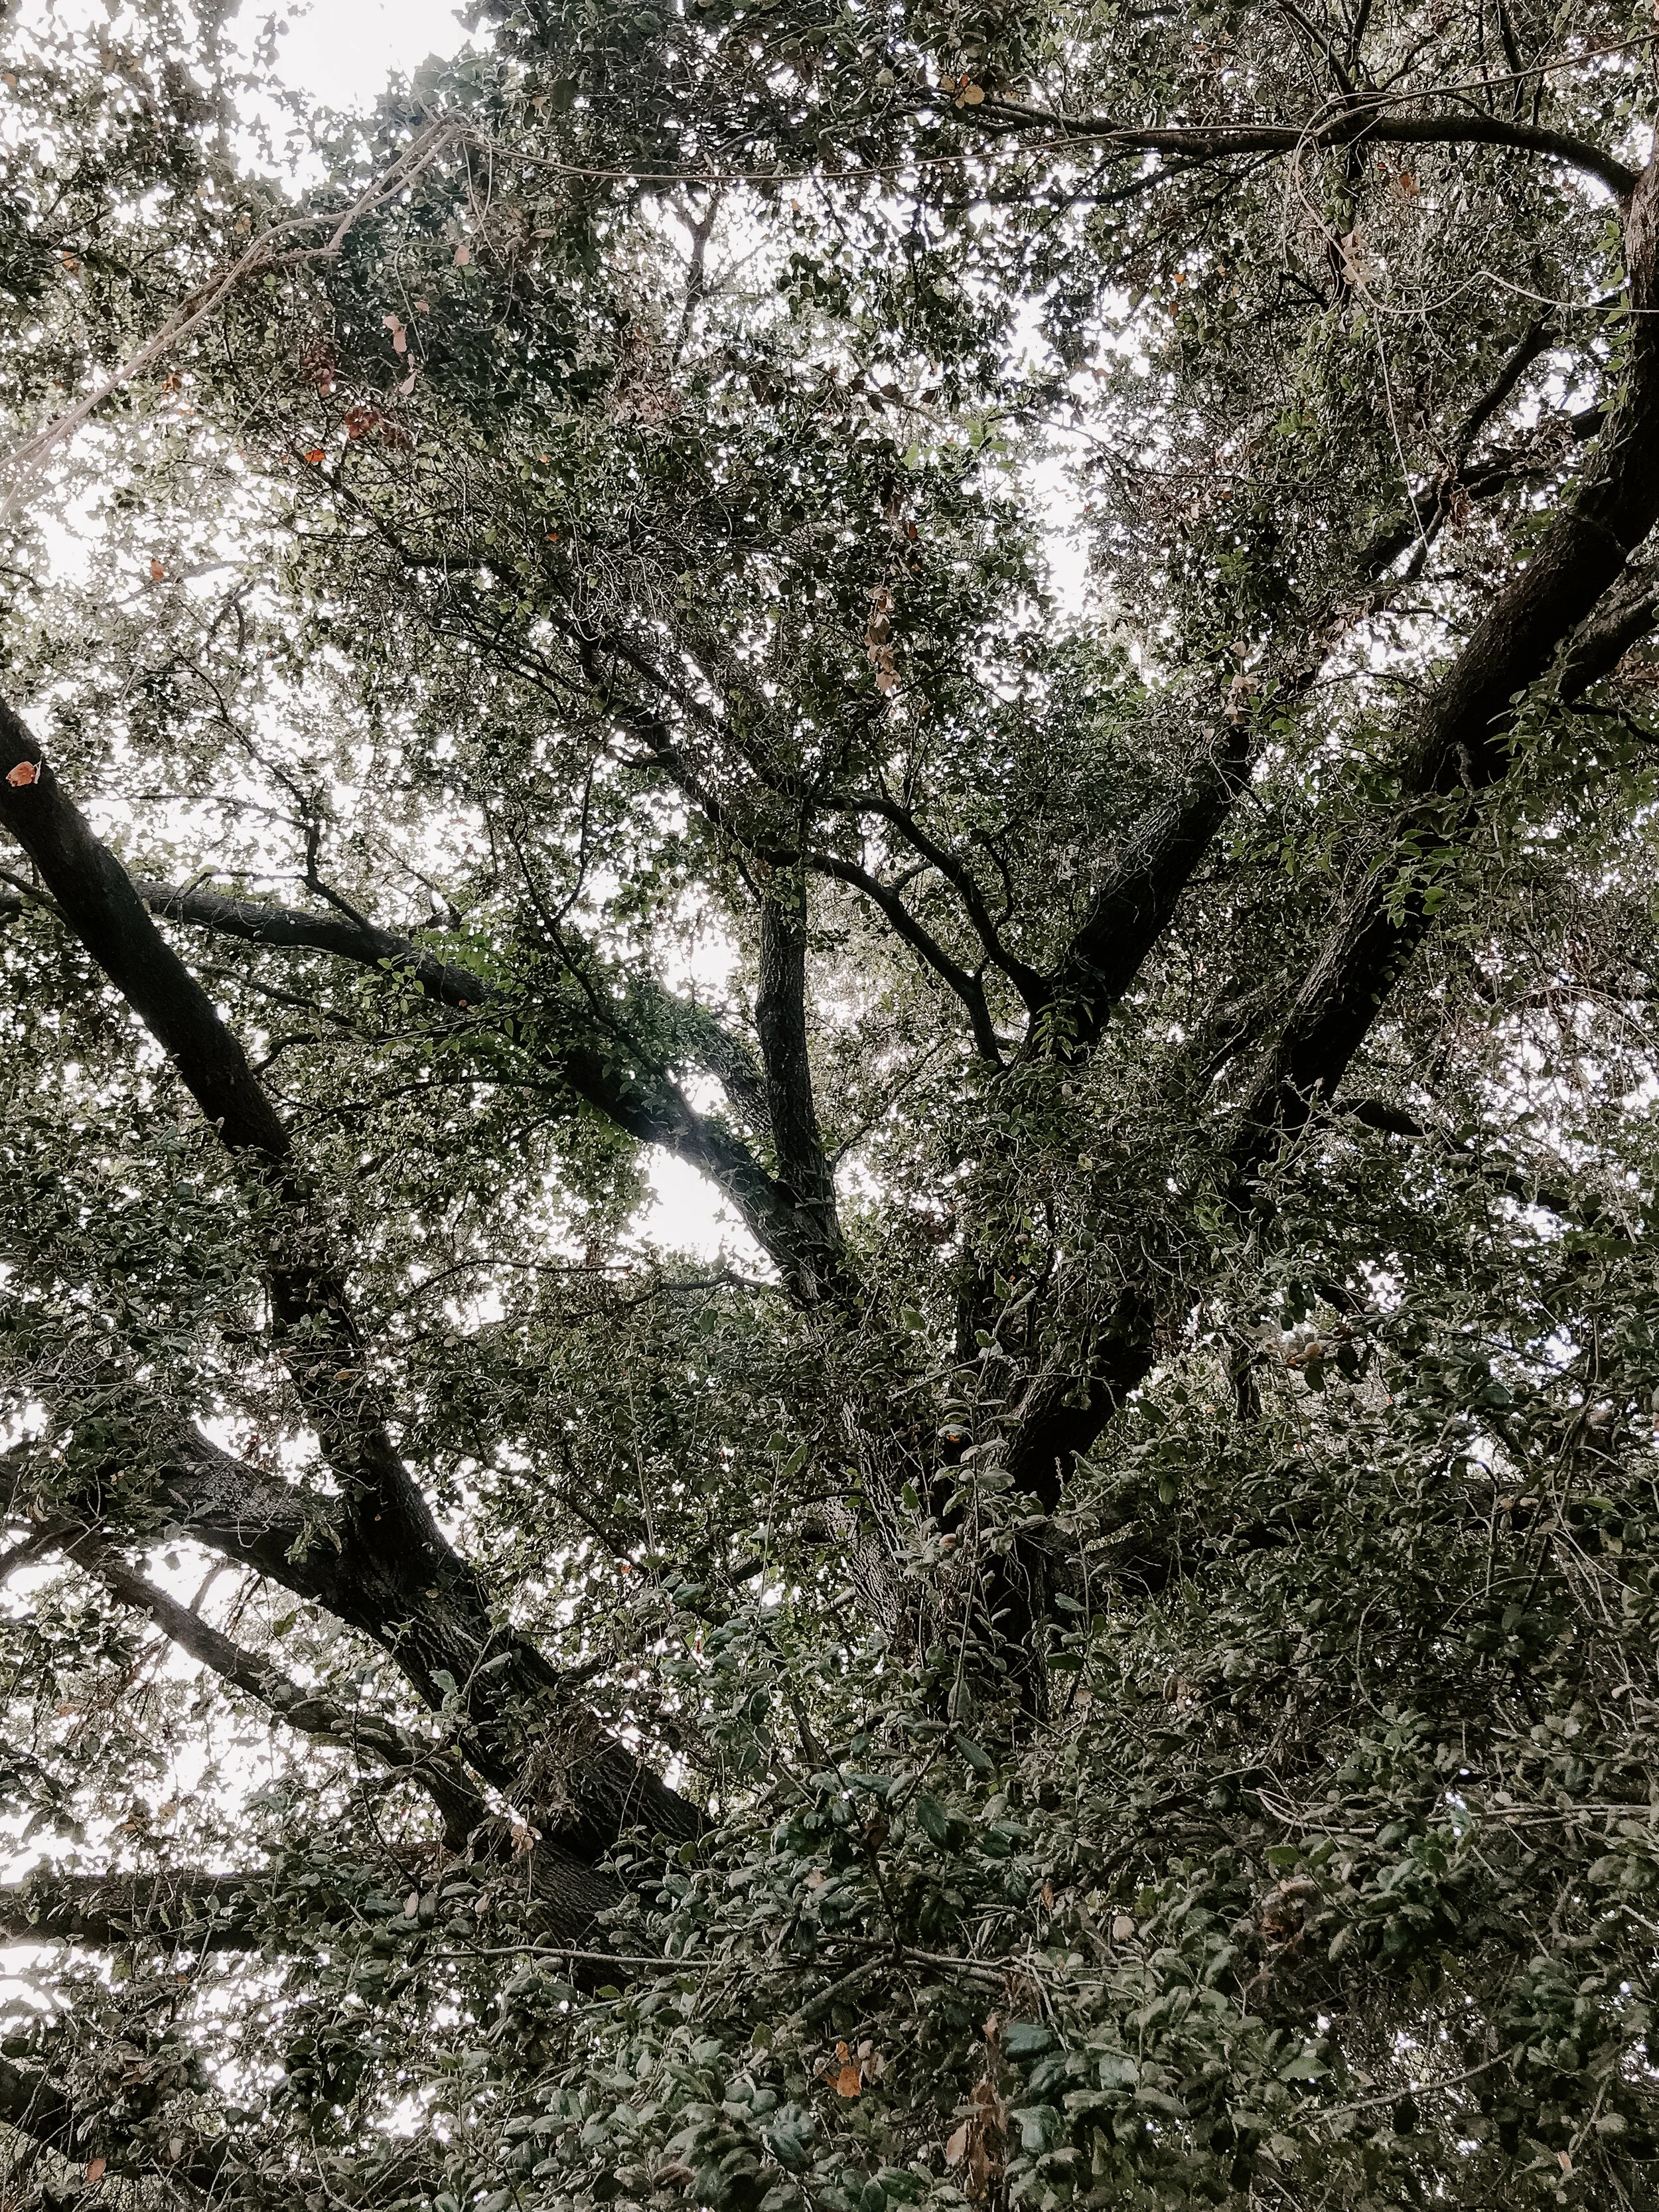
Live oak acorns were gathered intensely in November and December. If there was a good harvest, the acorns might last for a year. Tannins have to be leached from acorns prior to consumption. Tannins bind up our salivary proteins when we eat them, which creates an undesirable sensation and makes our mouth pucker up. Banana peels also have tannins, which is part of the reason we don’t eat the peels.
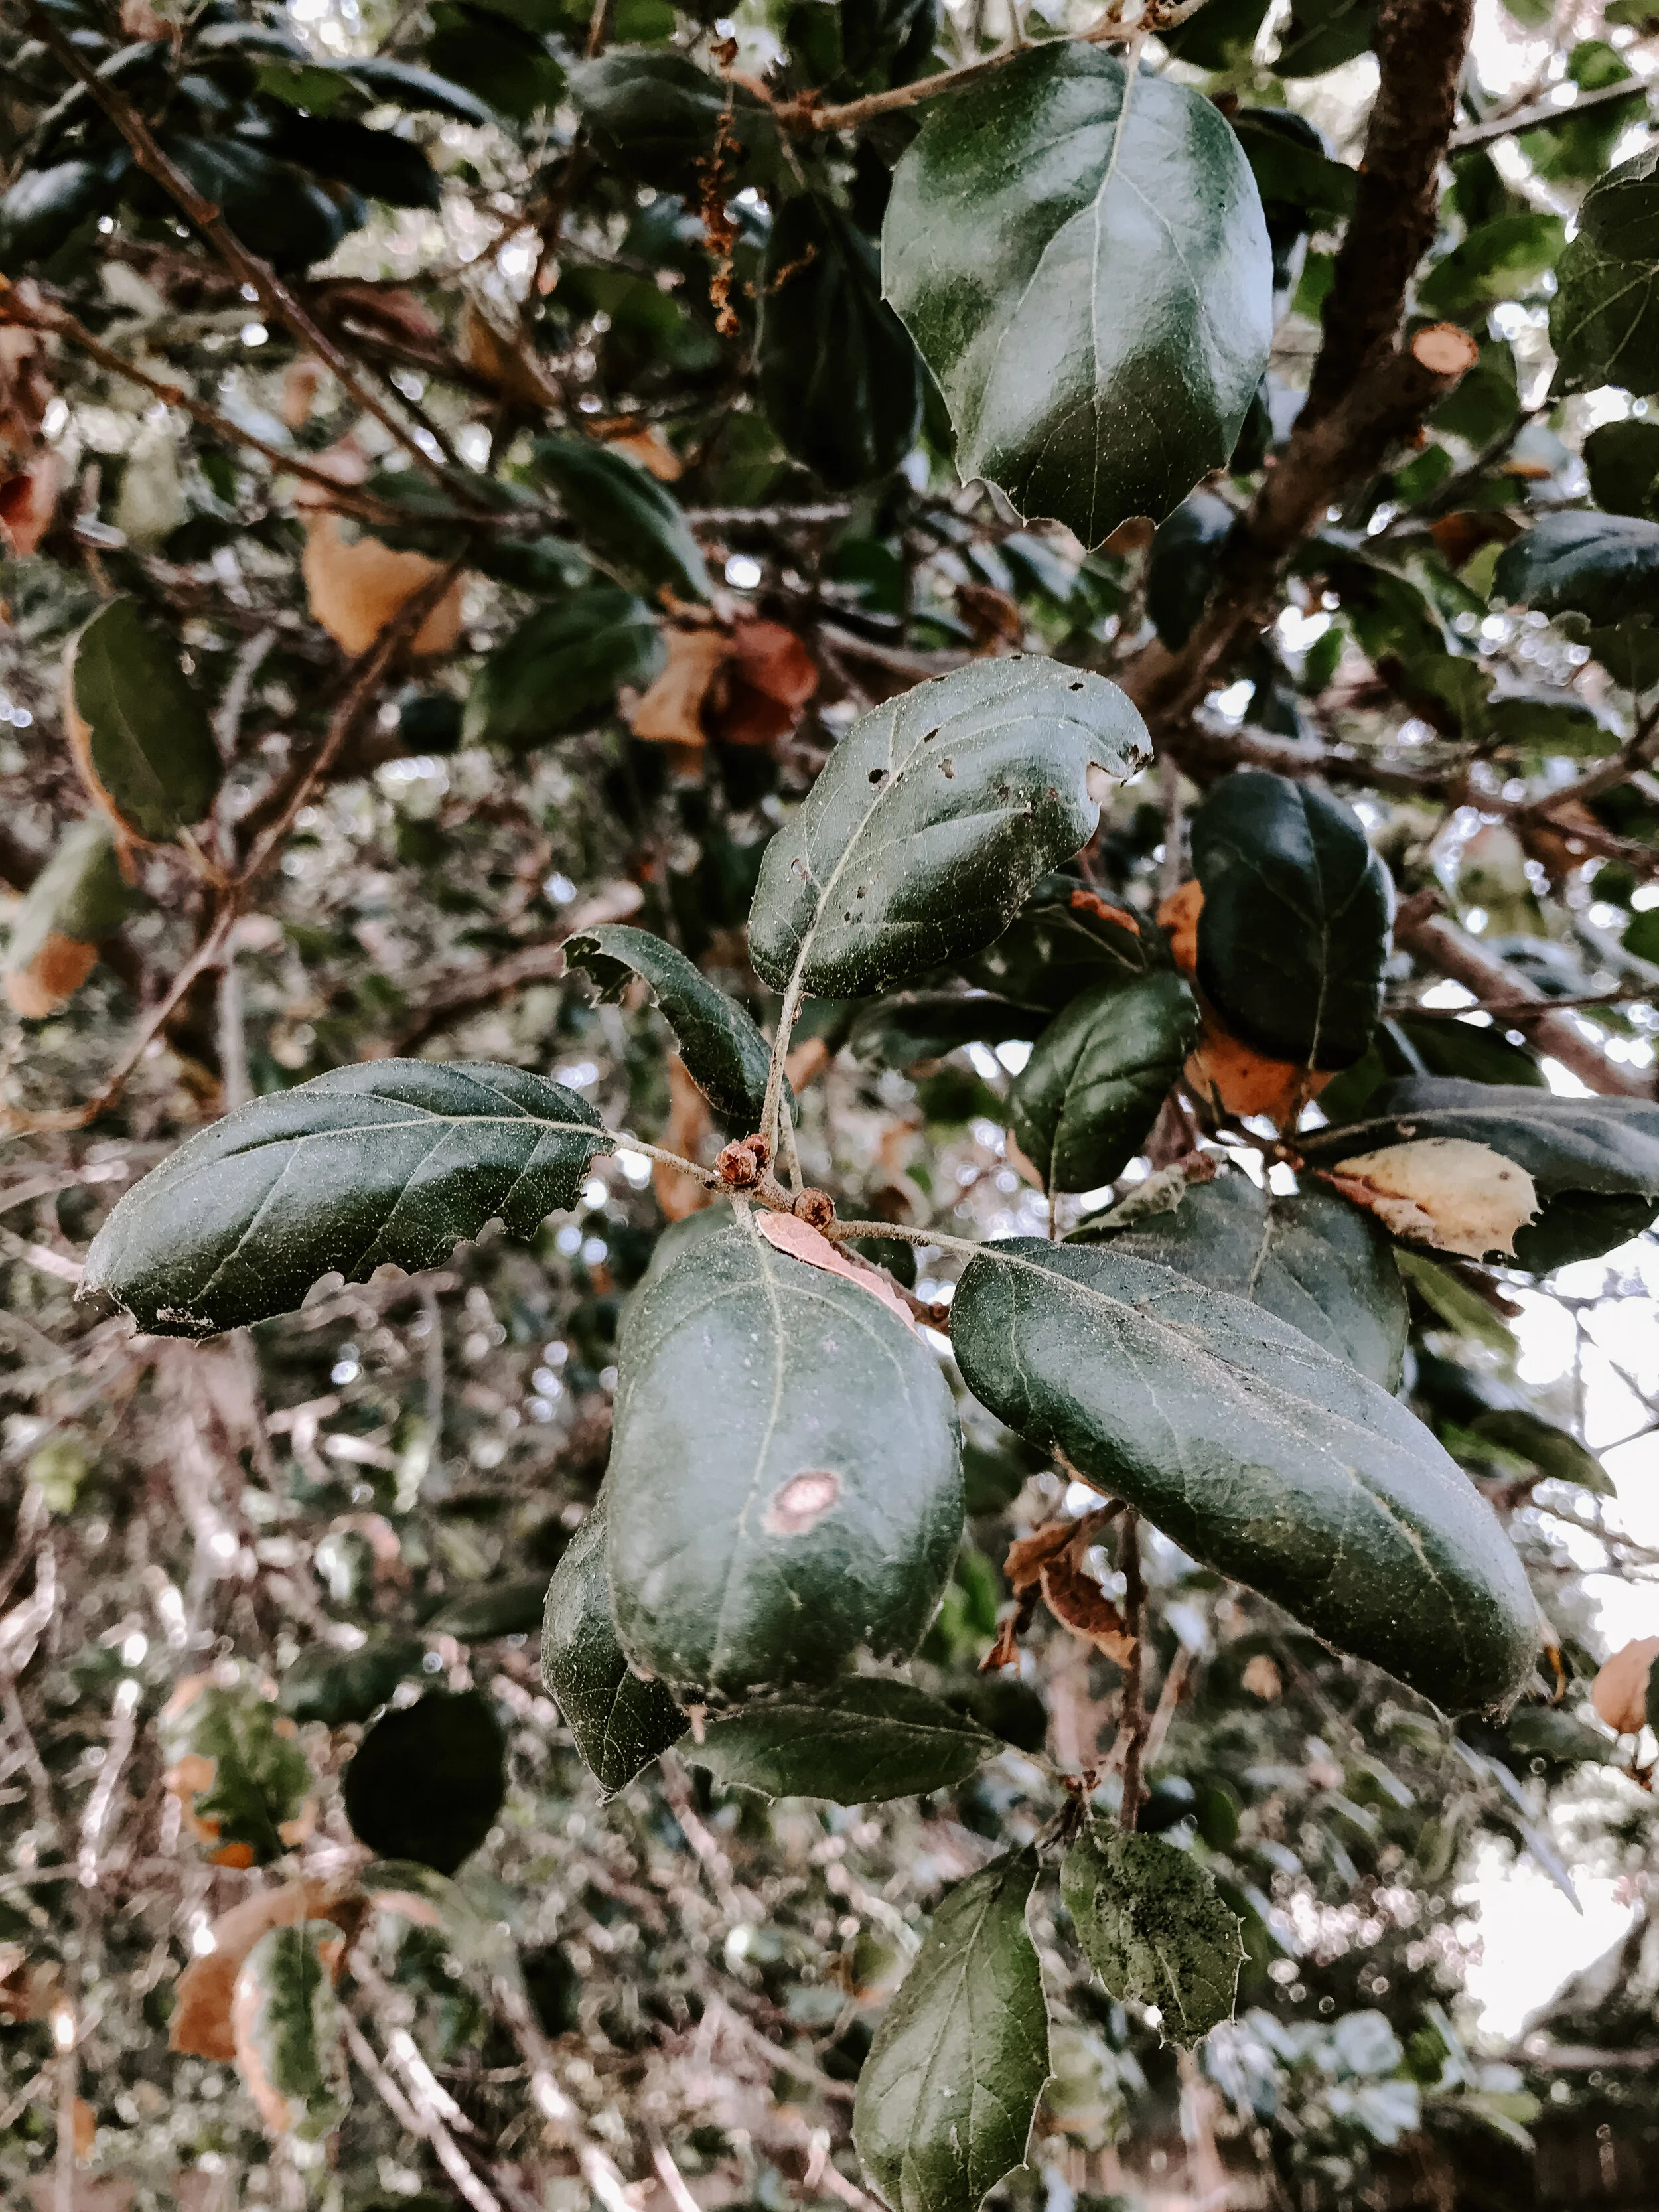
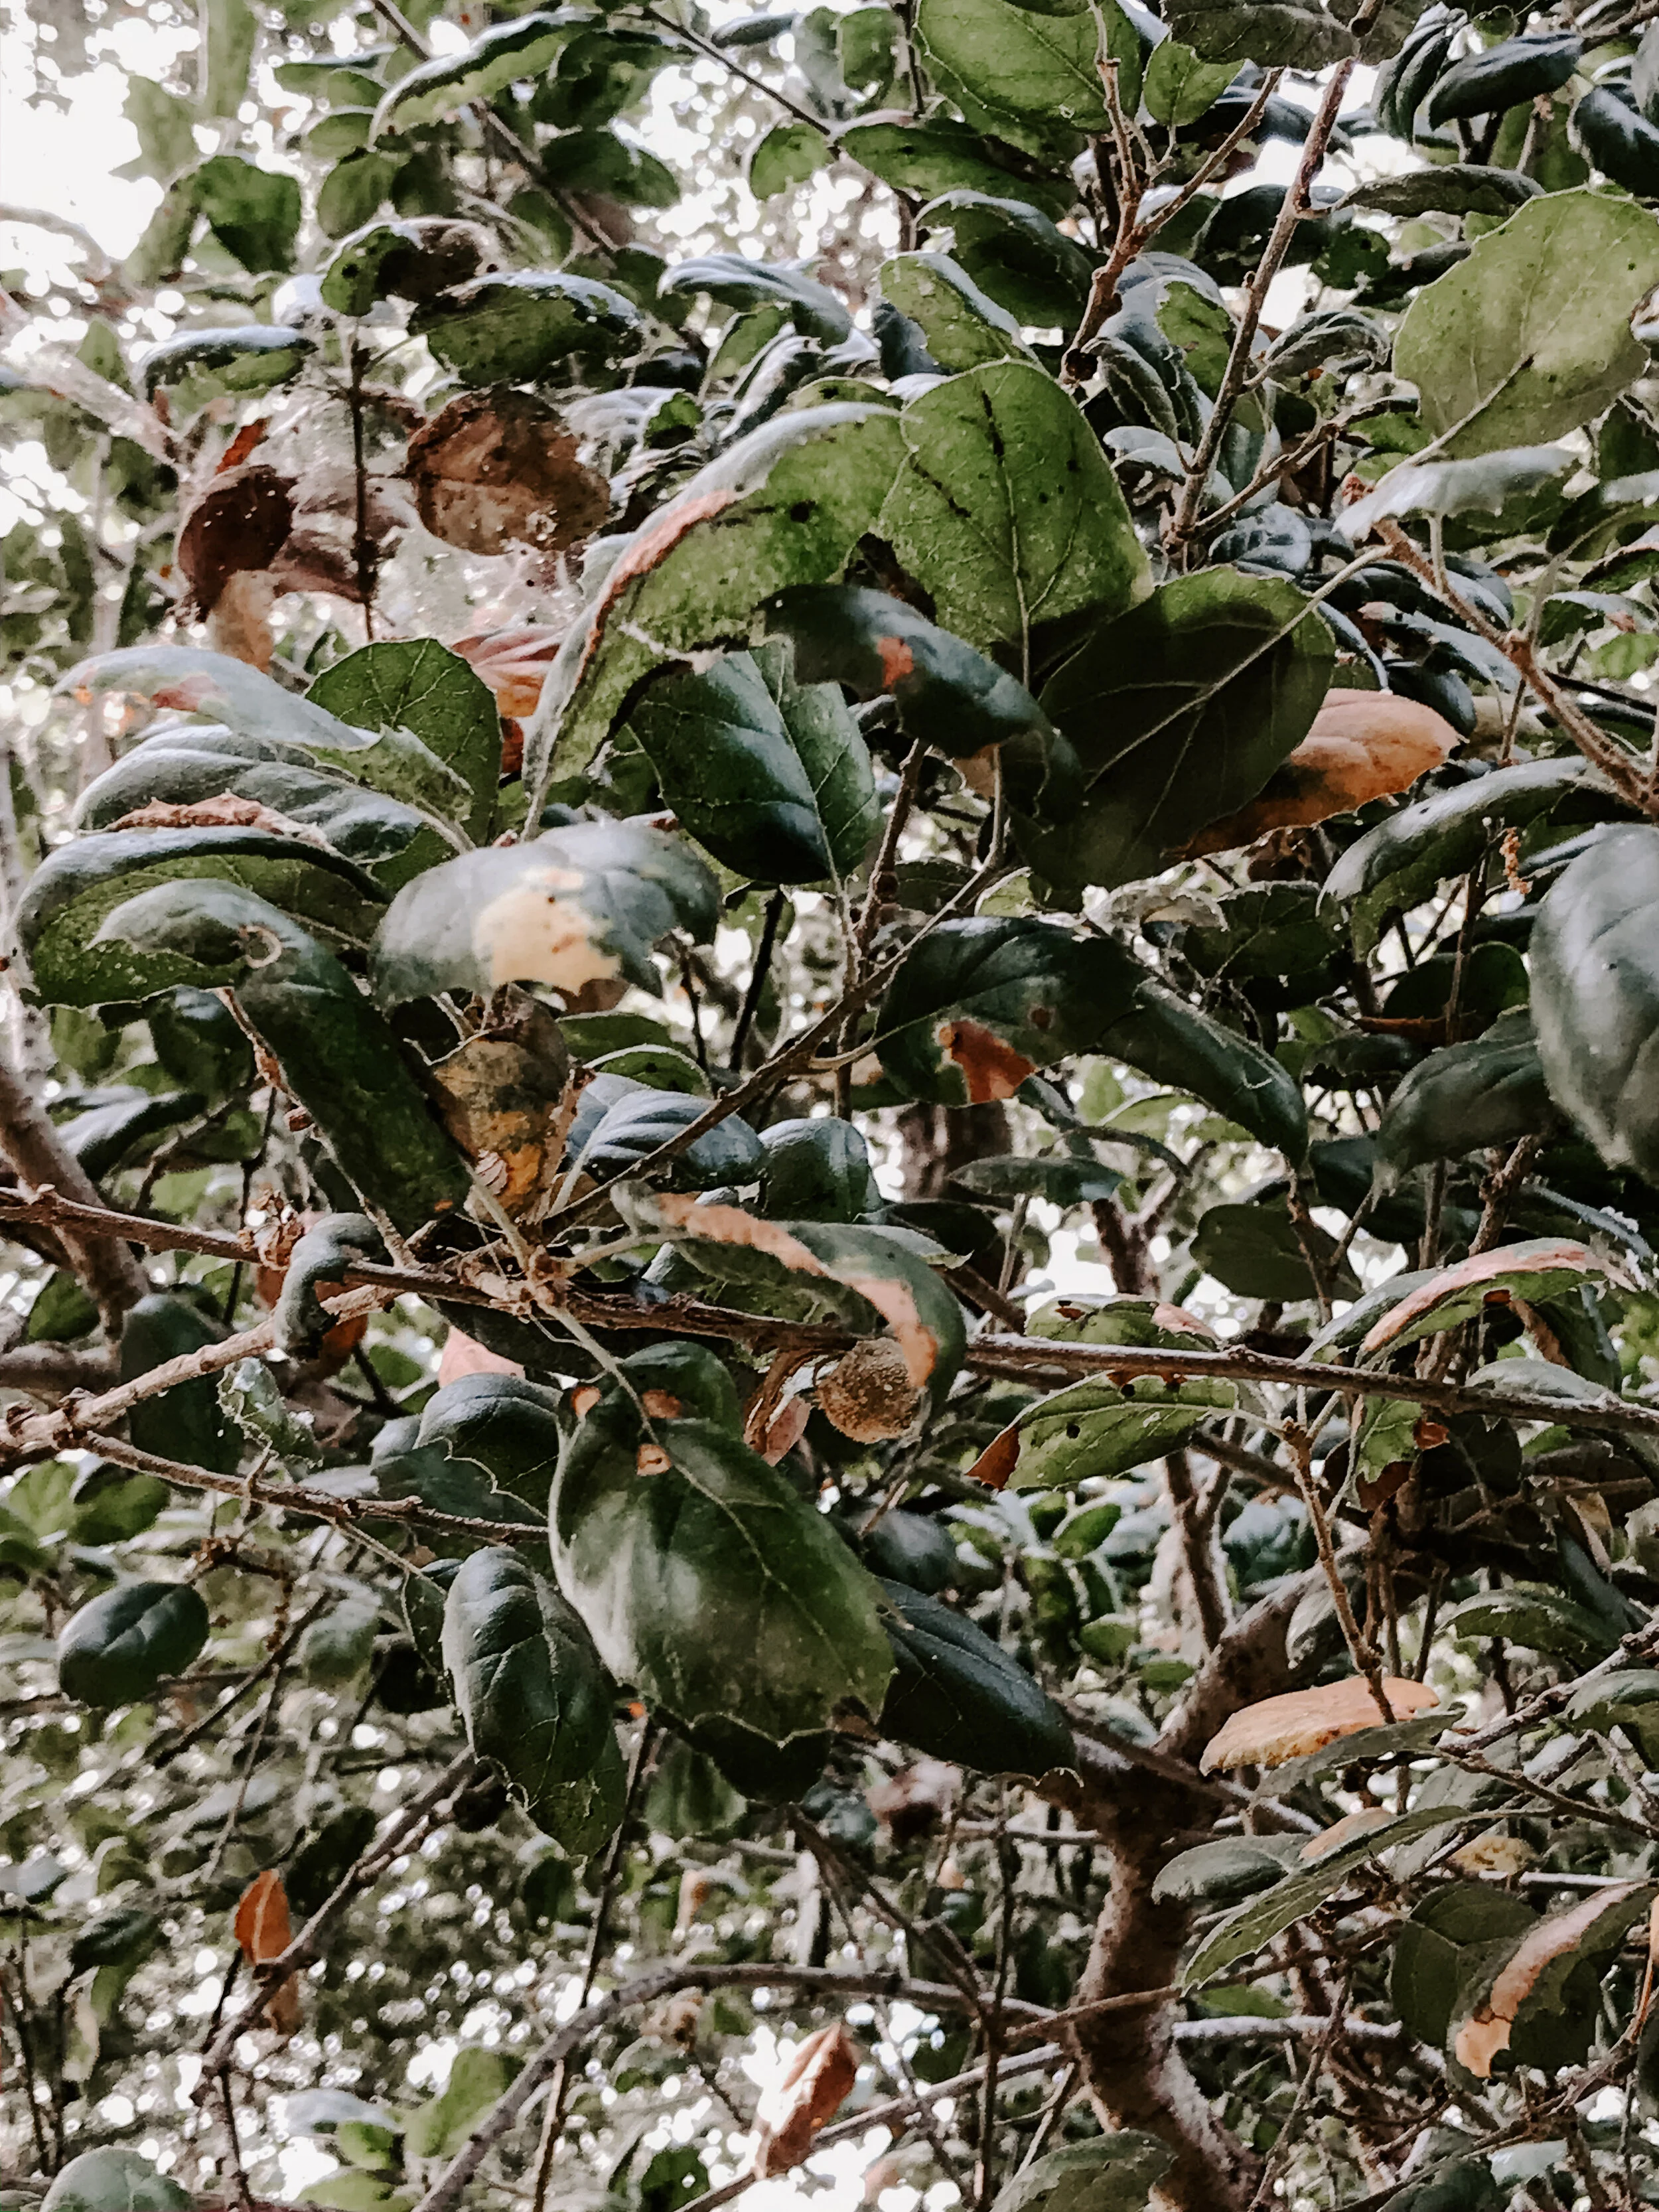
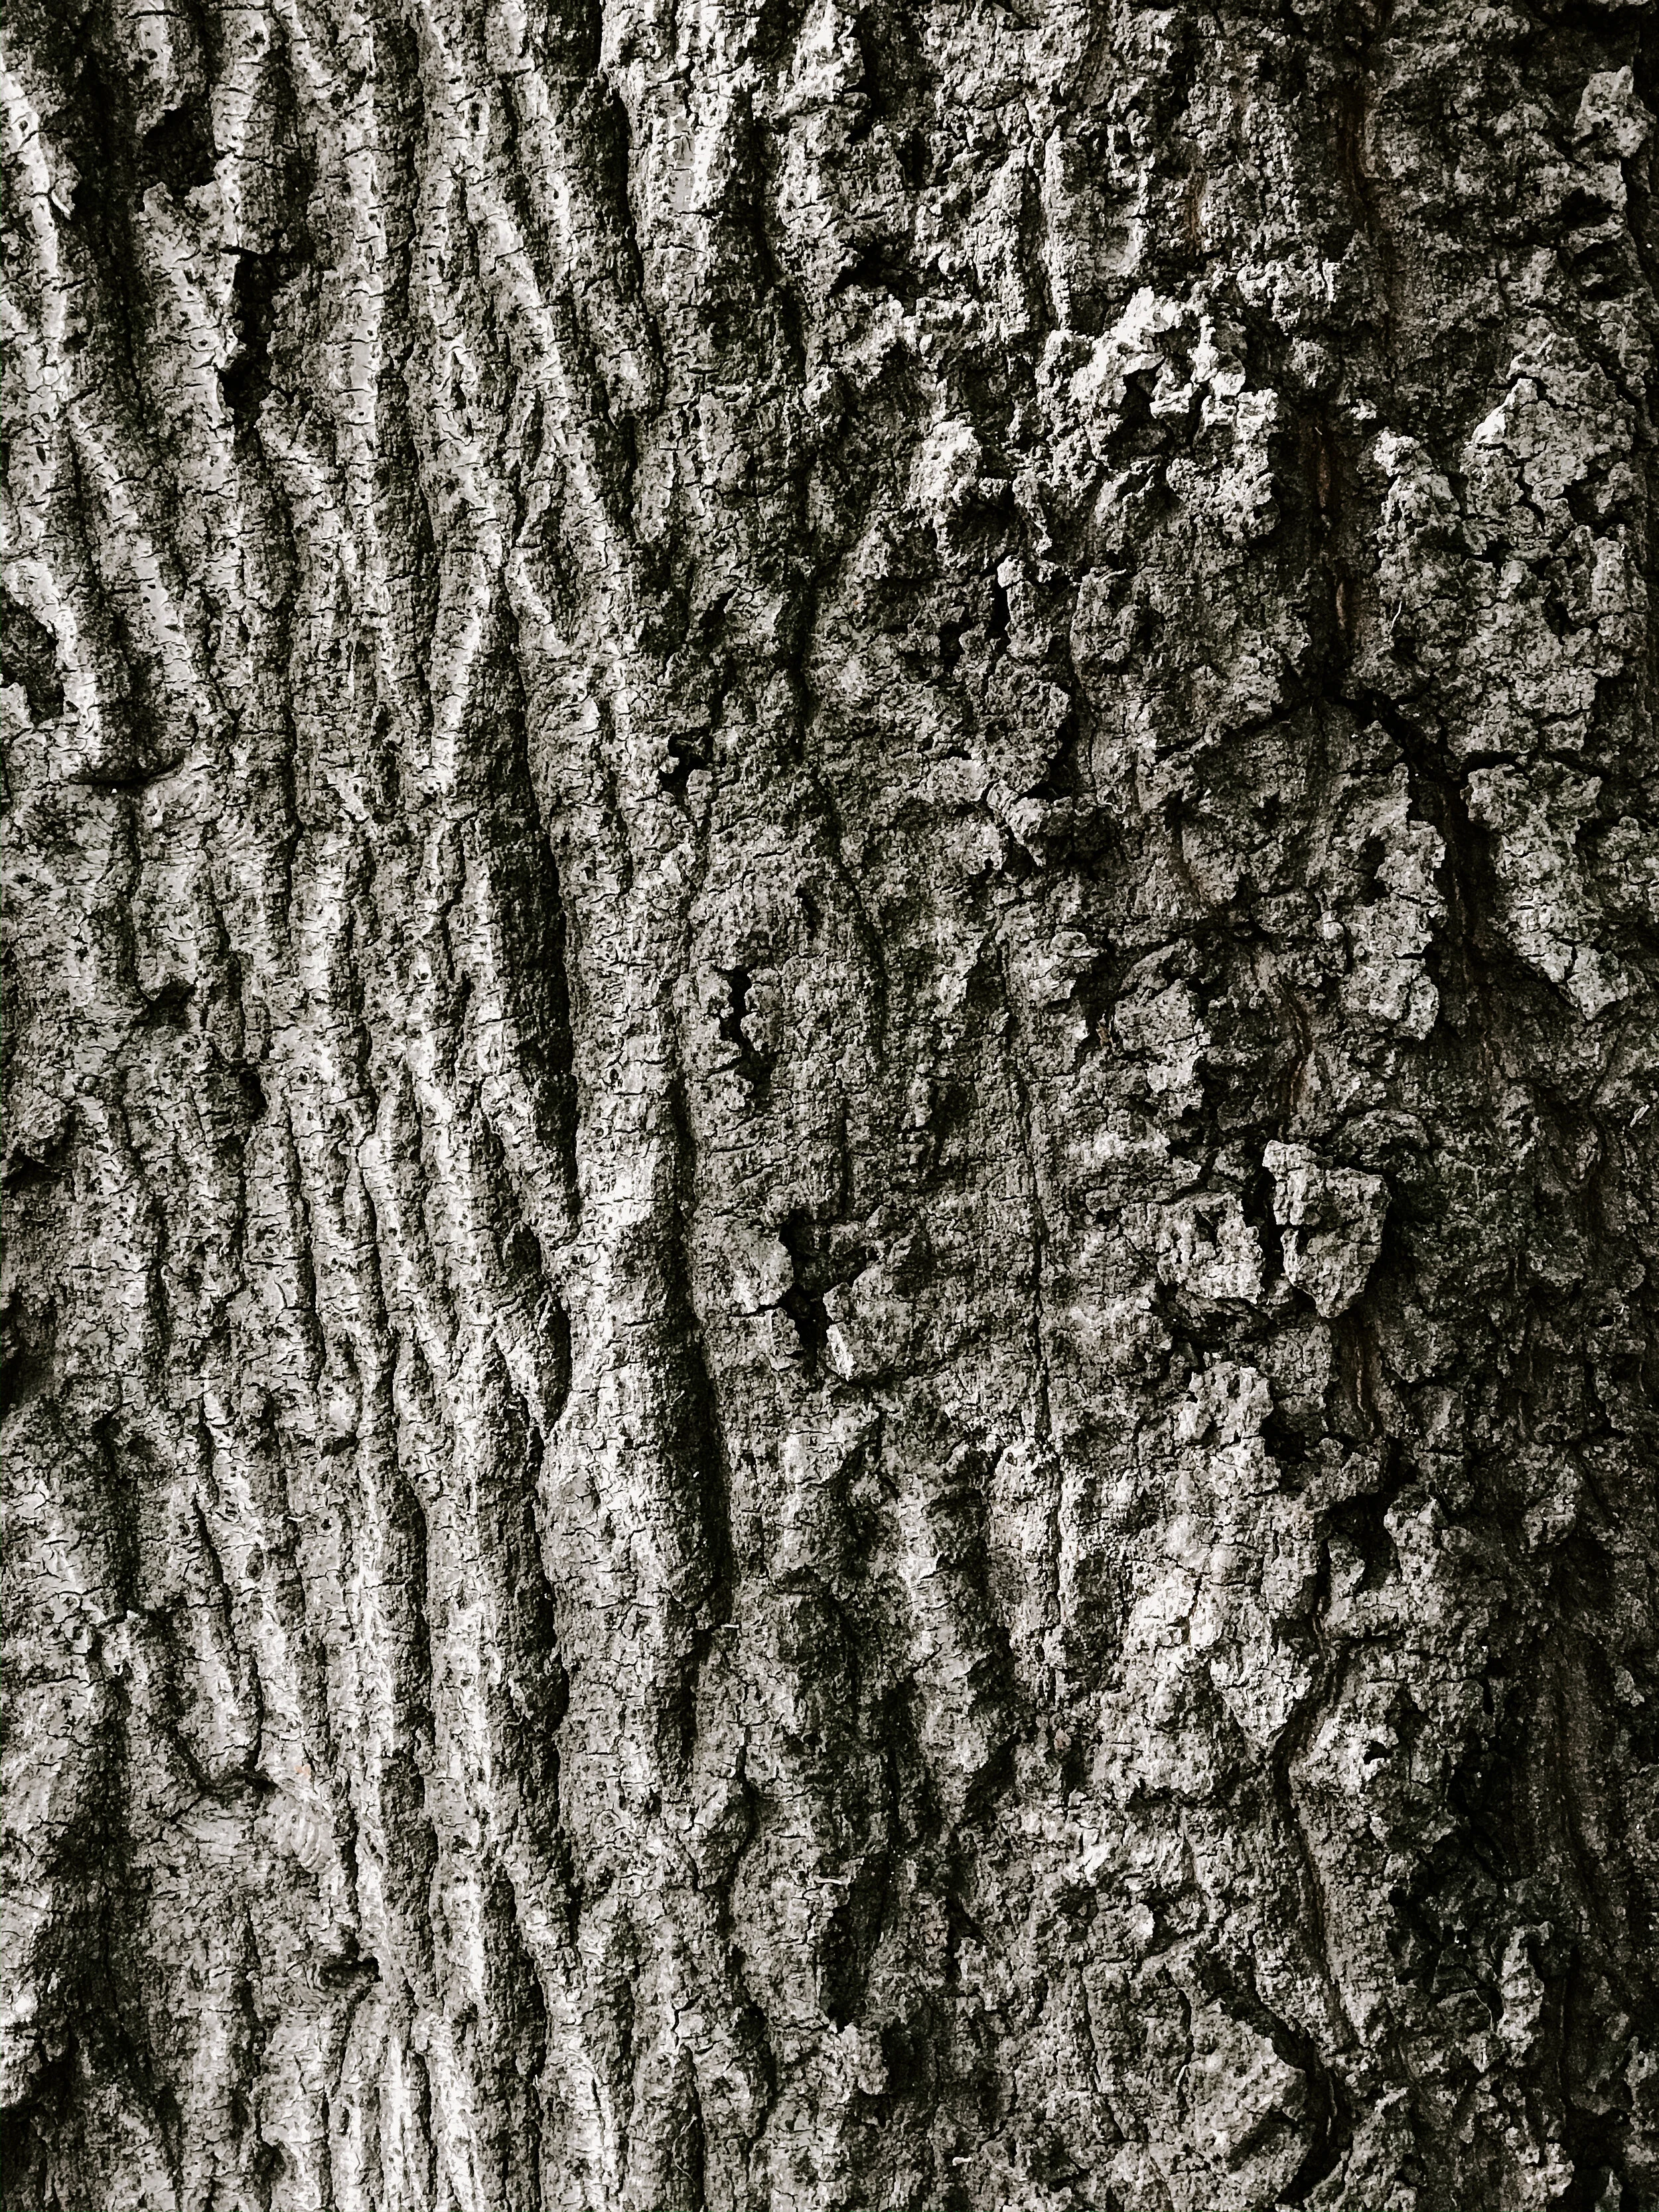
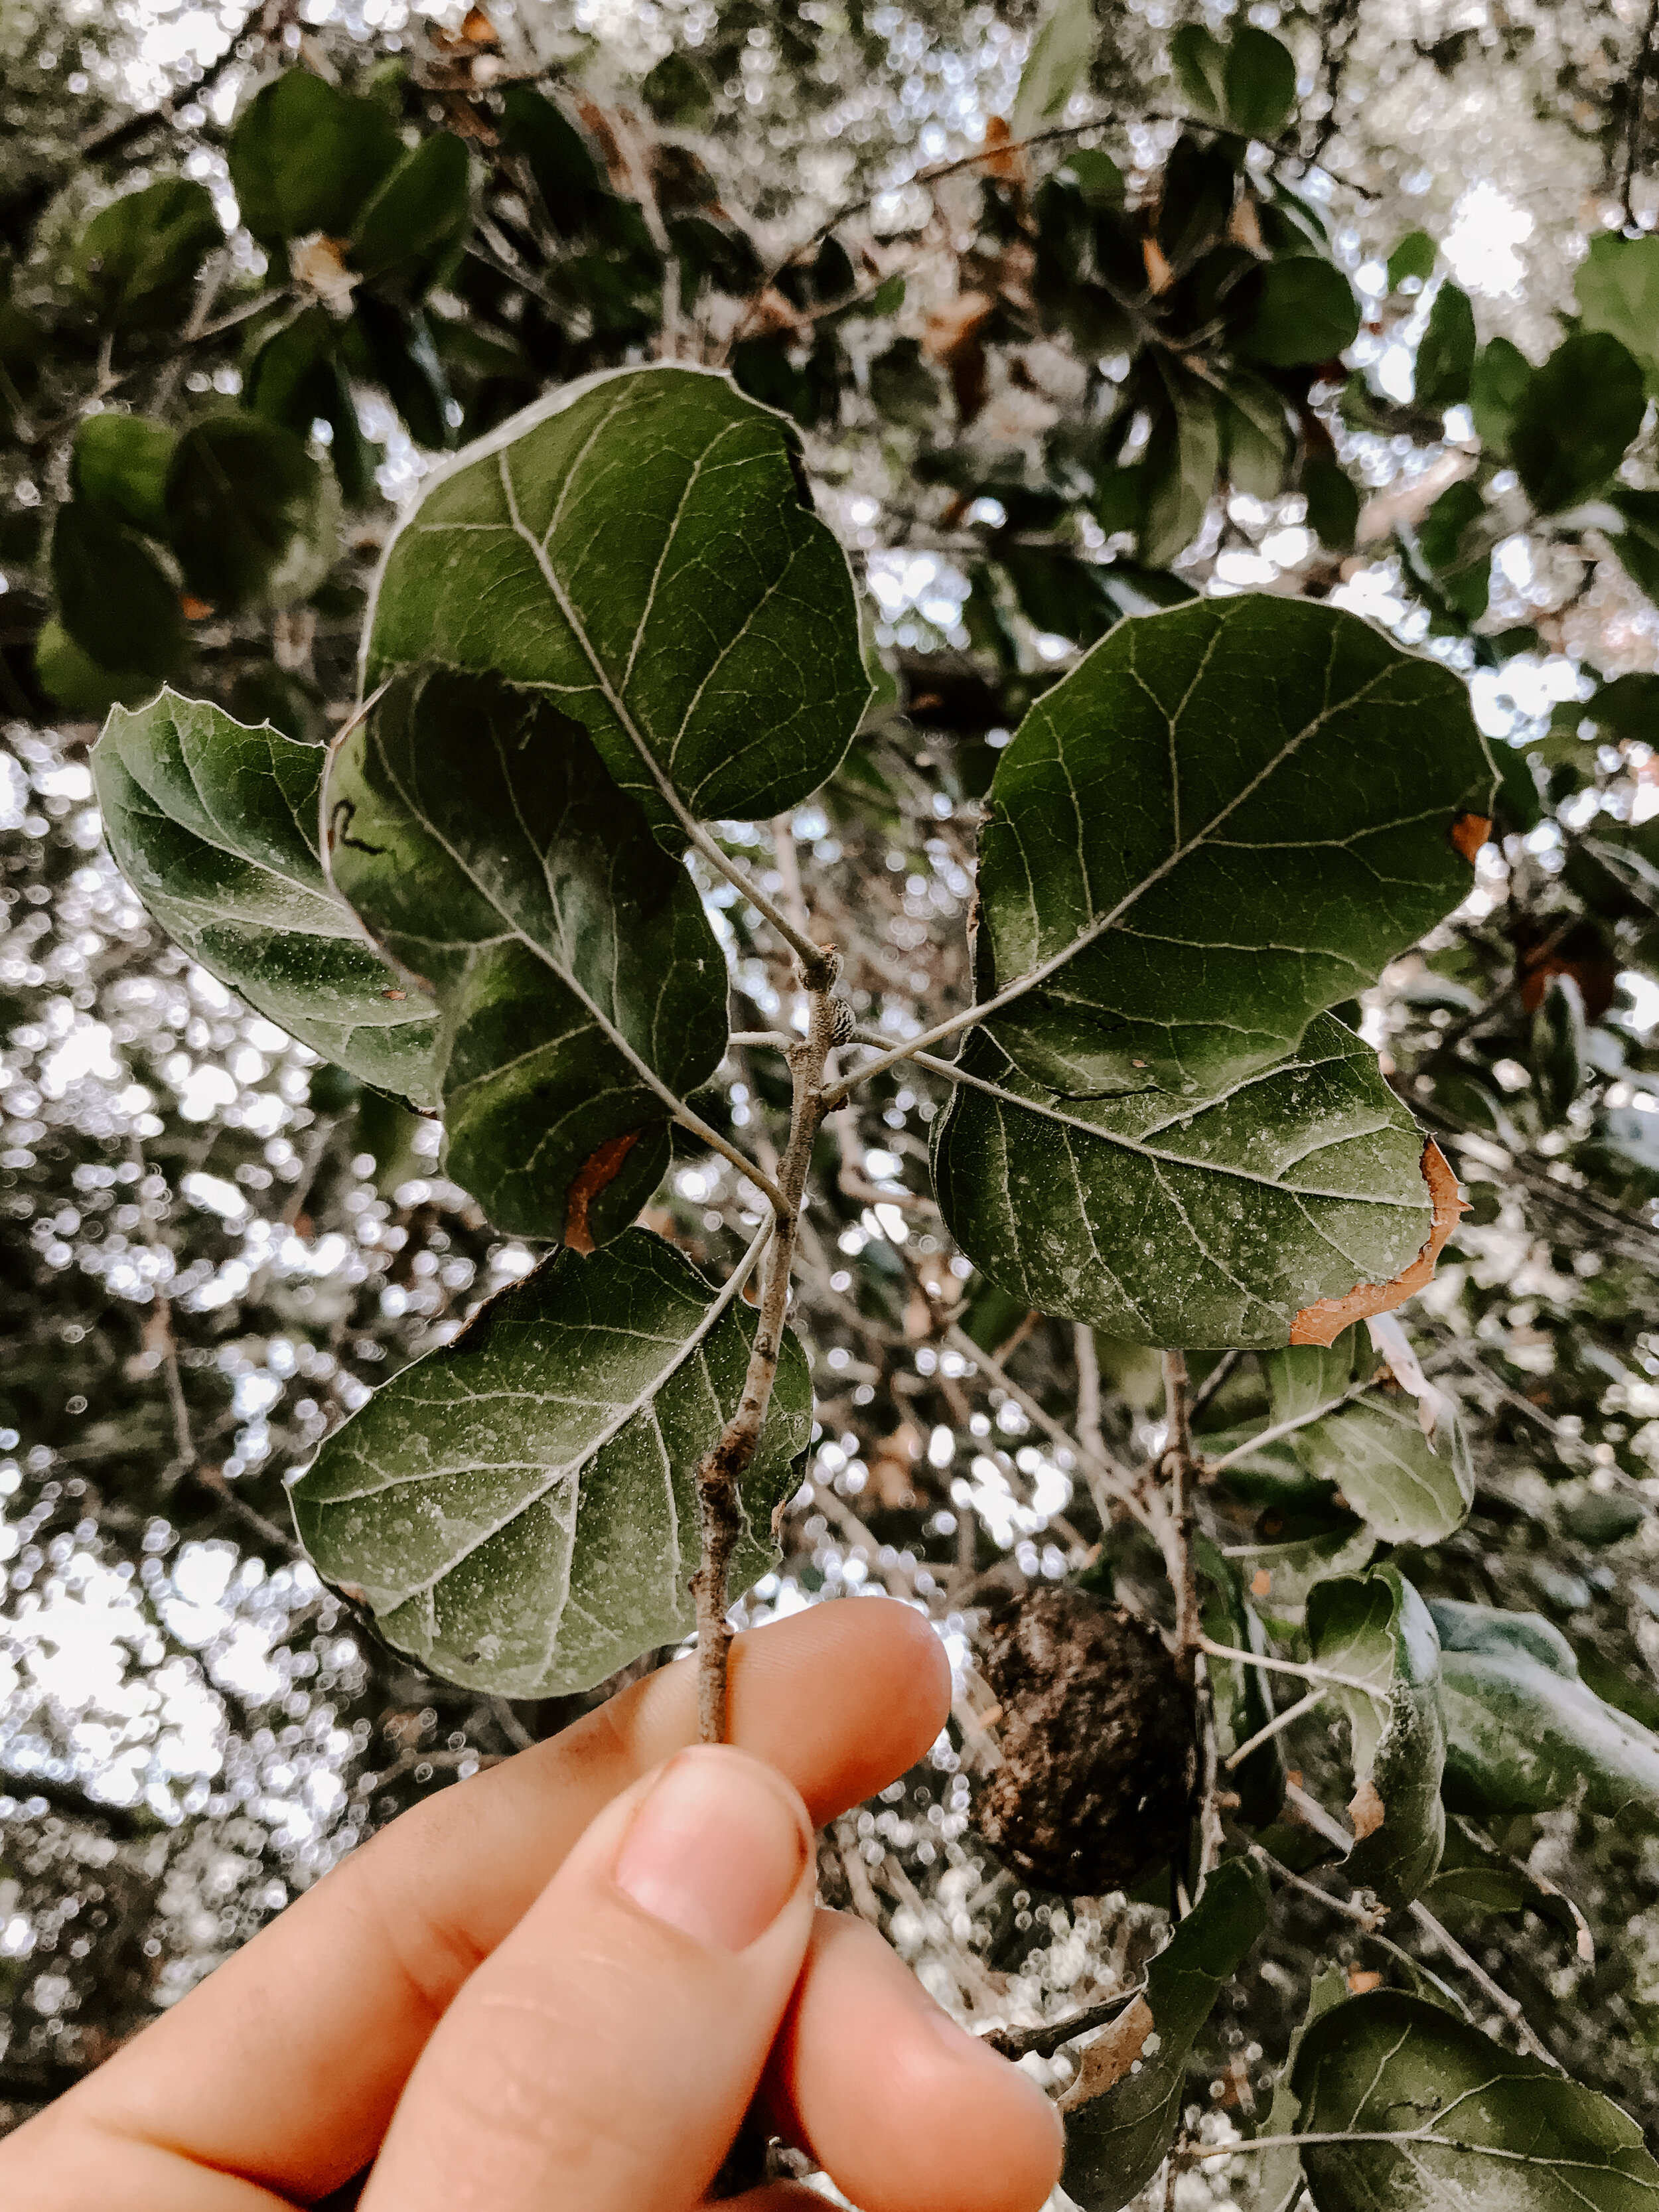
Acorns were gathered from the end of the summer up to December. Once collected, acorns could then be stored and could last up to a year.
To prepare the acorns for consumption, native people would grind the seeds into a milled power. A morter and metate was used to break up the acorn seeds. Tannins were then leached out to improve the taste of the acorns. Once reduced to a flour, the acorn meal could be mixed with water to make a bread or cake or an acorn gruel. This acorn powder was sometimes toasted and brewed with water to serve as a form of coffee.
Live oak was considered the primary food source of the Kumeyaay and the Cahuilla. They ground acorns into a fine meal for bread-making. The Cahuilla also boiled acorn meal with water to produce an edible mush.
When Cahuilla people were out hunting small game, they would use live oak acorns for trap bait.
Luiseno people also gathered acorns extensively. They stored acorns in primitive granaries for long term use.
The Mahuna people used the plant as a hemostat, to address newborns and bleeding navels.
The Kumeyaay made a decoction from the chipped bark of live oak. This preparation was then used as an antiseptic, for cleaning sores.
PREPERATION
To separate acorns dump them into water and remove the ones that float. Take the ones that sink and dry them in a frying pan on the stove or in the oven at 150F or less for 15 minutes, preheated. Or put them in the sun for a few days. You don’t want to cook them yet, just dry them off and shrink the nut inside making them a little easier to shell. The yield, not counting bad acorns, is 2:1. two gallons of usable acorns in the shell will yield a gallon of nut meat. We must leach out the tannic acid it can damage our kidneys, Most unleached acorns are too bitter to eat without leaching.
Soaking in cold water, minimal energy and the starch is not cooked
There are three general ways to leach acorns. The least common way is to bury them whole in a river bank for a year, which turns them black and sweet, good for roasting. The other method is to grind them into a course meal and soak several days or weeks (depending on the species) in many changes of cold water until the water runs clear. These will be slightly bland but good for making acorn flour. (Sometimes the leached acorns will be dark but sweet afterwards.) The third way — boiling — is least preferred because if done wrong it will bind the tannins to the acorn and they will not lose their bitterness. Also, when you boil the acorns you also boil off the oil with the tannins, reducing their nutrition. That oil, however, is very nutritious. At this writing it is selling for about $10 an ounce. You can make it for far less. There is actually a fourth method of processing that requires lye but it is not commonly used nor have I tried it.
http://www.eattheweeds.com/acorns-the-inside-story/
Acorn Bread
2 cups acorn flour
2 cups cattail or white flour
3 teaspoons baking powder
1/3 cup maple syrup or sugar
1 egg
1/2 cup milk
3 tablespoons olive
Bake in pan for 30 minutes or until done at 400 degrees.
*A far more simple form of acorn bread is to make a thick acorn porridge out of cold processed acorn flour. Take a large tablespoon of the porridge and drop it into cold water. This causes the porridge to contract. Take the lump out of the water and dry.
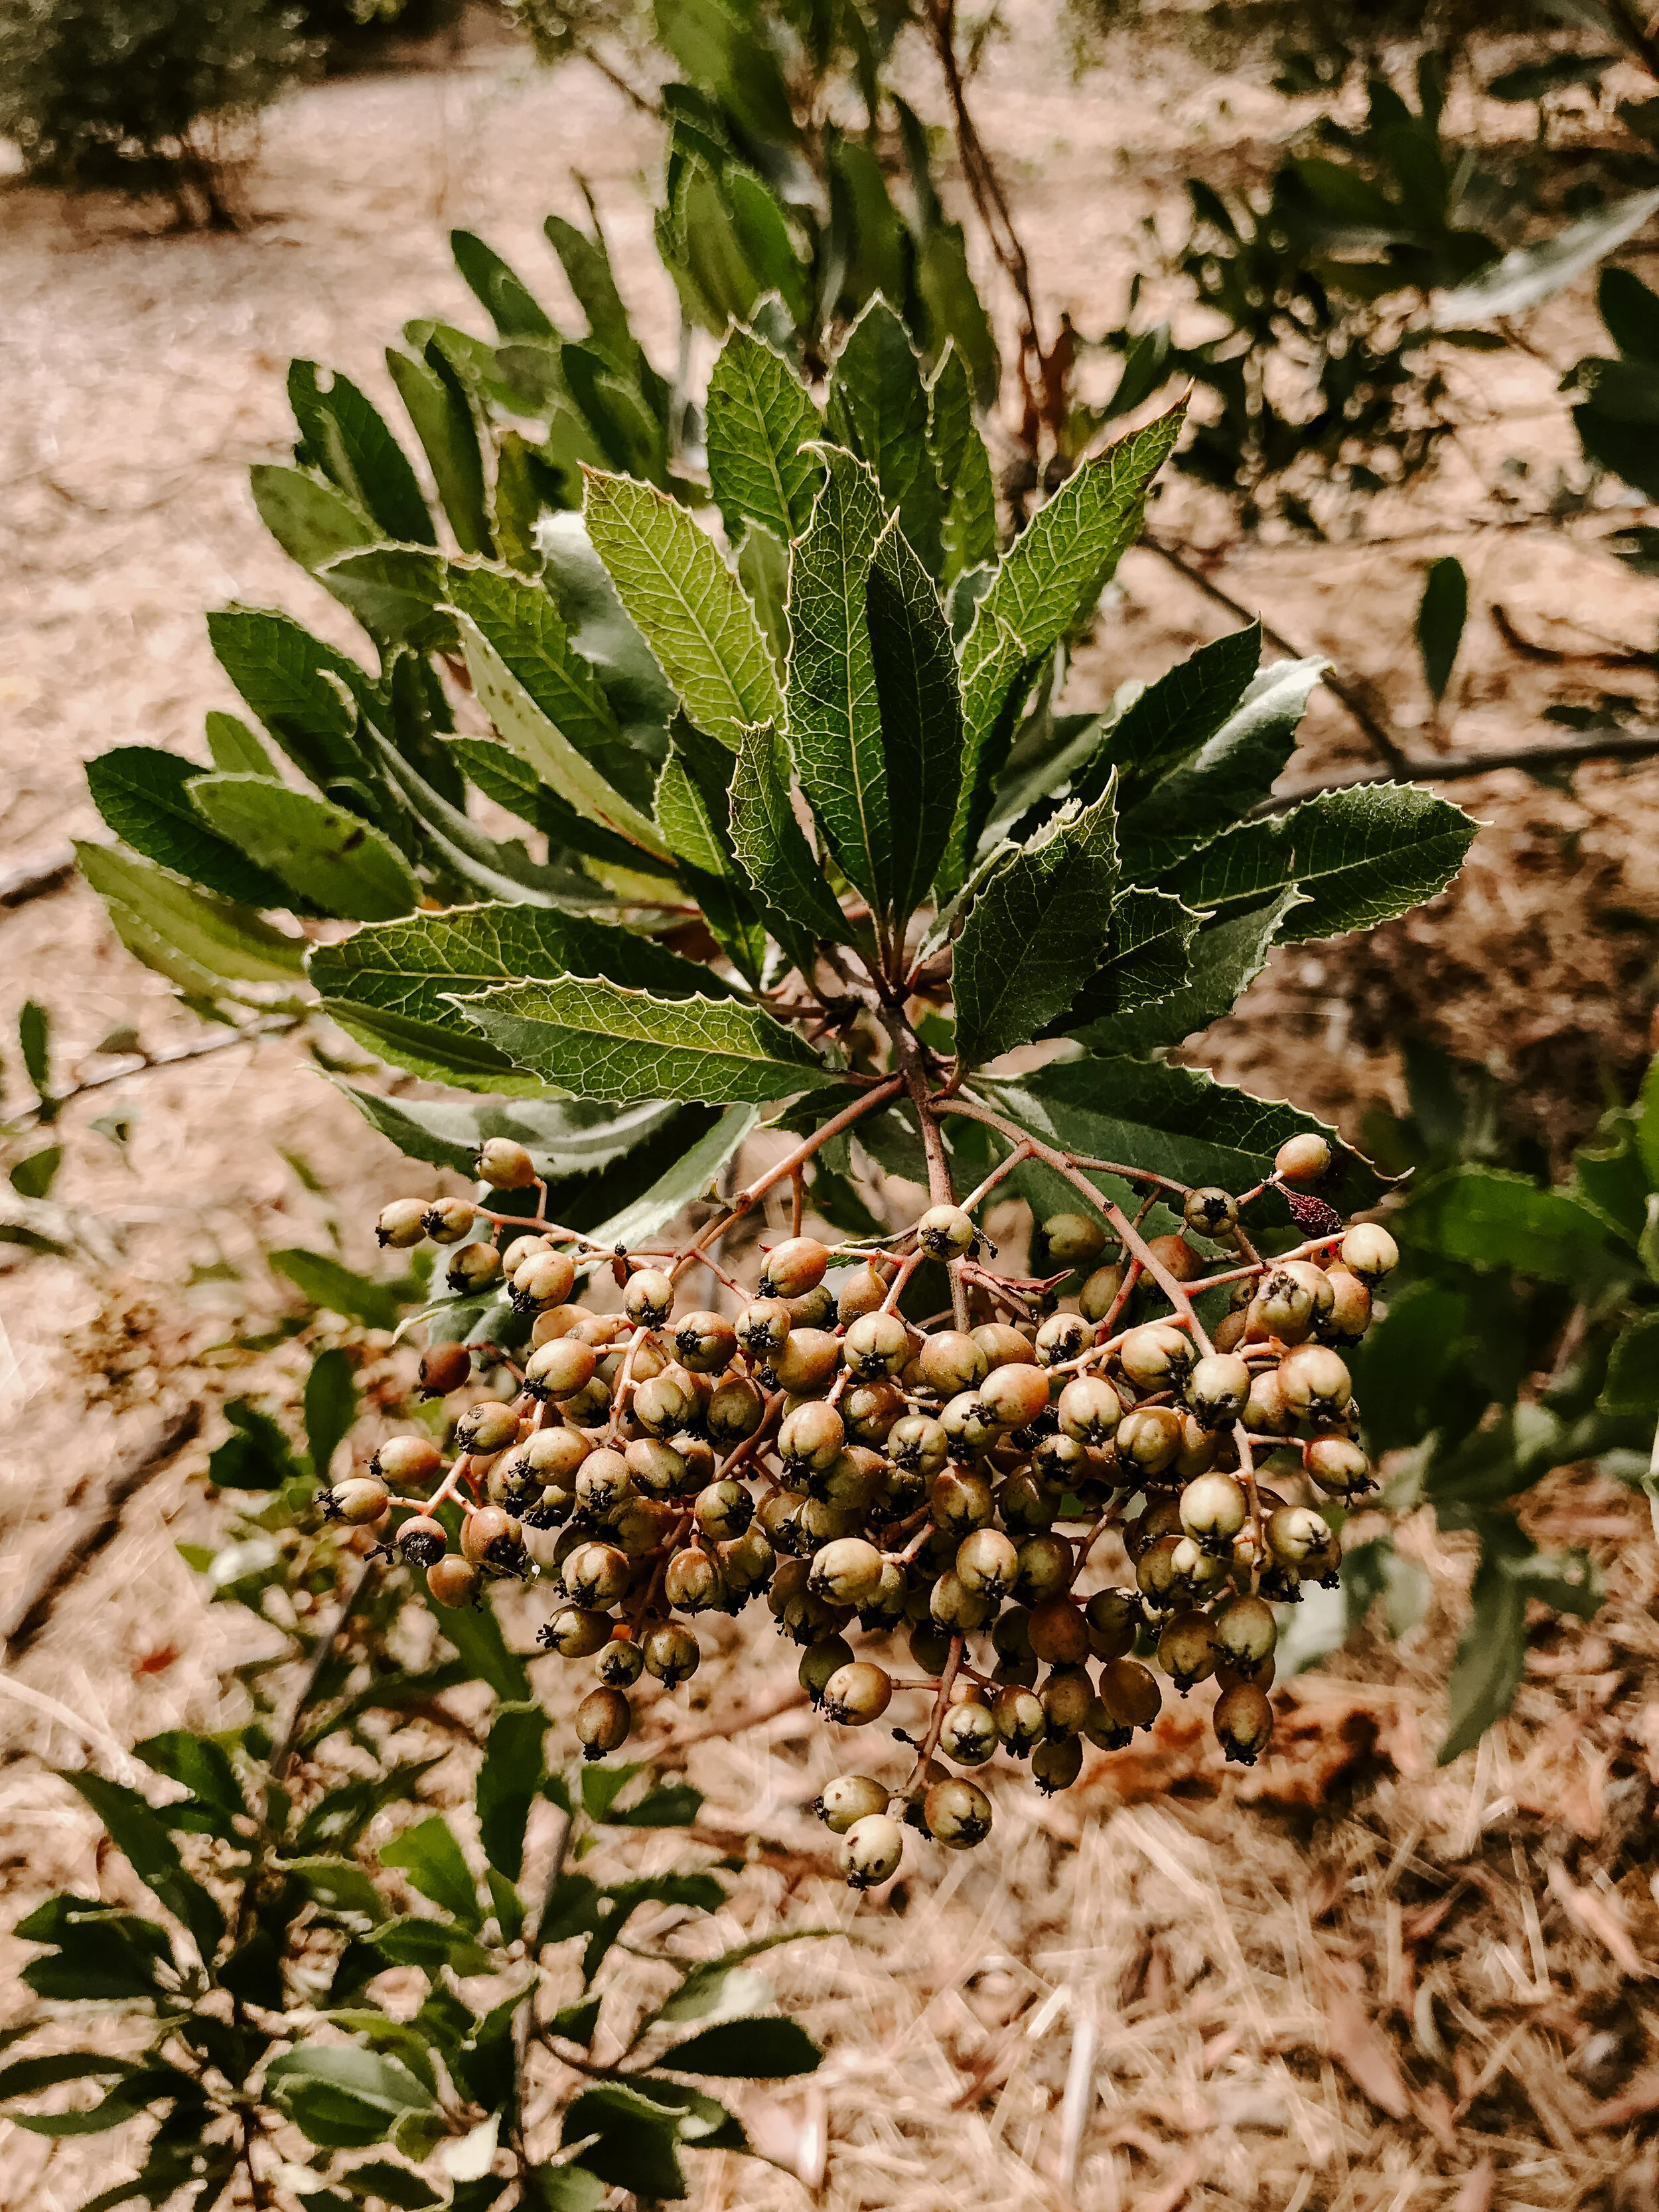
The toyon is a shrubby tree that is native to California and Baja, Mexico. This prominent member of the Rose family (Rosaceae) can be found in the woodland, chaparral and coastal scrub plant biomes.
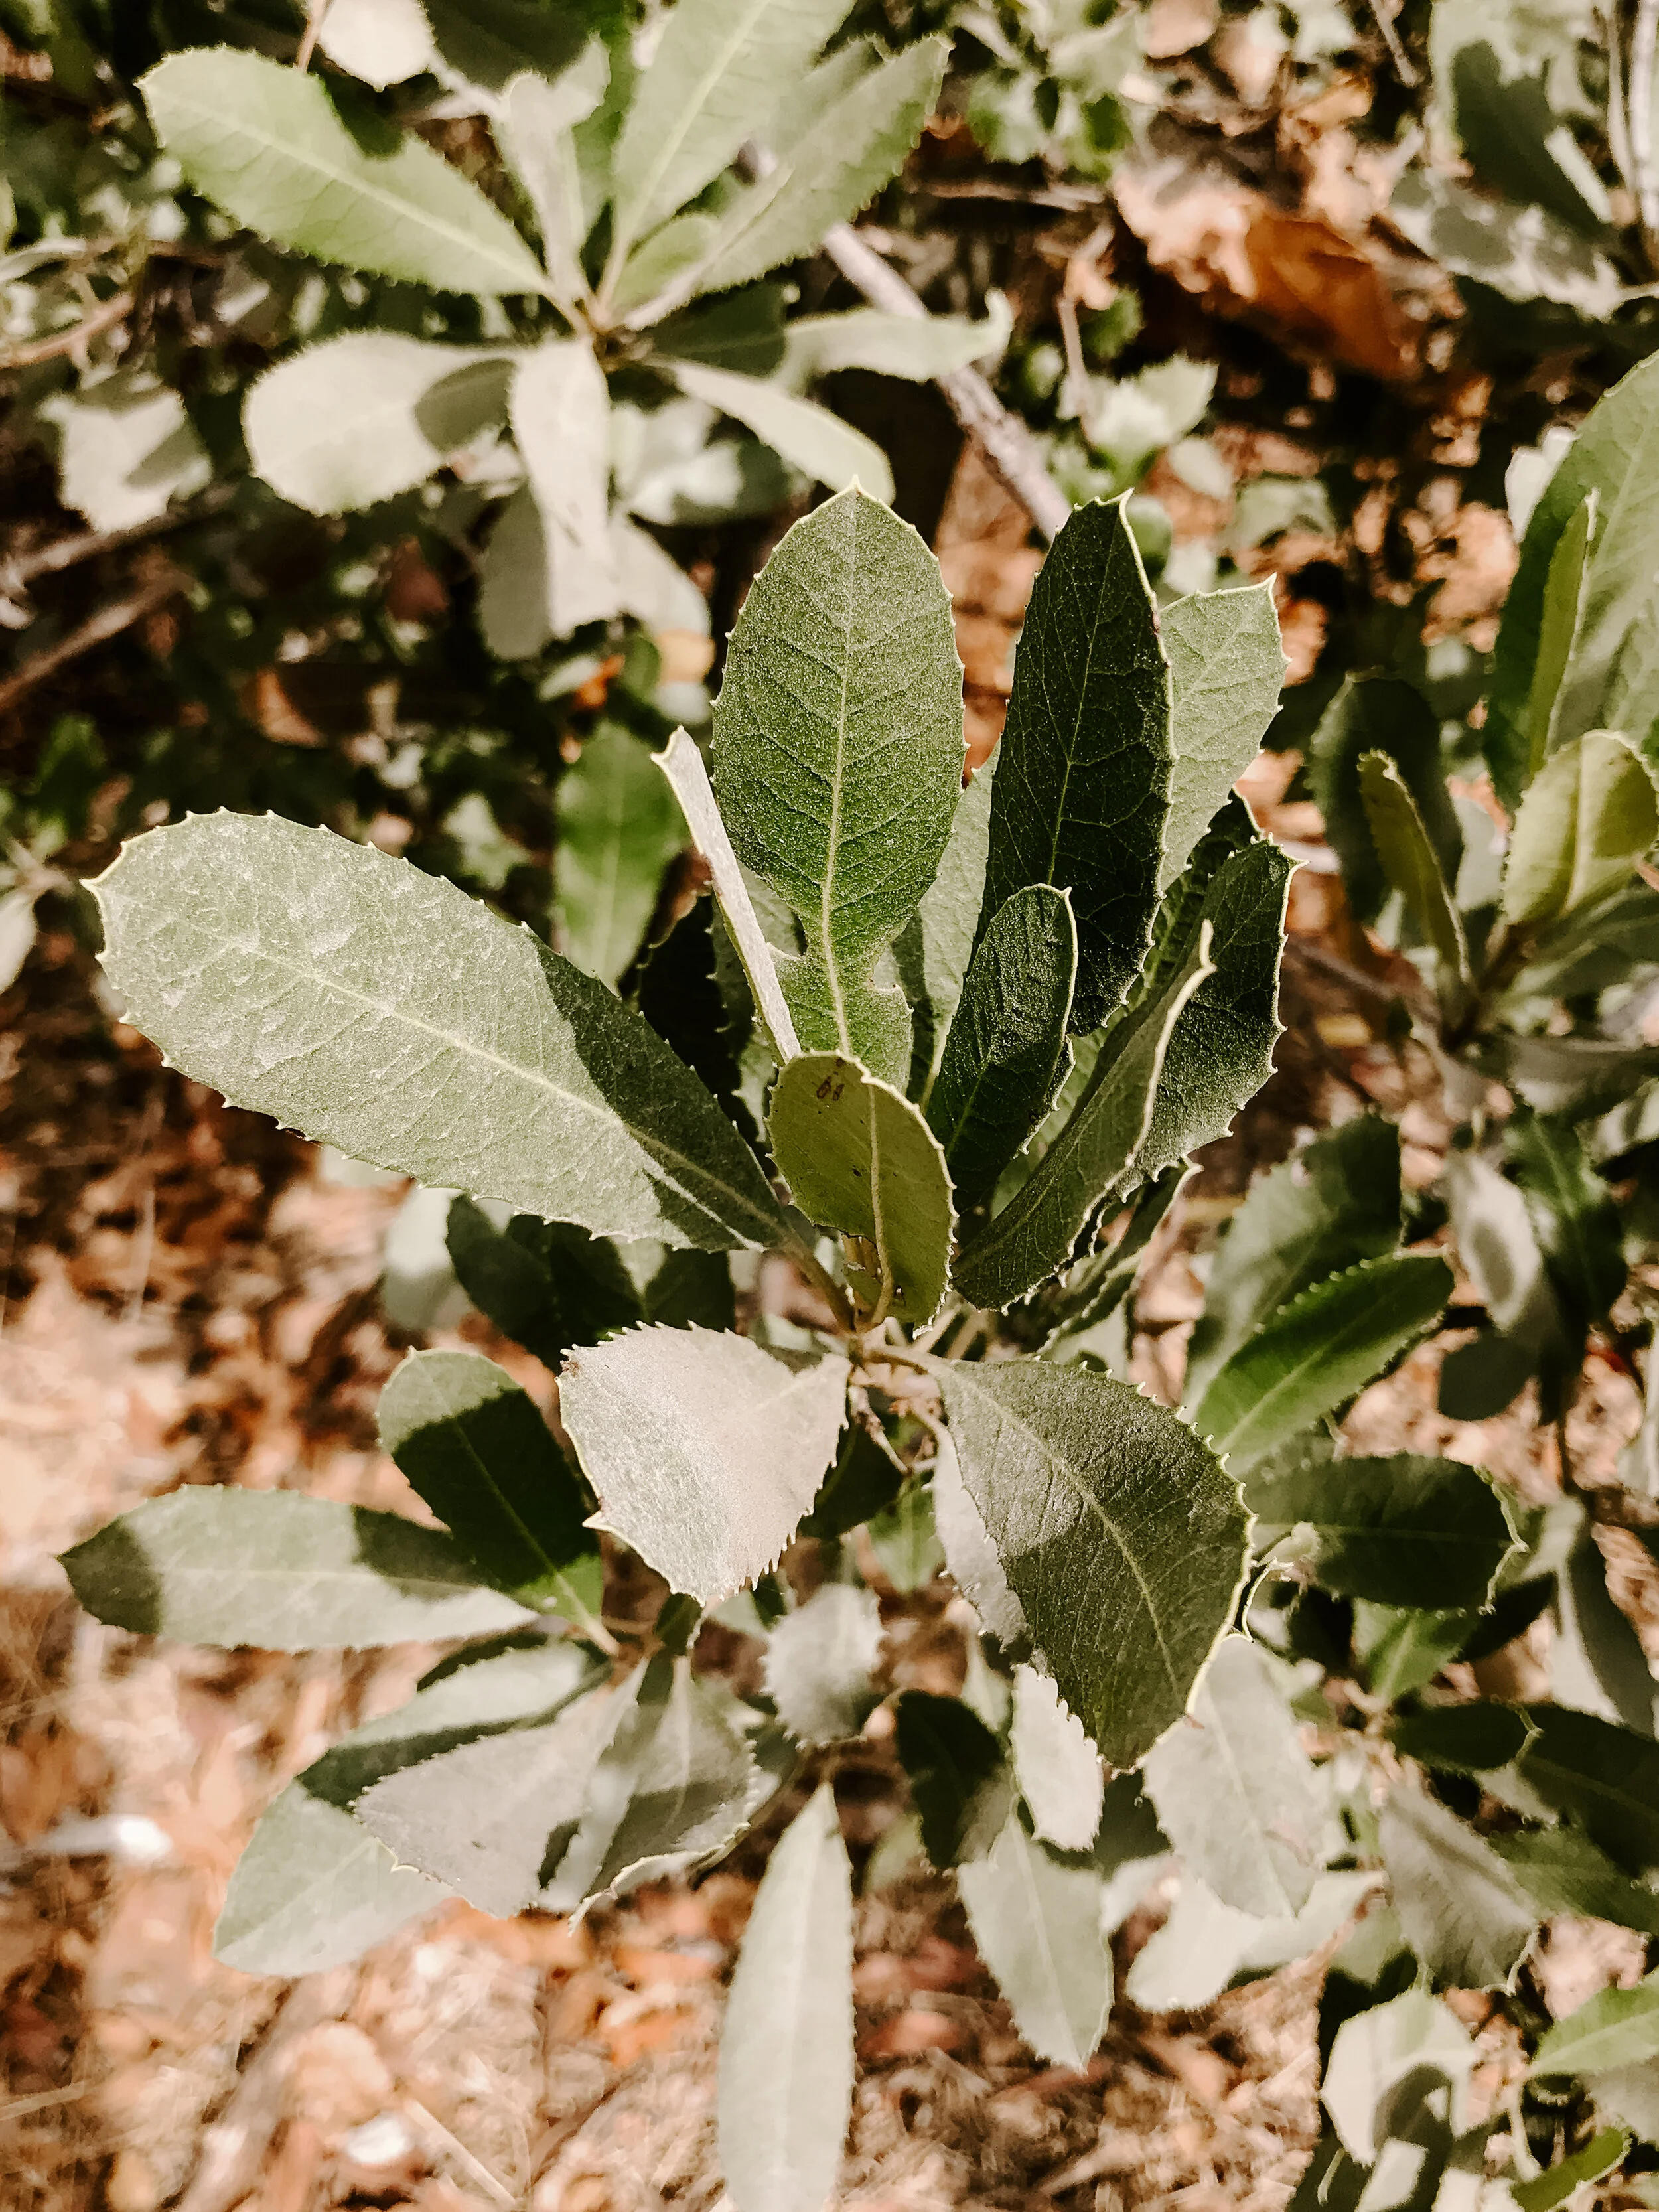
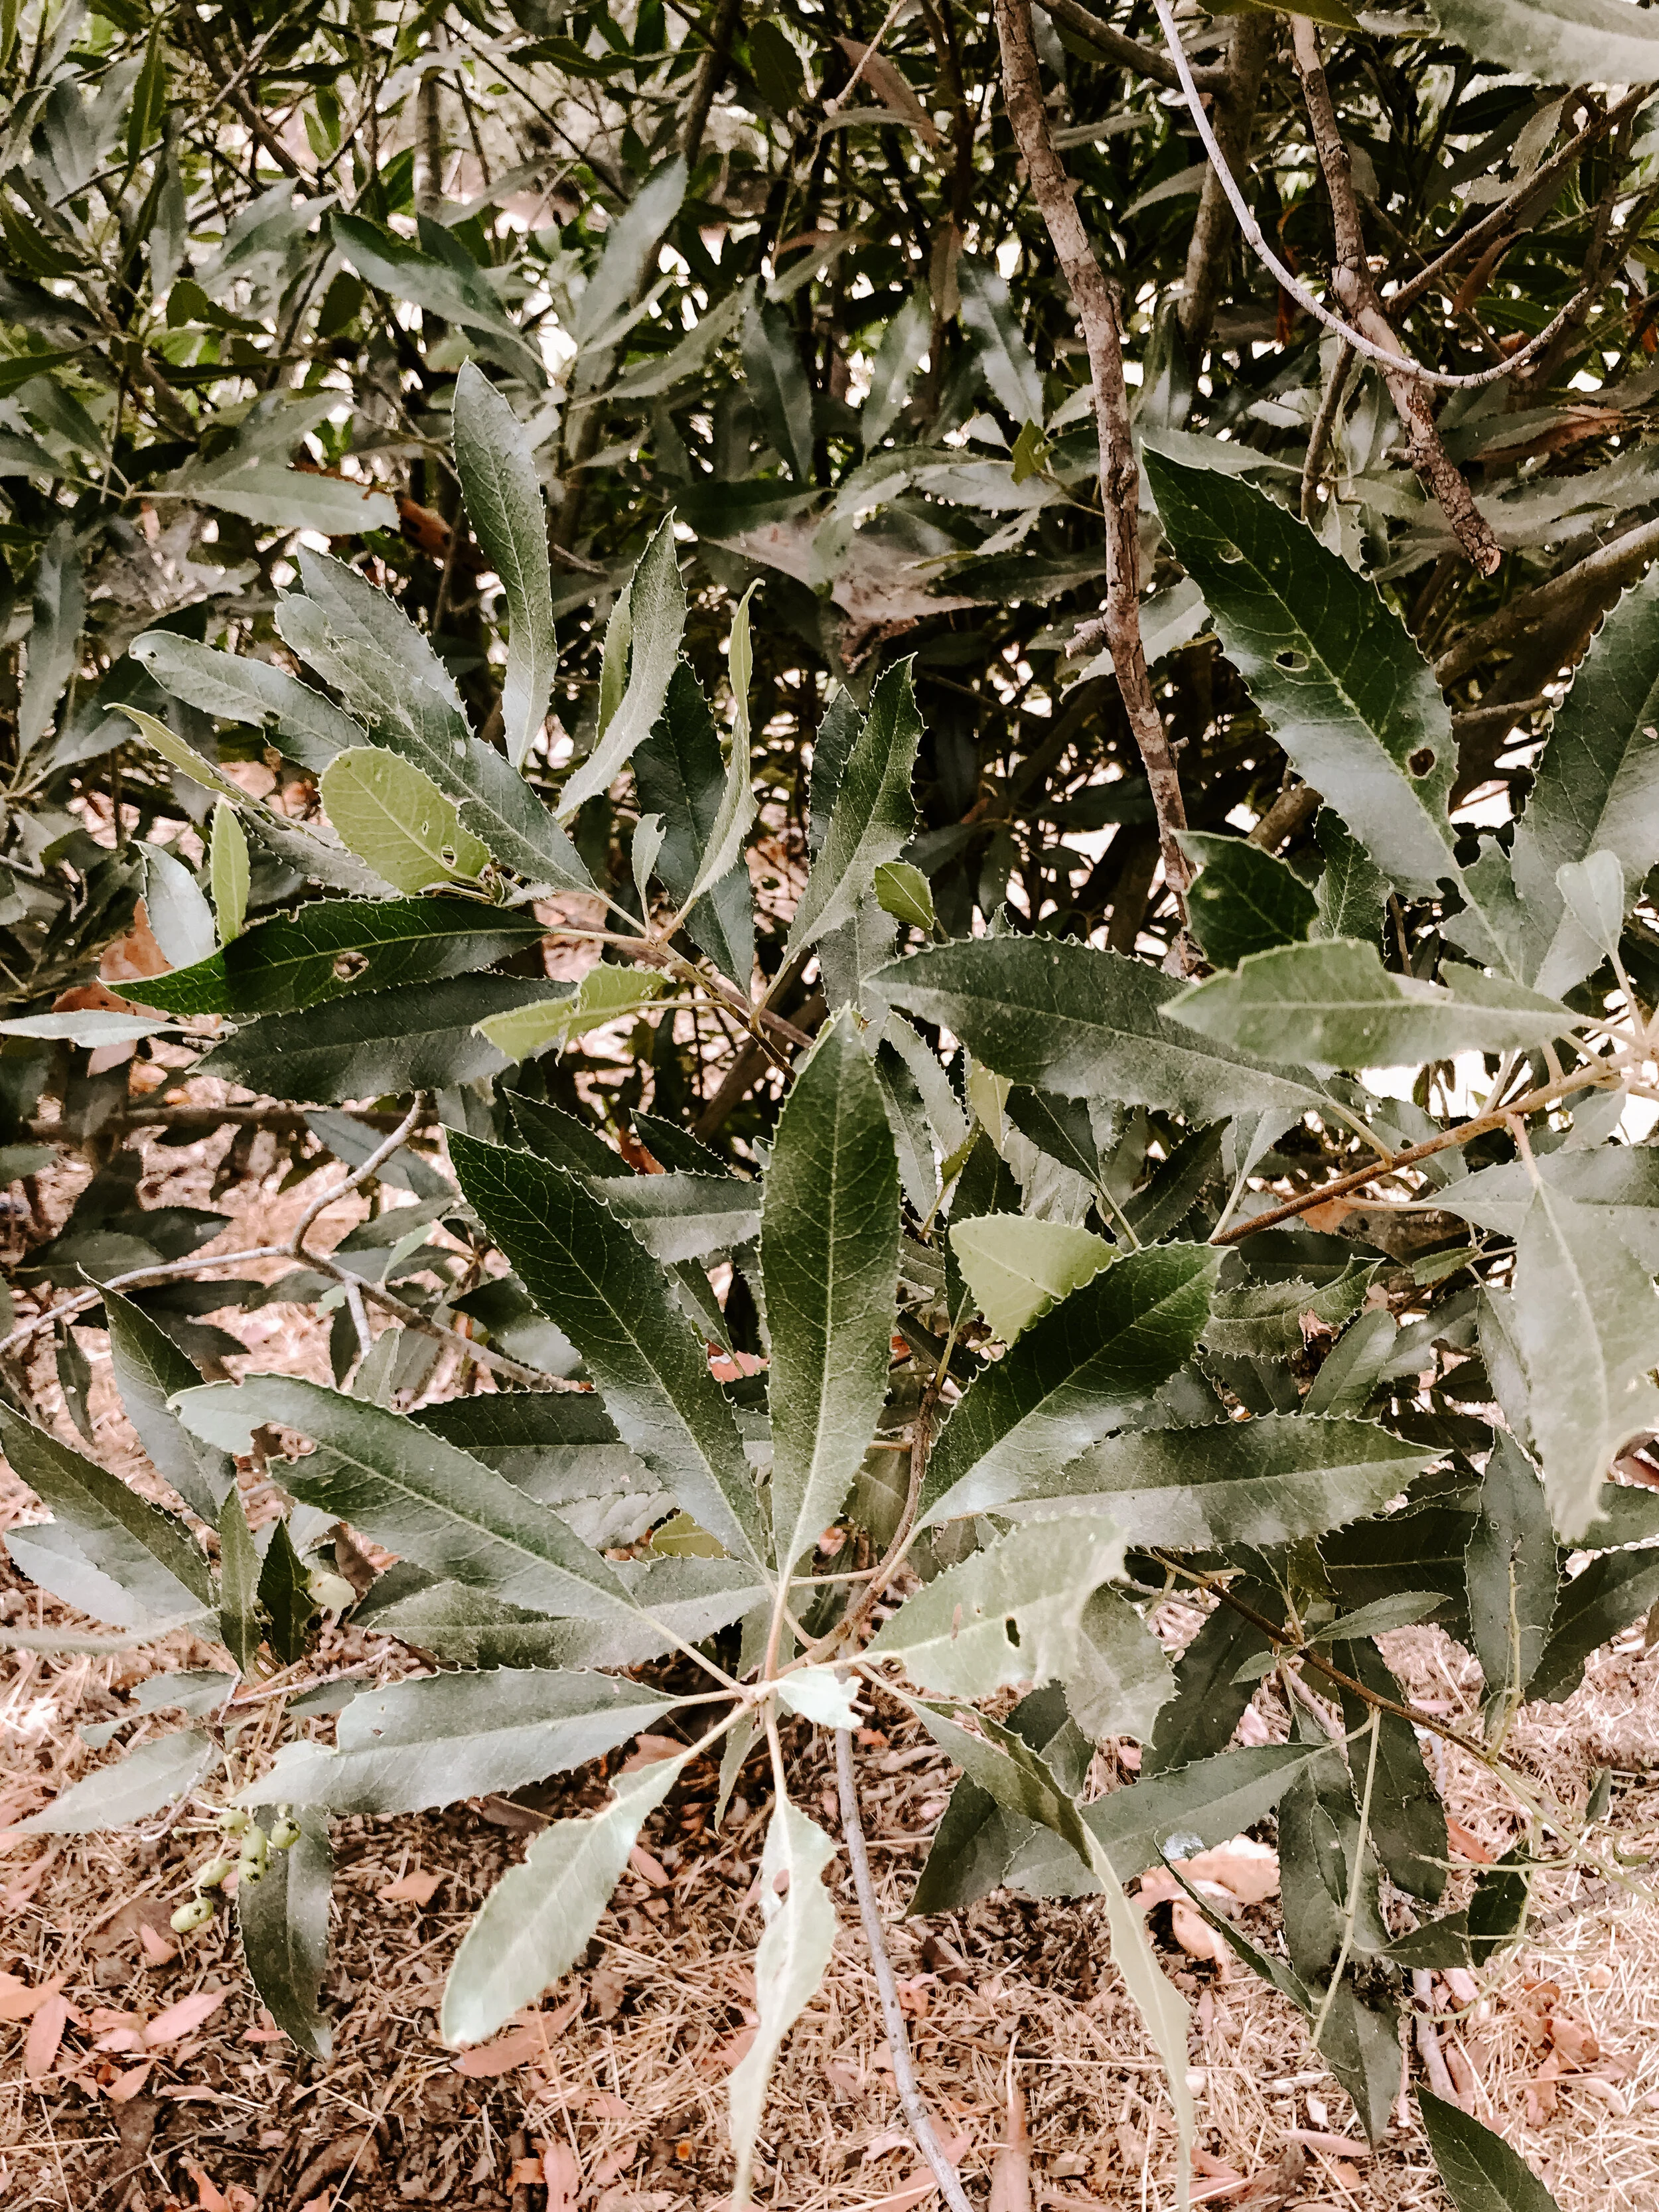
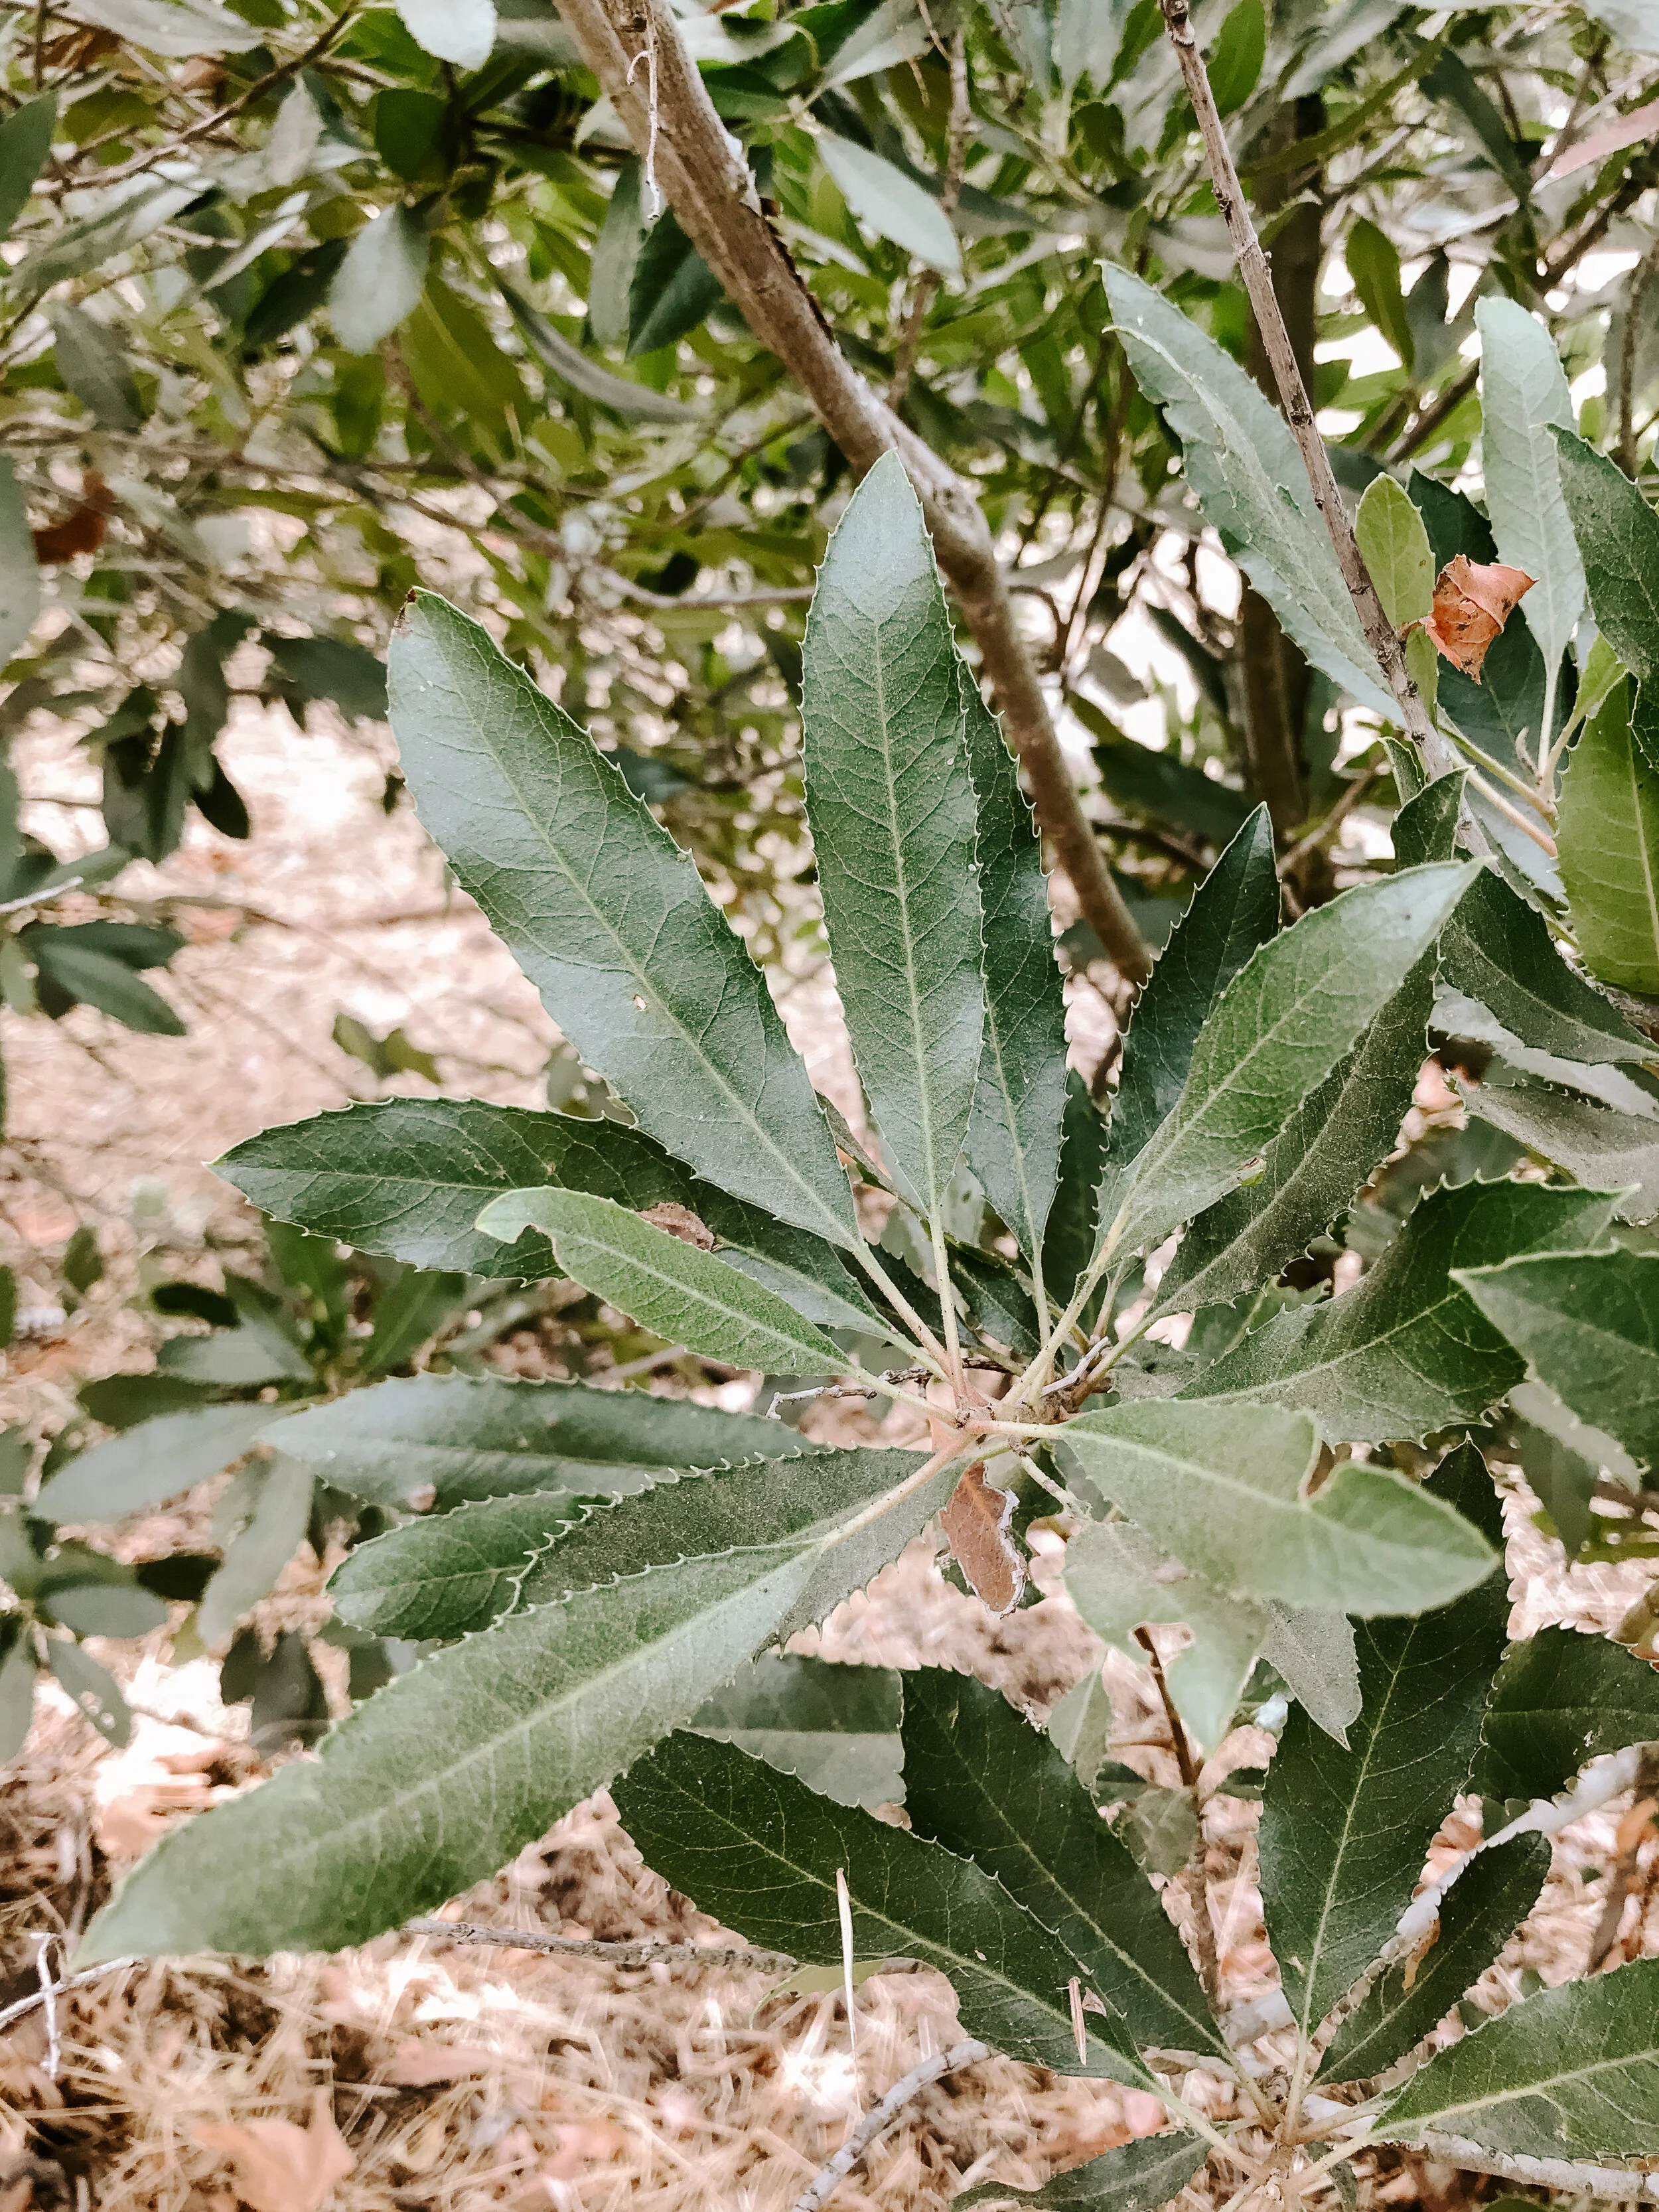
The toyon berries (or pomes) were a favorite food for Native American tribes in southern California (fruits from the Rose family are called pomes). The Chumash, the Tongva, the Costanoan, the Luiseno, the Kumeyaay and the Cahuilla all collected and ate berries from the toyon tree.
This fruit could be dried and made into a jelly. The pulp could also be dried and then later cooked into a porridge or combined with seed flour to make pancakes. When eaten raw, the toyon berries have a pungent and bitter taste. To remedy this unpleasantness, early settlers would only pick the berries once completely ripe. These ripe berries were then exposed to heat before consumption – this had the benefit of softening the taste.
The Cahuilla and Costanoan Indians enjoyed eating cooked toyon berries. They also made an infusion from its bark and leaves, which was used to treat infected wounds. We now know that other species of berry also carry medicinal qualities. For example, white mulberry supposedly helps lower our blood-sugar levels, while black elderberry is routinely used to boost the human immune system.
The Costanoan people also created an infusion of toyon leaves. Young women took this infusion to help regulate menstruation.
The Luiseno people from the L.A. area also collected toyon berries. They then parched these berries in the sun to make them more palatable.
The Kumeyaay people prepared an infusion with toyon bark and leaves. This infusion was then used as a wash for infected wounds.
The Mahuna people ate the berries to help quench their thirst. It is assumed that the bitterness helped create saliva.
Toyon Jam
Toyon berries contain a small amount of cyanogenic glycosides (poisonous stuff) which is removed by mild cooking.
This recipe has a definite cherry taste and is more textured than most jams. But, it’s definitely worth doing it. You can also make some great sauces with it too! I added a bit of Mint in the jars and was very happy with it too.
1. Boil the Toyon berries and change the water twice. (5 mins each time)
2. Puree the berries
Ingredients
2 cups of Toyon berries (puree)
1 1/2 Cups Water (berries have little water in them)
3 cups sugar
1/8 cup Lemon Juice
Boil the ingredients for around 20 mins, add 1/2 pack of Pectine (or if you don't use pectine boil longer). Do a test to see if the jam is thick enough. Add a couple of fresh Mint leaves in the jar, pour the jam in the jars, place the lids and boil the jars for 15 mins. Voila!
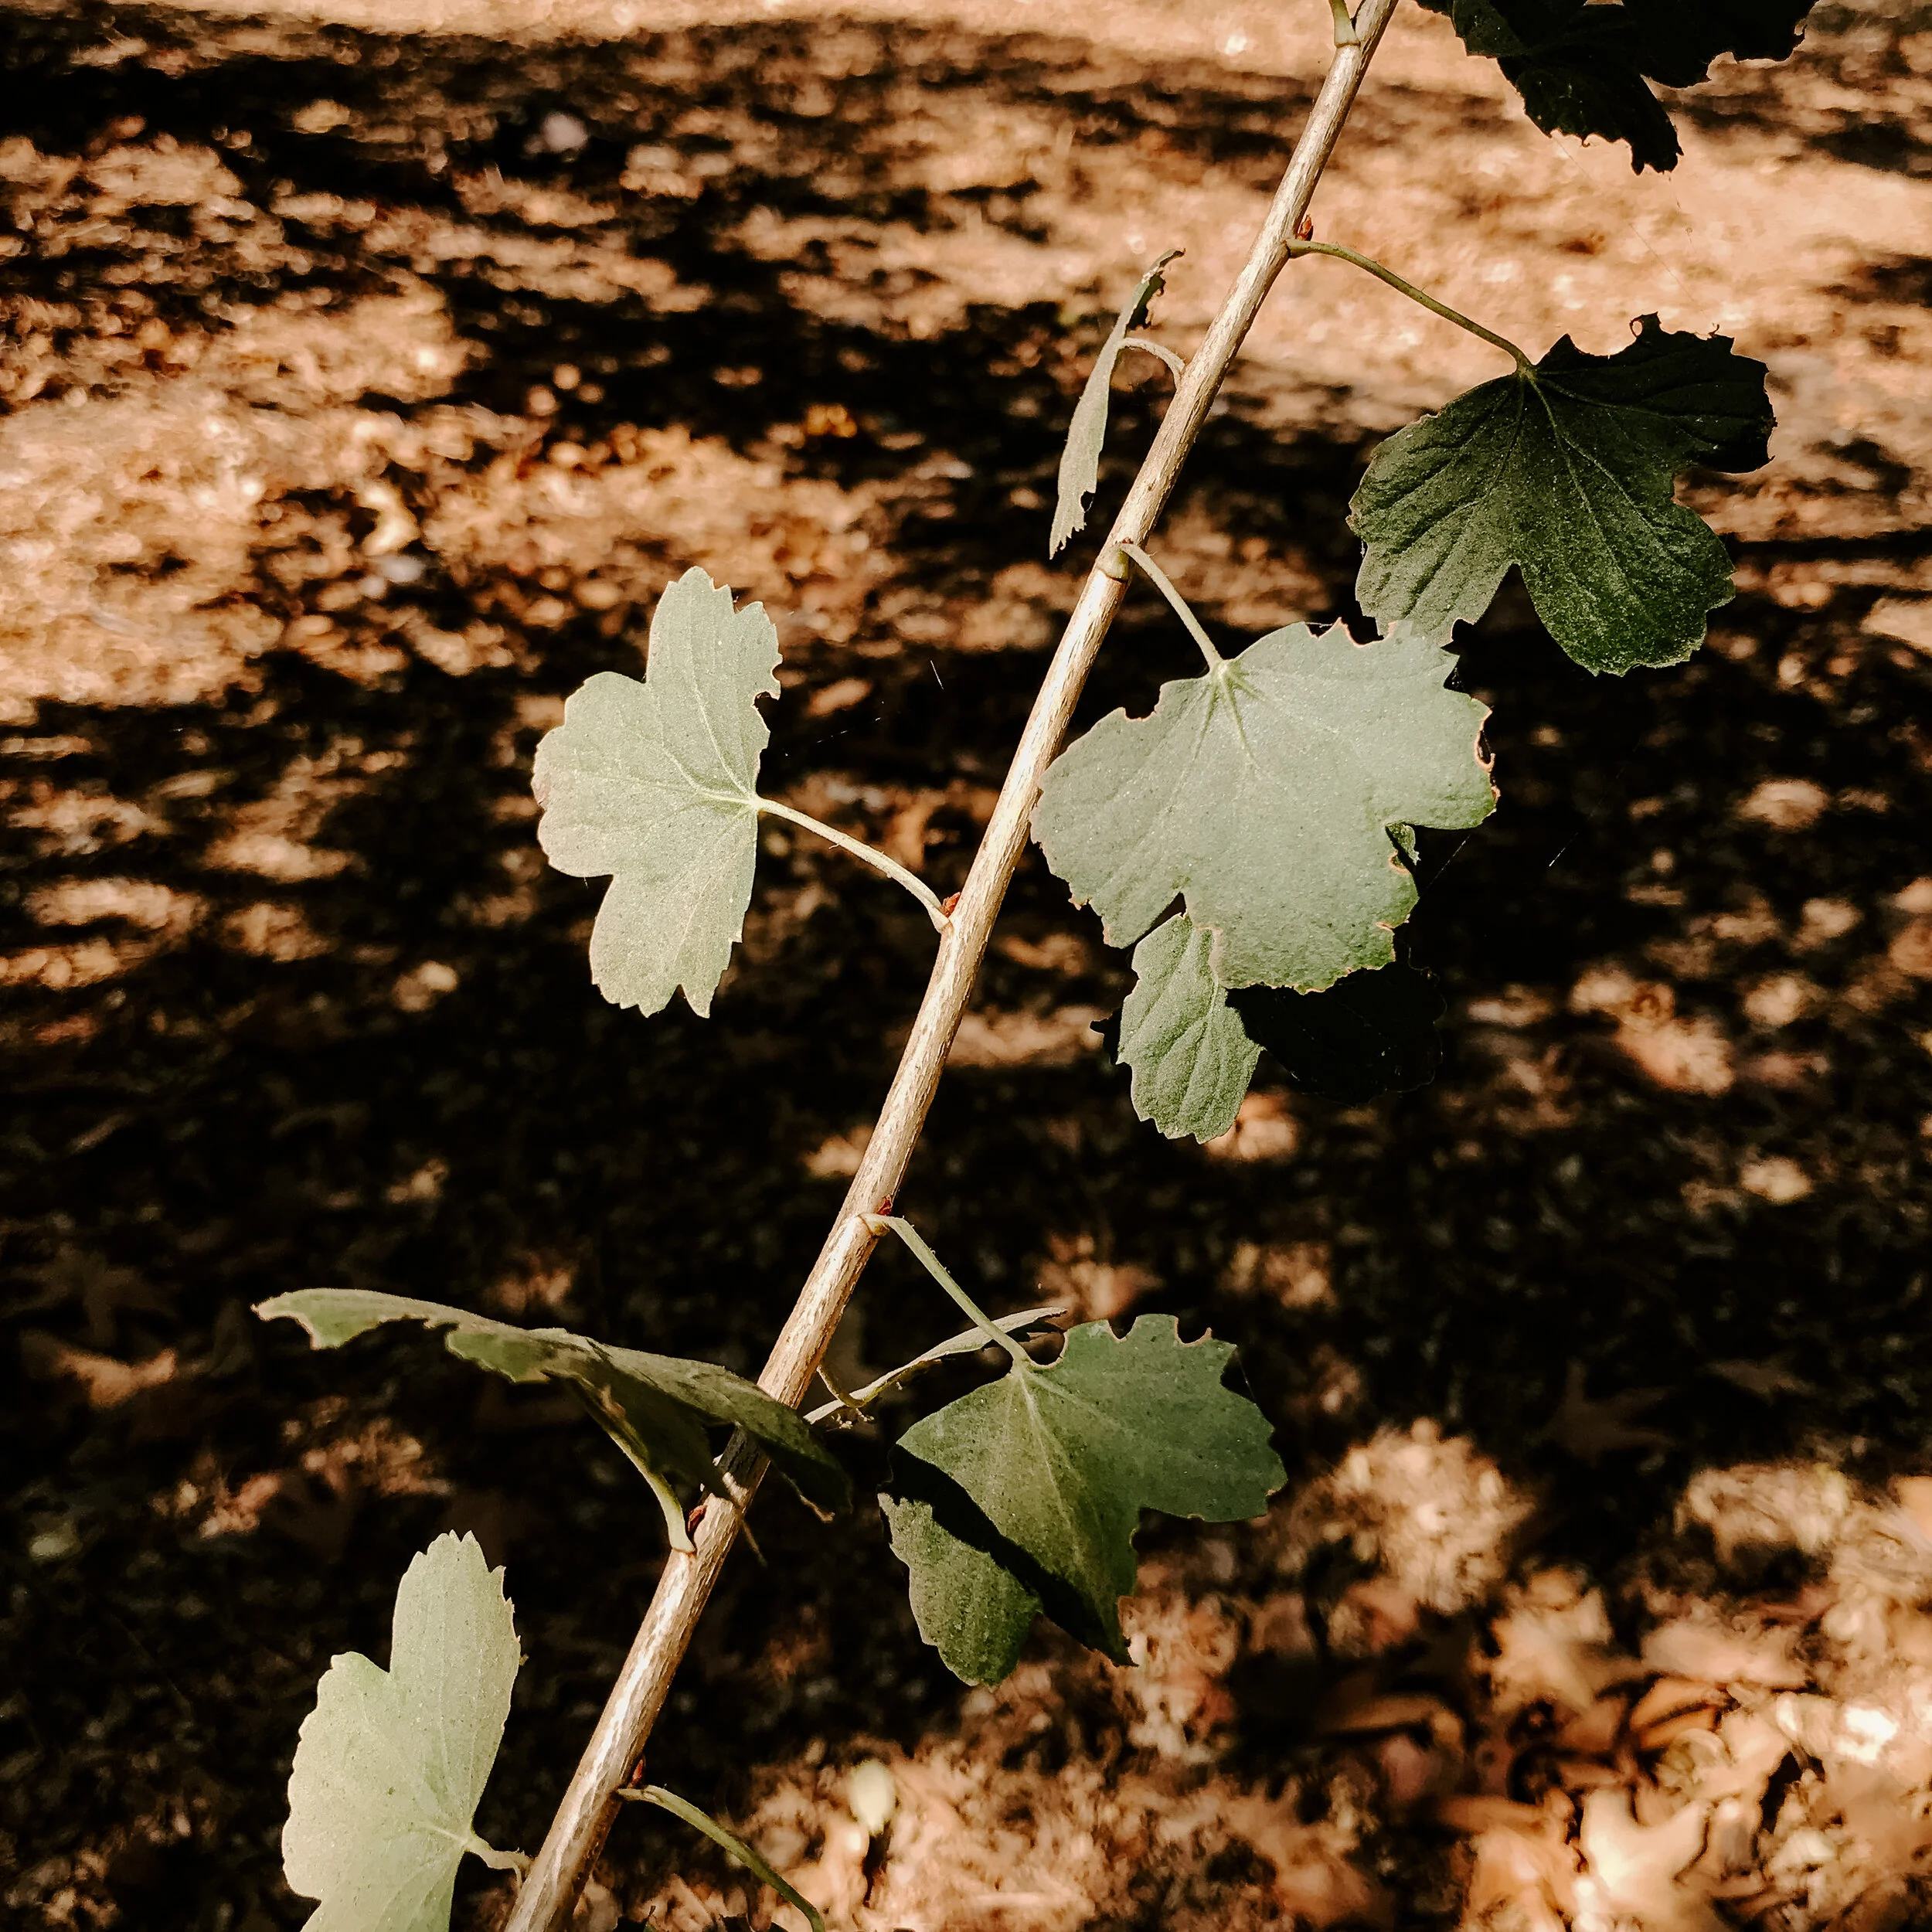
Currant Tarts
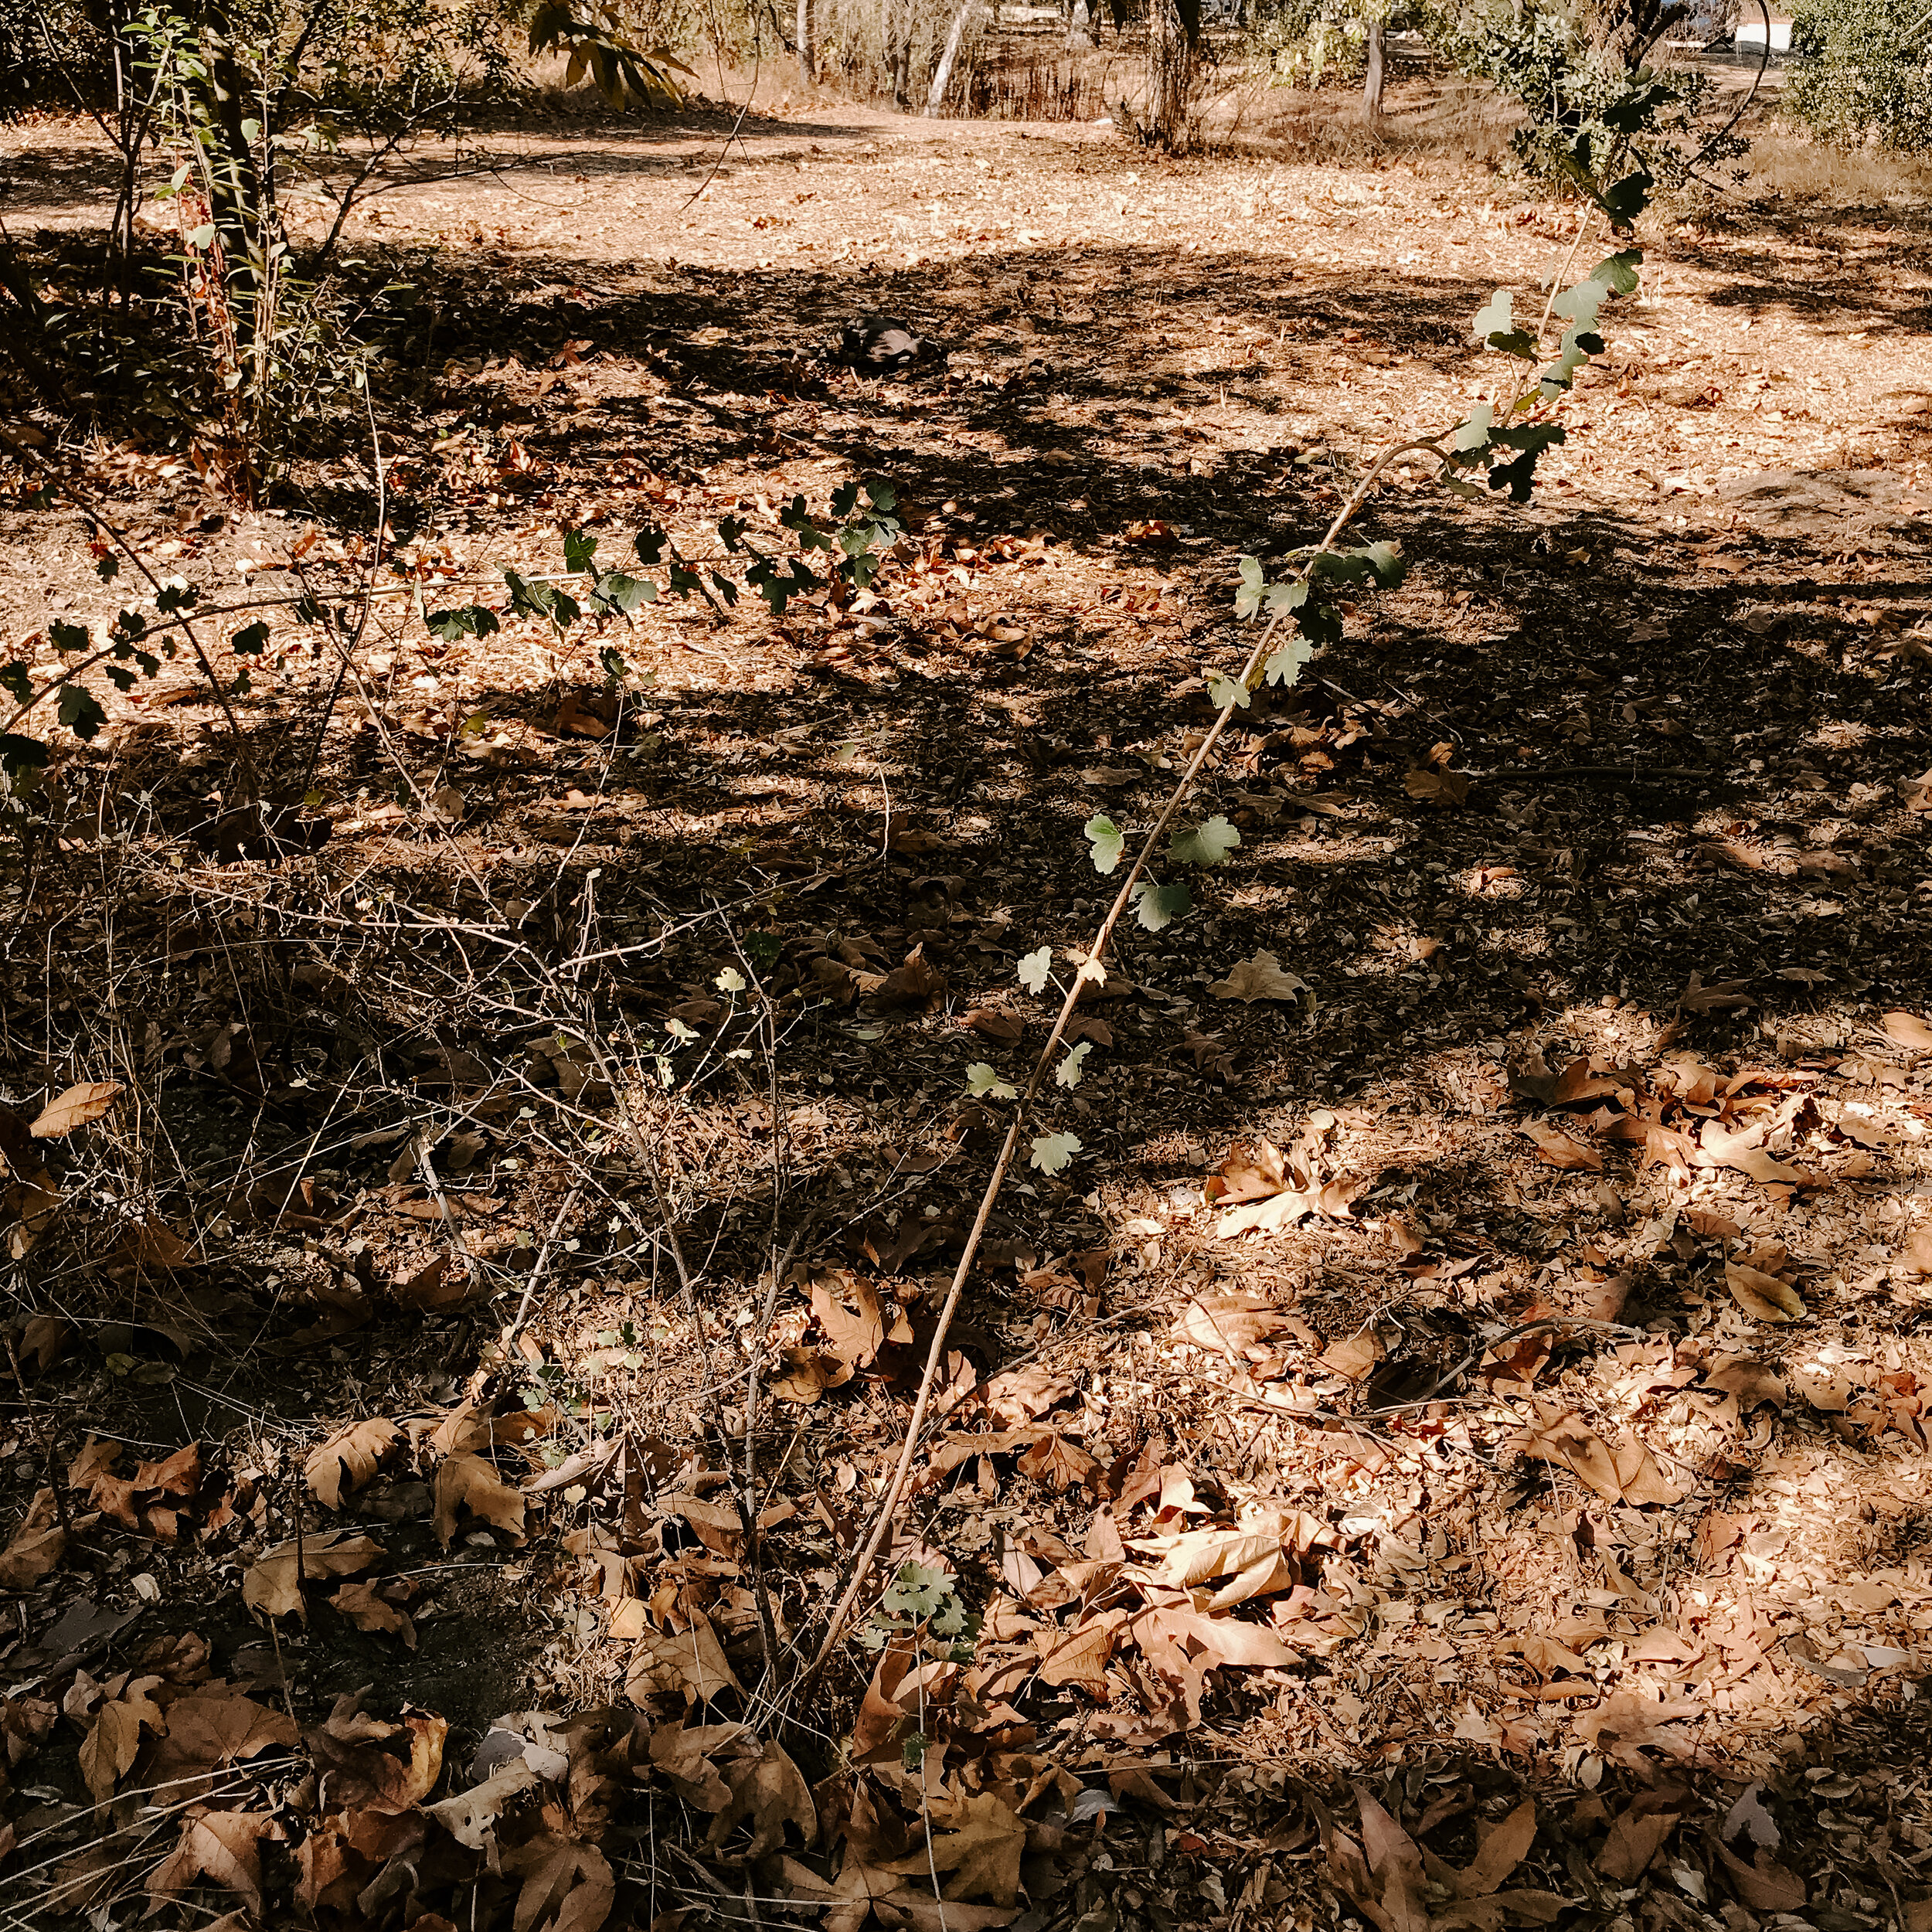
Pick the bunch
When you pick the fruit try to get the whole bunch. If you try to pick individual berries it is really hard to get the flowers of the berries and the fruits get damaged.
Clip off the flowers
Use a pair of scissors to trim of the flowers. If you try to pull them off, half the fruit comes of with them.
Clip off the berries
Use the scissors to trim the berries from the stem.
Wash them in cold water. We don't use warm water because it would cause fruit to burst.
Dry them off so they won't make the cookies soggy. Fill each cookie with about a tablespoon of berries. Serve with whipped cream, vanilla ice cream, or as is.
Sugar cookie crust
Sift together:
2 ½ cups sifted all-purpose flour
1 ½ teaspoons double-acting backing powder
¾ teaspoon salt
Combine:
½ cup sugar
¾ cup softened butter
2 eggs
1 teaspoon vanilla
Mix wet and dry ingredients. Press into tart tins (or make sugar cookies with a depression in the middle)
Bake for about 8 minutes at 375°
Allow to cool before adding fruit
Big Berry Manzanita // Arctostaphylos glauca
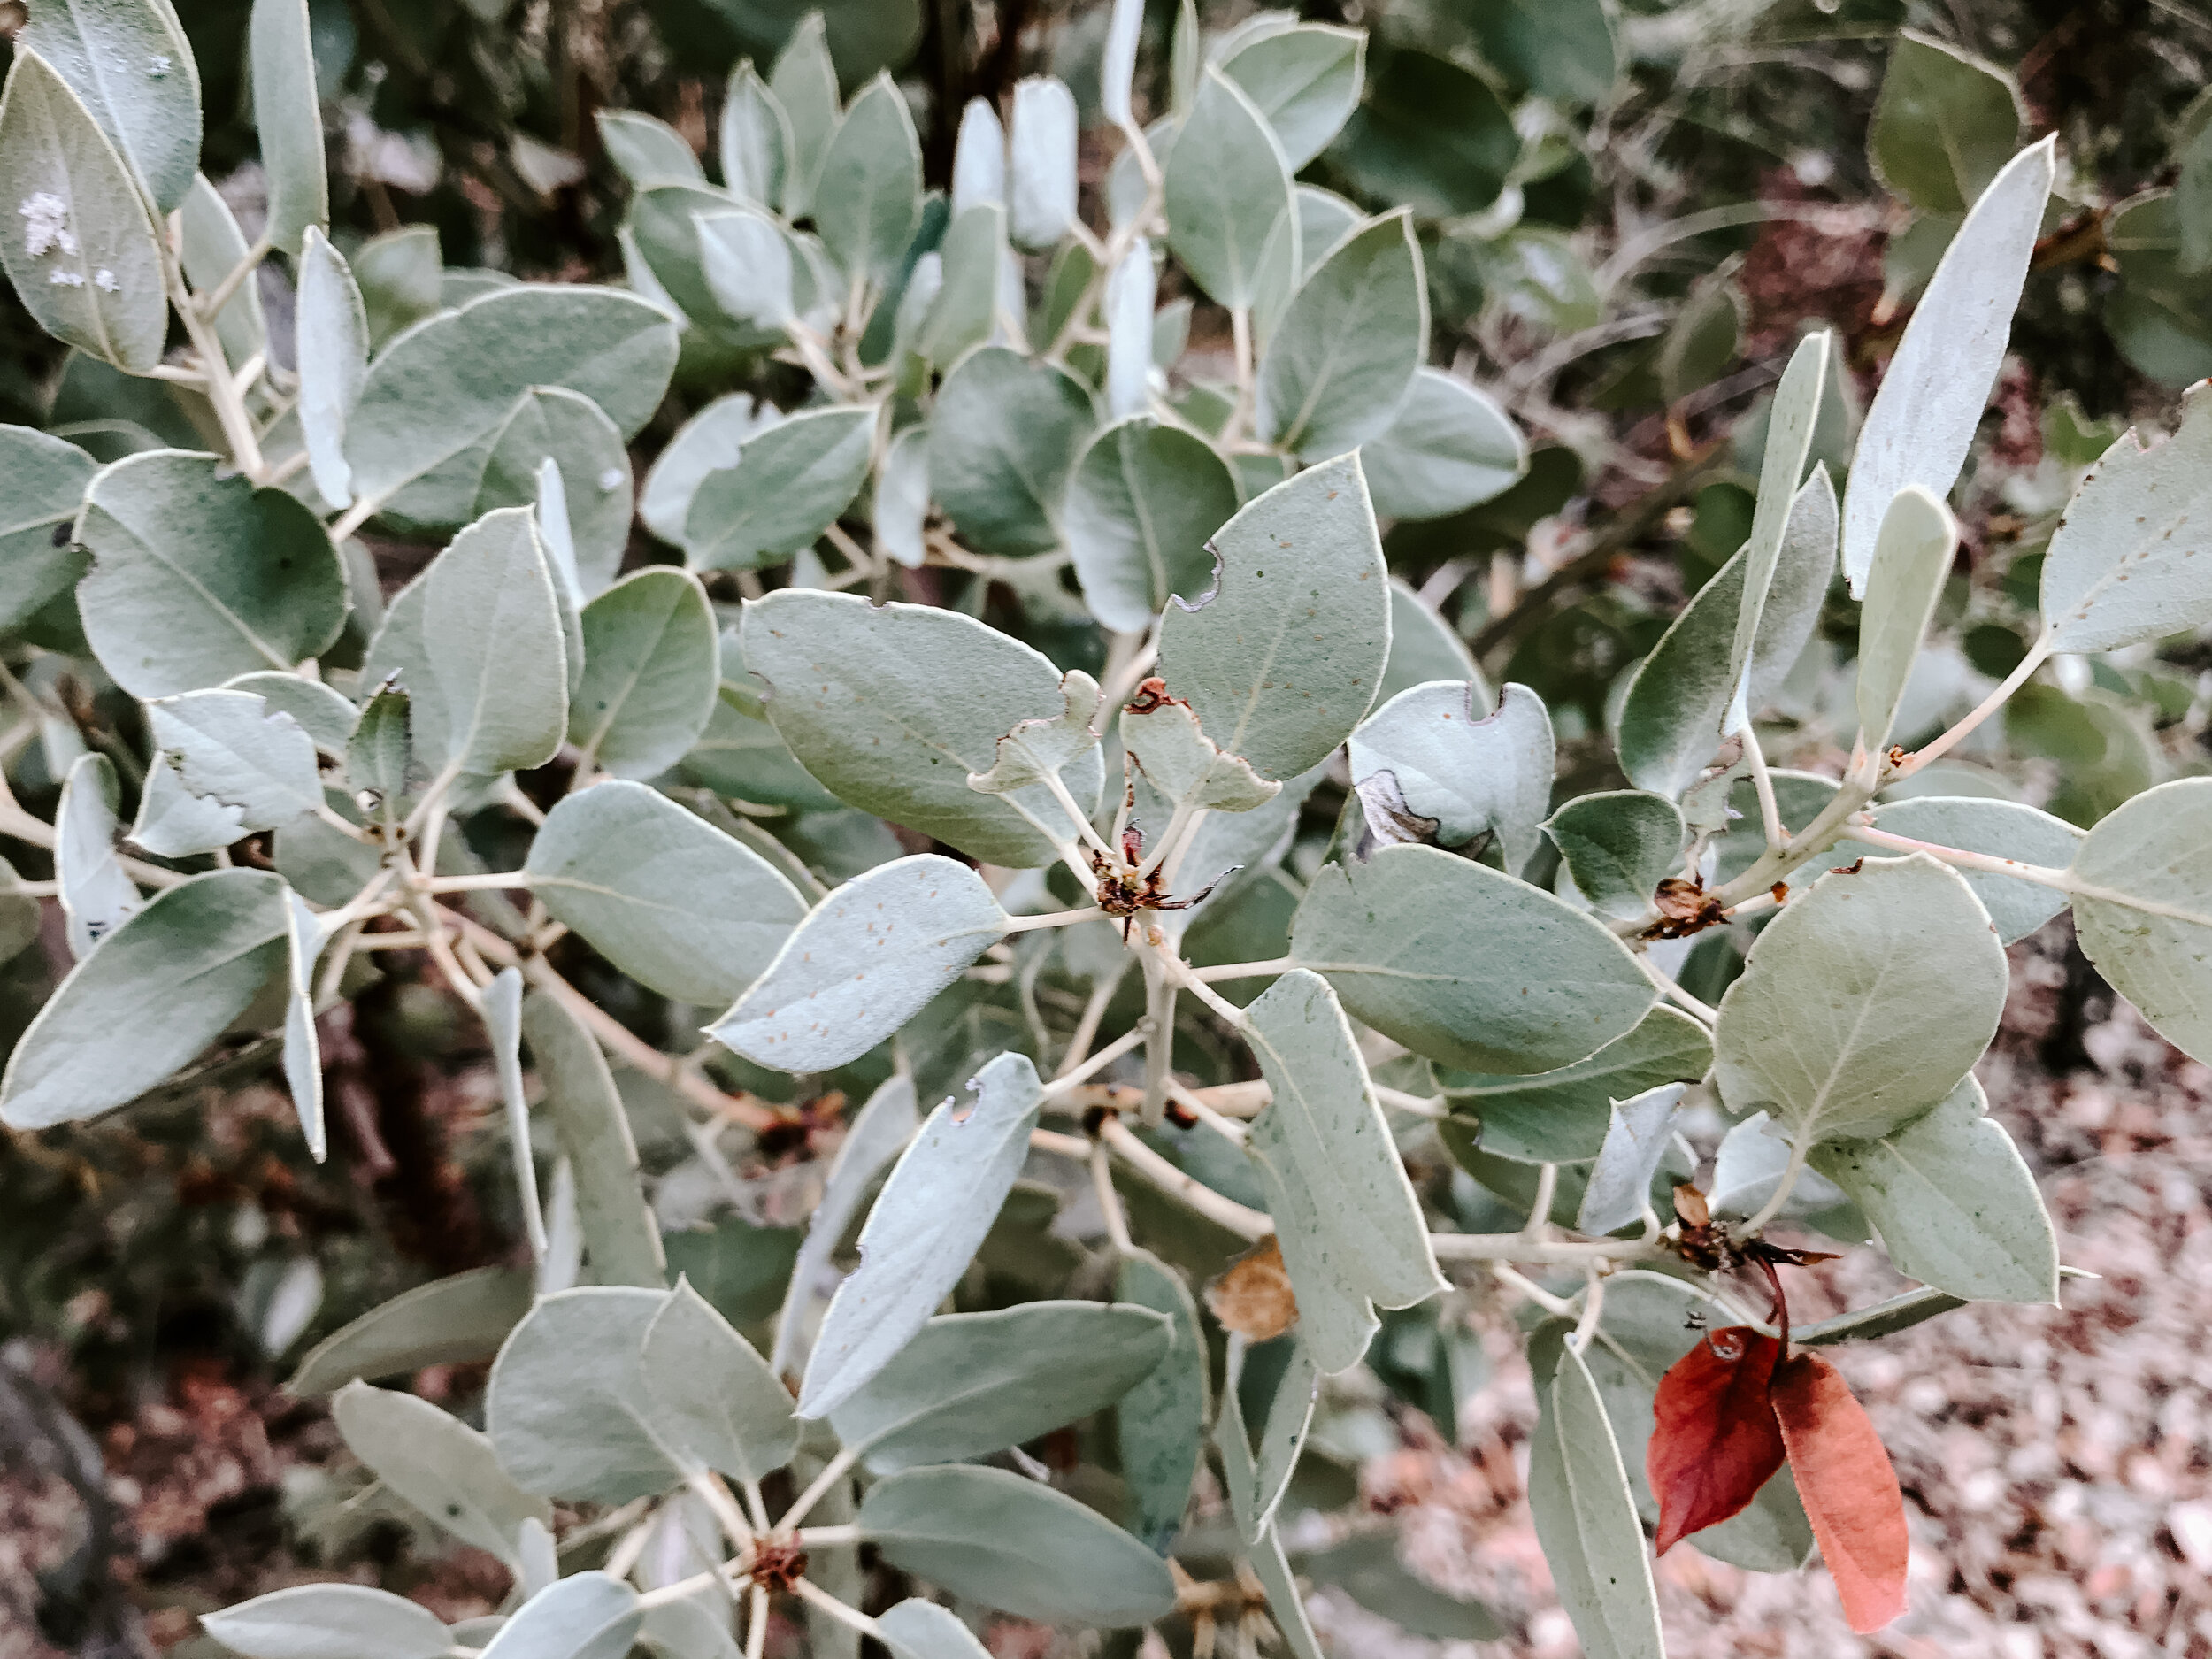
This evergreen California Native is common in the chaparral and woodland of coastal and inland hills. Presented as a large shrub or small tree. Bigberry manzanita is distinguished from other manzanitas . Leaves are light gray-green, somewhat waxy, oval in shape to nearly round, and smooth or toothed along the edges. The inflorescence is a panicle with white flowers. The fruit is spheric with fused stones and is sticky to the touch. Manzanita cider is a traditional drink of California, enjoyed by indigenous inhabitants in many parts of the state. All species have edible berries.
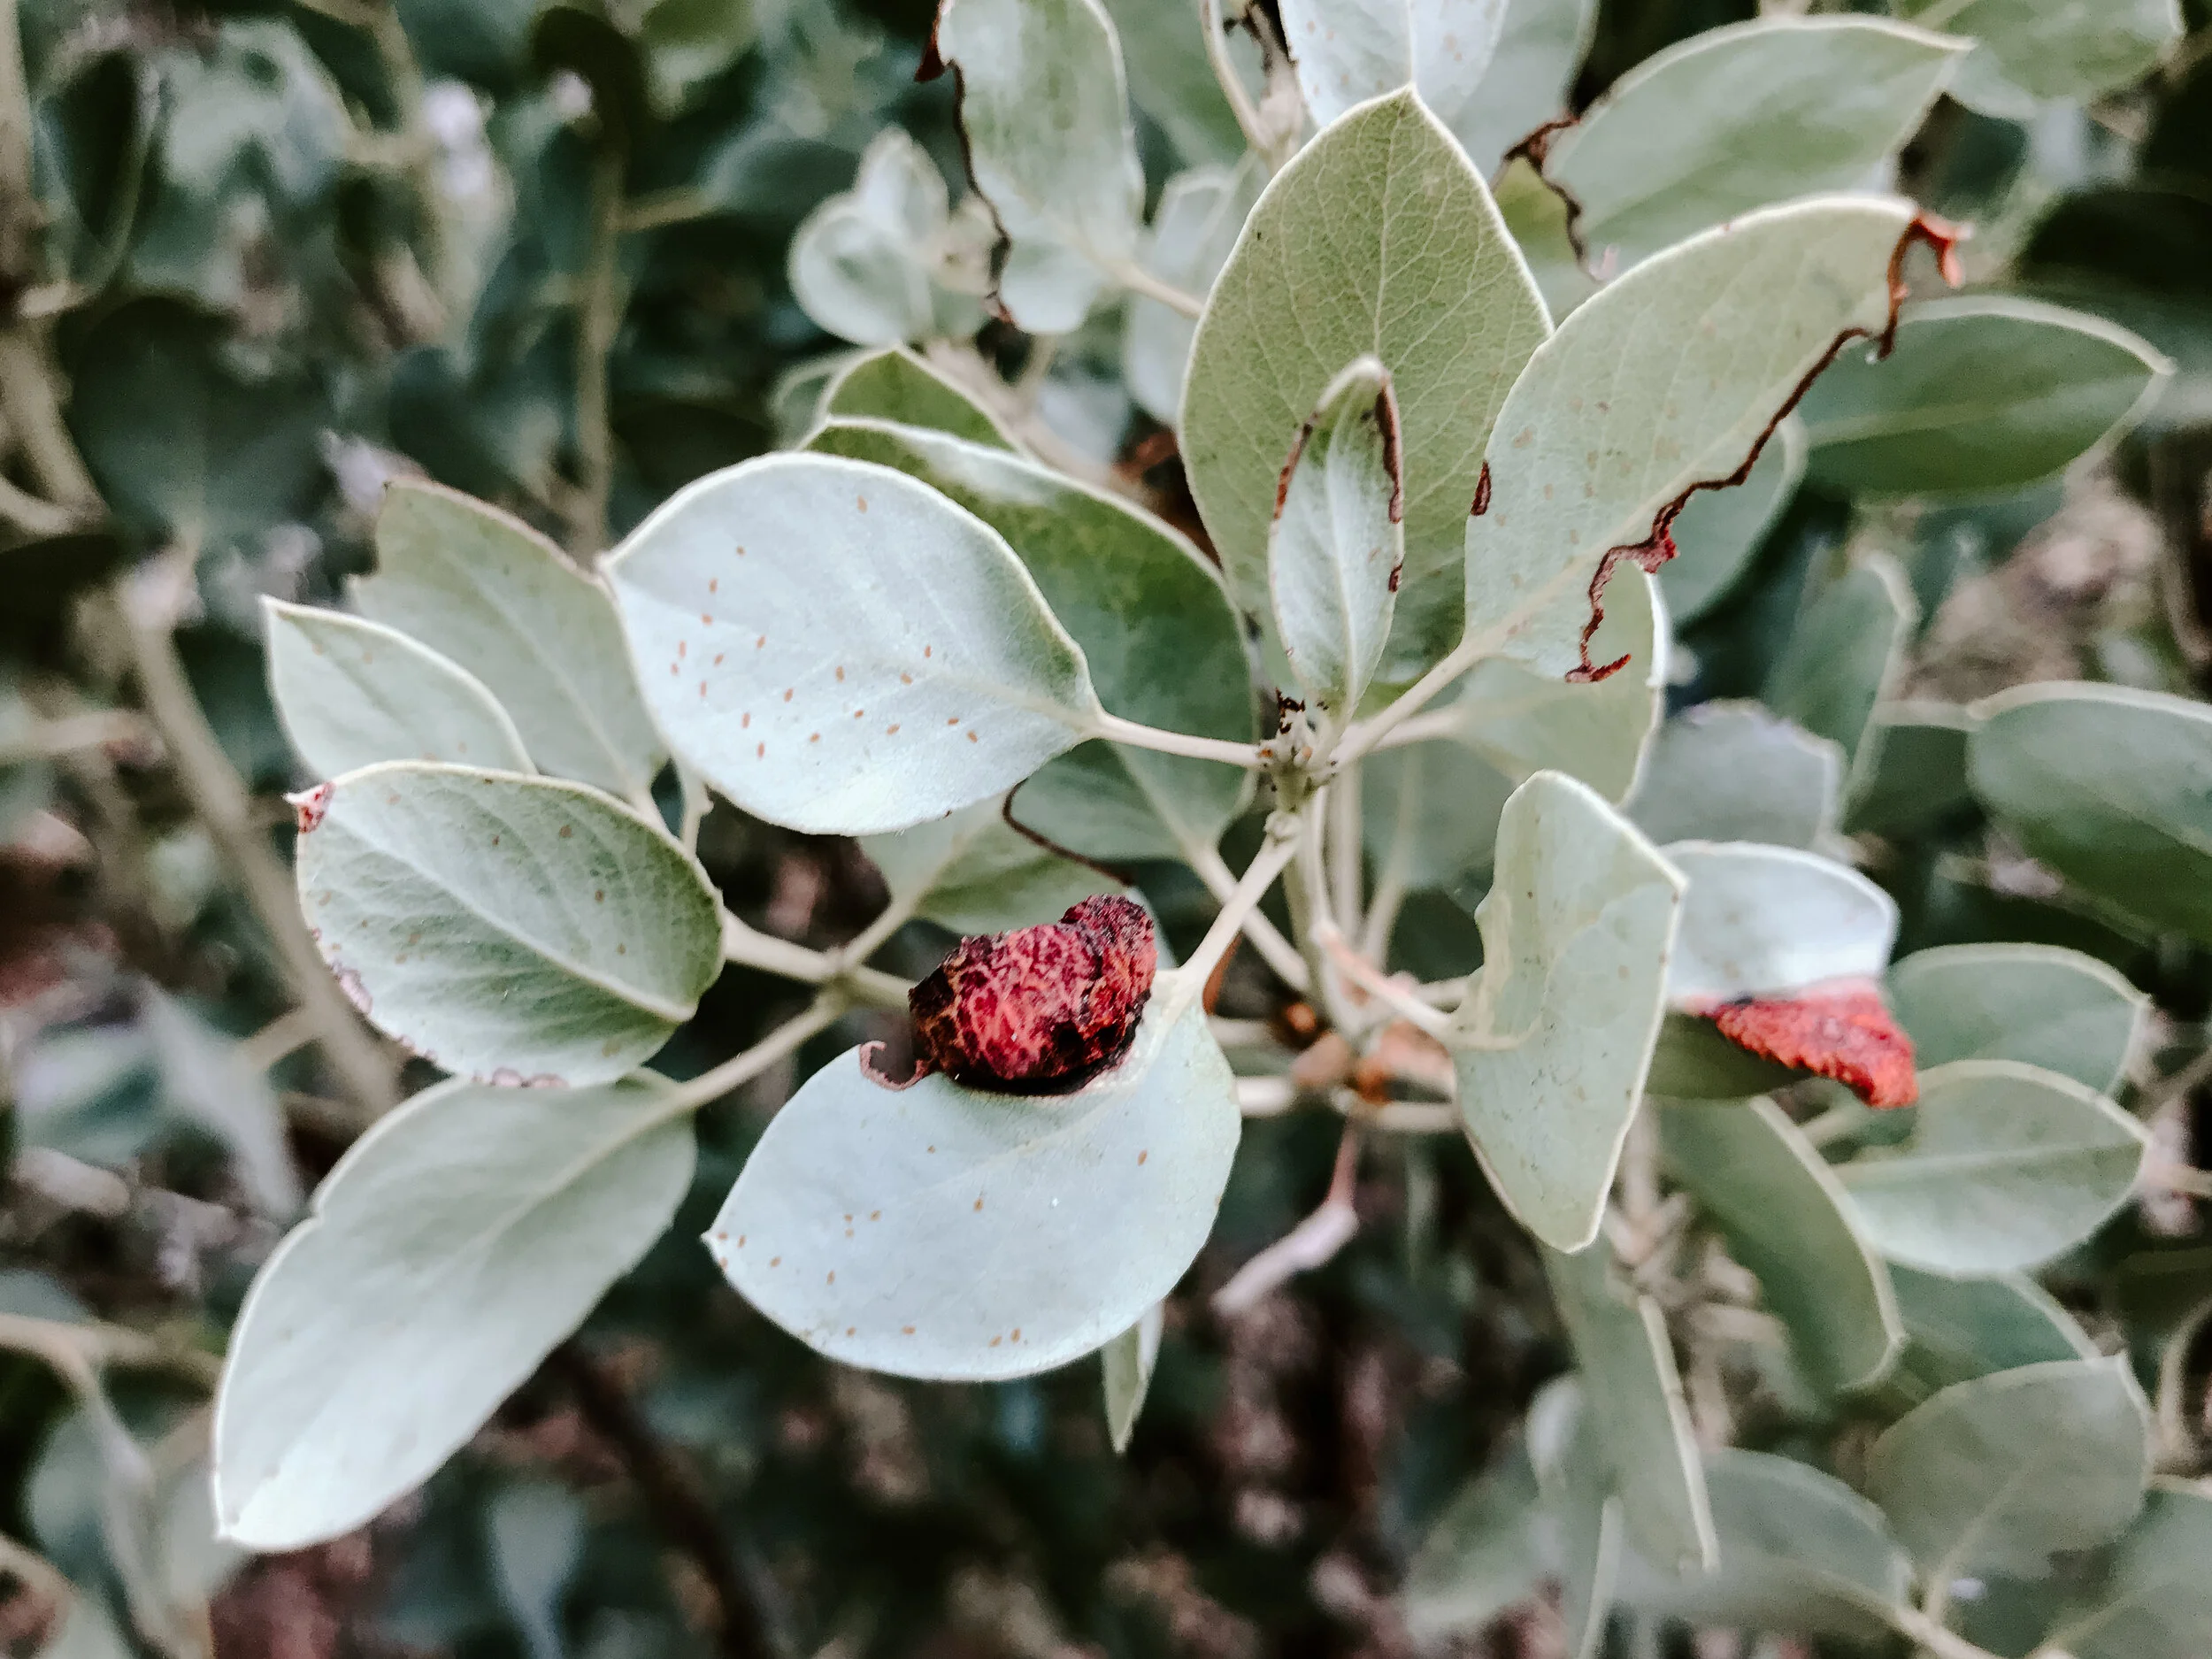
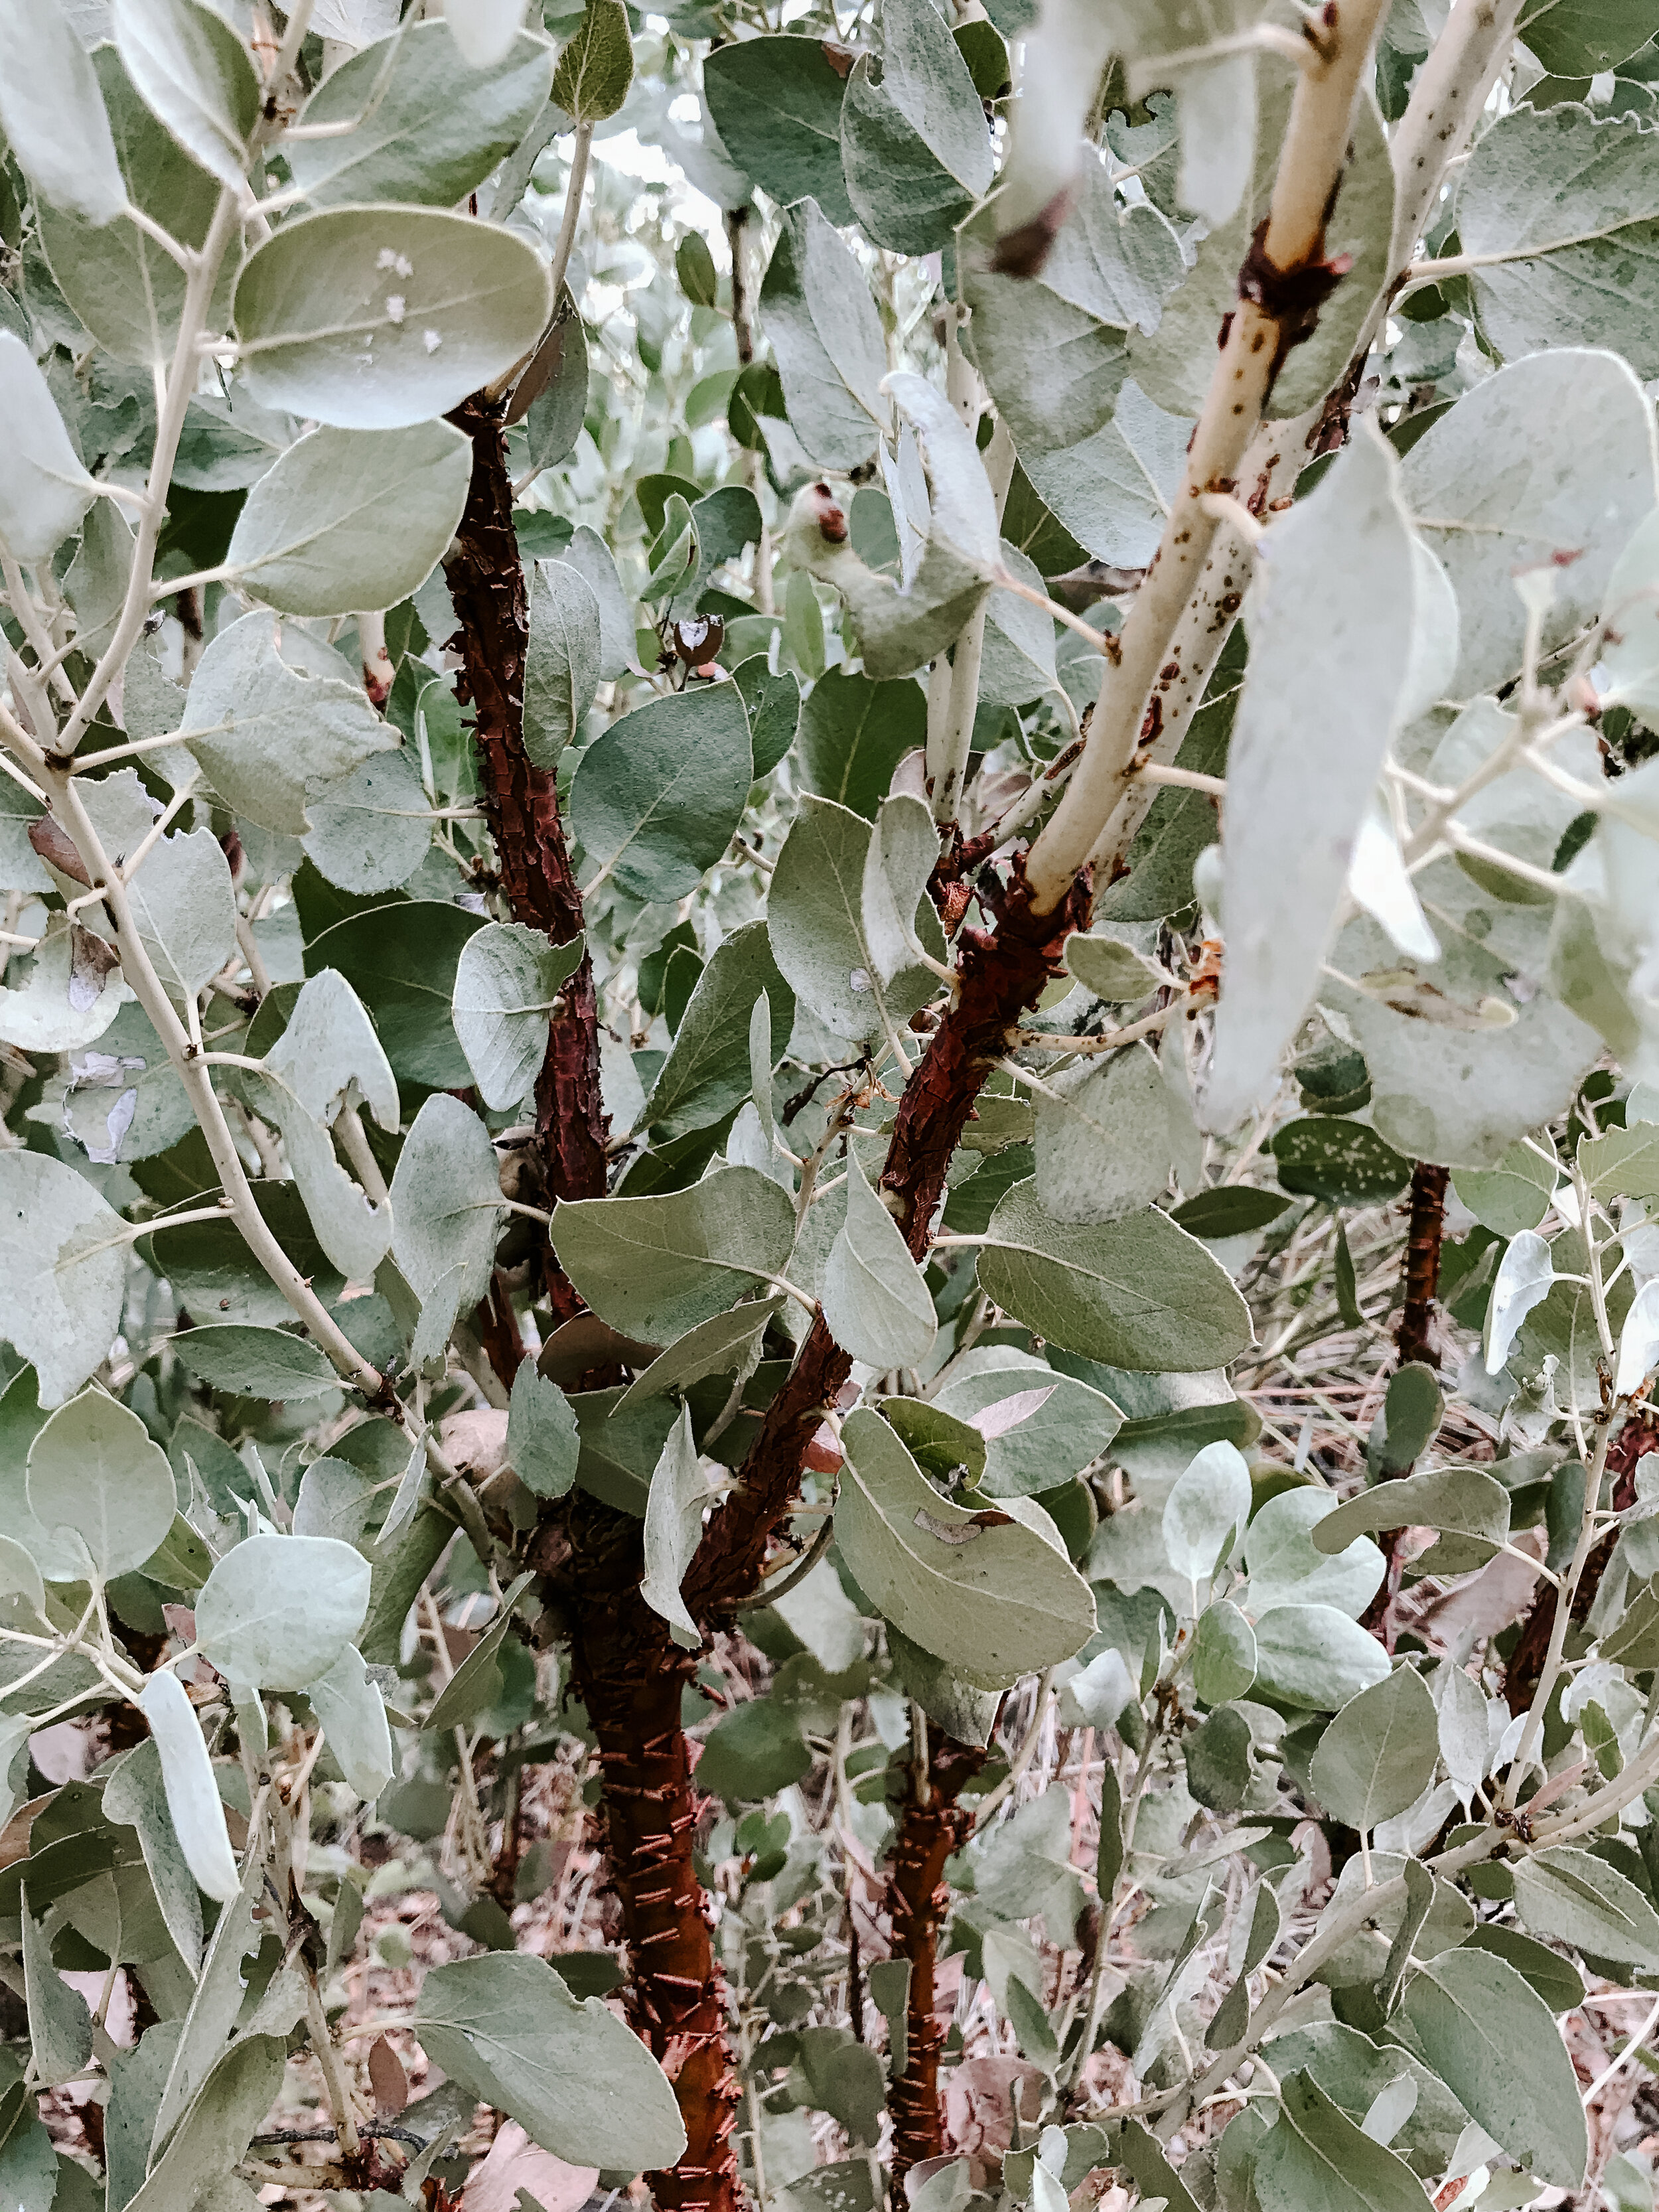
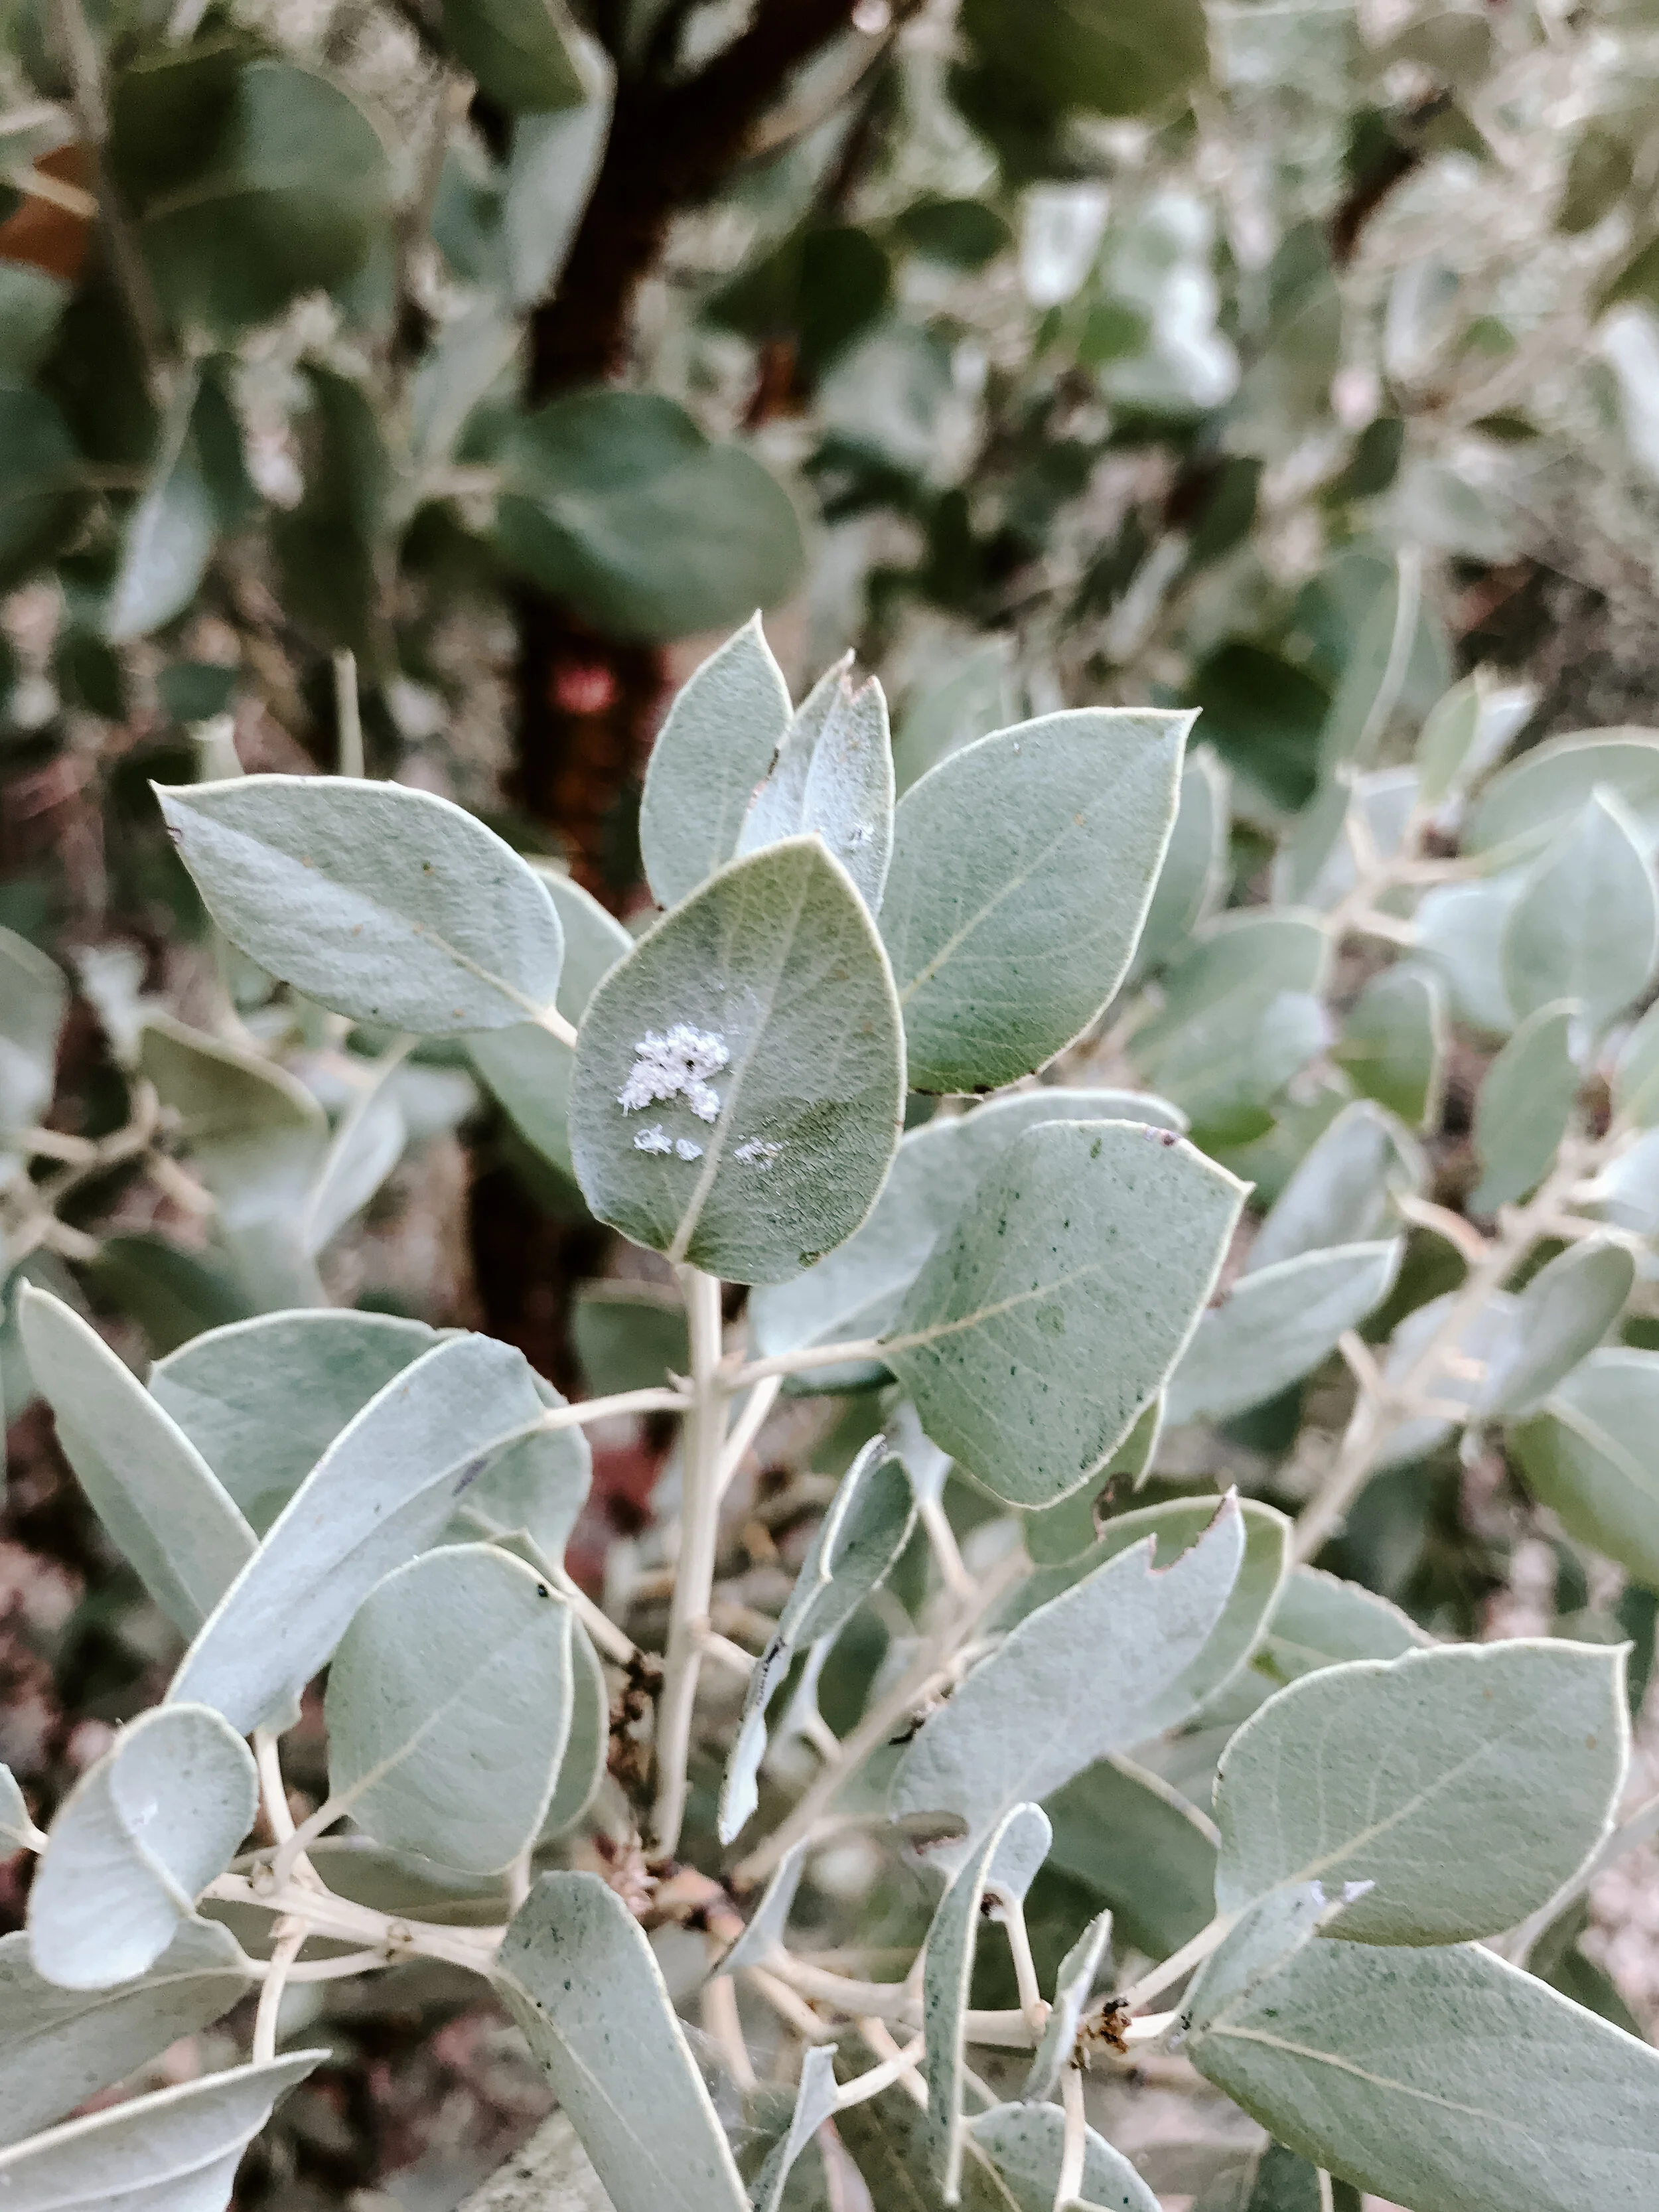
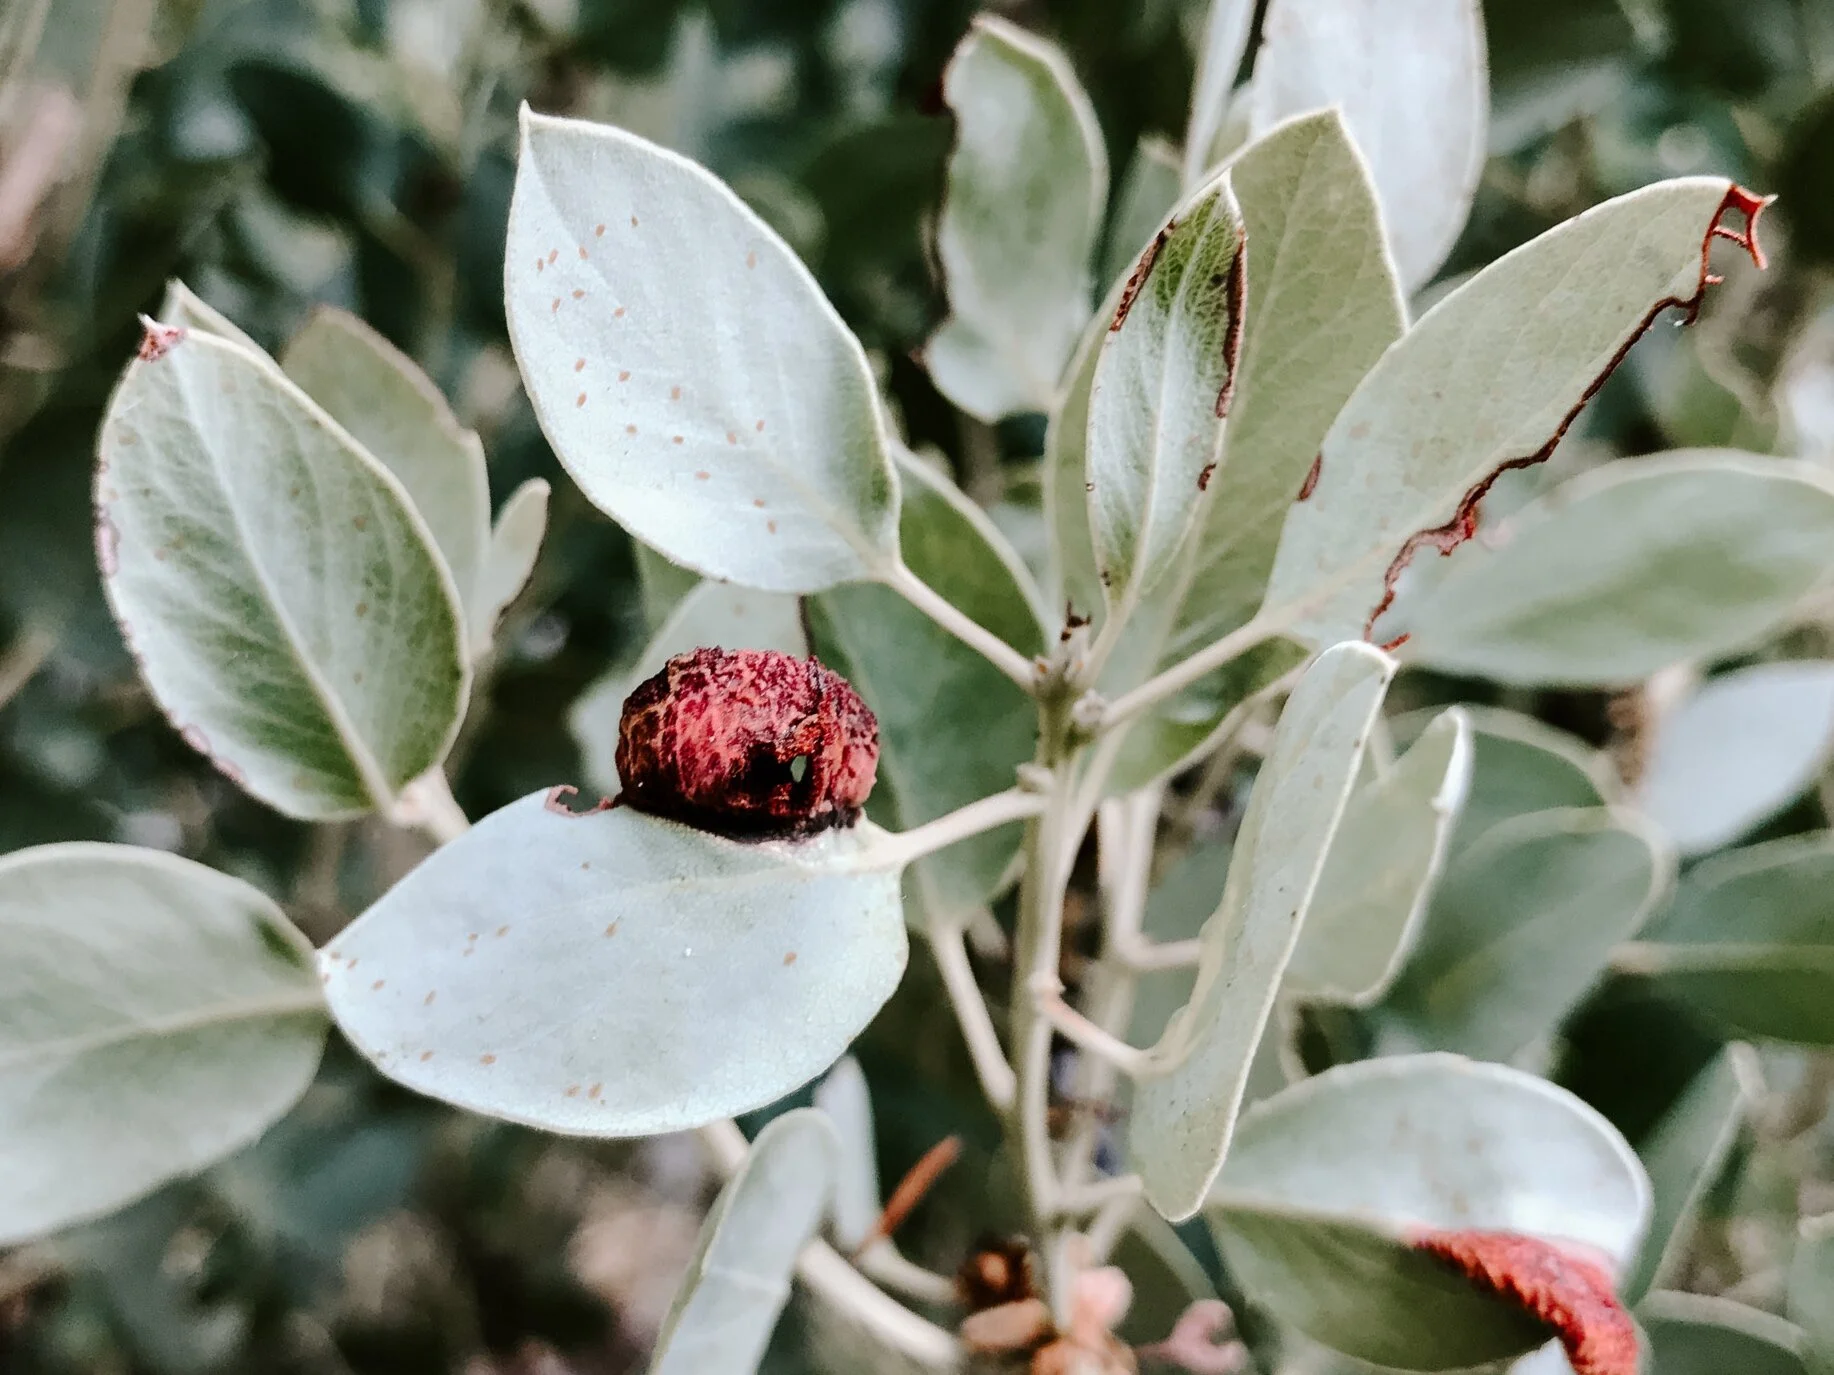
The cider is easy to make, high in antioxidants and naturally sweet. Fill a blender with the dry berries and grind on low-medium for about a minute. This is a modern technique to crush the berries and expose the sweet powder, without crushing up the large seeds. Cover the crushed berries with cold water and soak for several hours to overnight. Strain and enjoy cold or hot.
MANZANITA HARD CIDER
Collect berries in summer.
Makes 1 gallon. Ready to drink in 2 months.
YOU’LL NEED:
4 quarts manzanita cider (see above for method)
2 pounds raw cane sugar
8-quart pot
1-gallon jug
Airlock
for jug
1 packet dry wine yeast
Flip-top bottles
Iodine (for sterilizing)
INSTRUCTIONS:
Pour cider into pot, add the 2 pounds of sugar, and allow to simmer over heat until sugar dissolves.
Let cider cool and use a small amount of iodine to sterilize the jug.
Pour cider into sterilized gallon jug and add yeast.
Seal jug with the airlock and store in a cool location, 65-75 degrees F.
Let the cider bubble for approximately a month. After the bubbling subsides, allow it to sit for another week.
Siphon the cider into sanitized bottles, avoiding the yeast that has settled on the bottom of the jug. Seal bottles and allow cider to sit for another 2 weeks or more for added flavor.
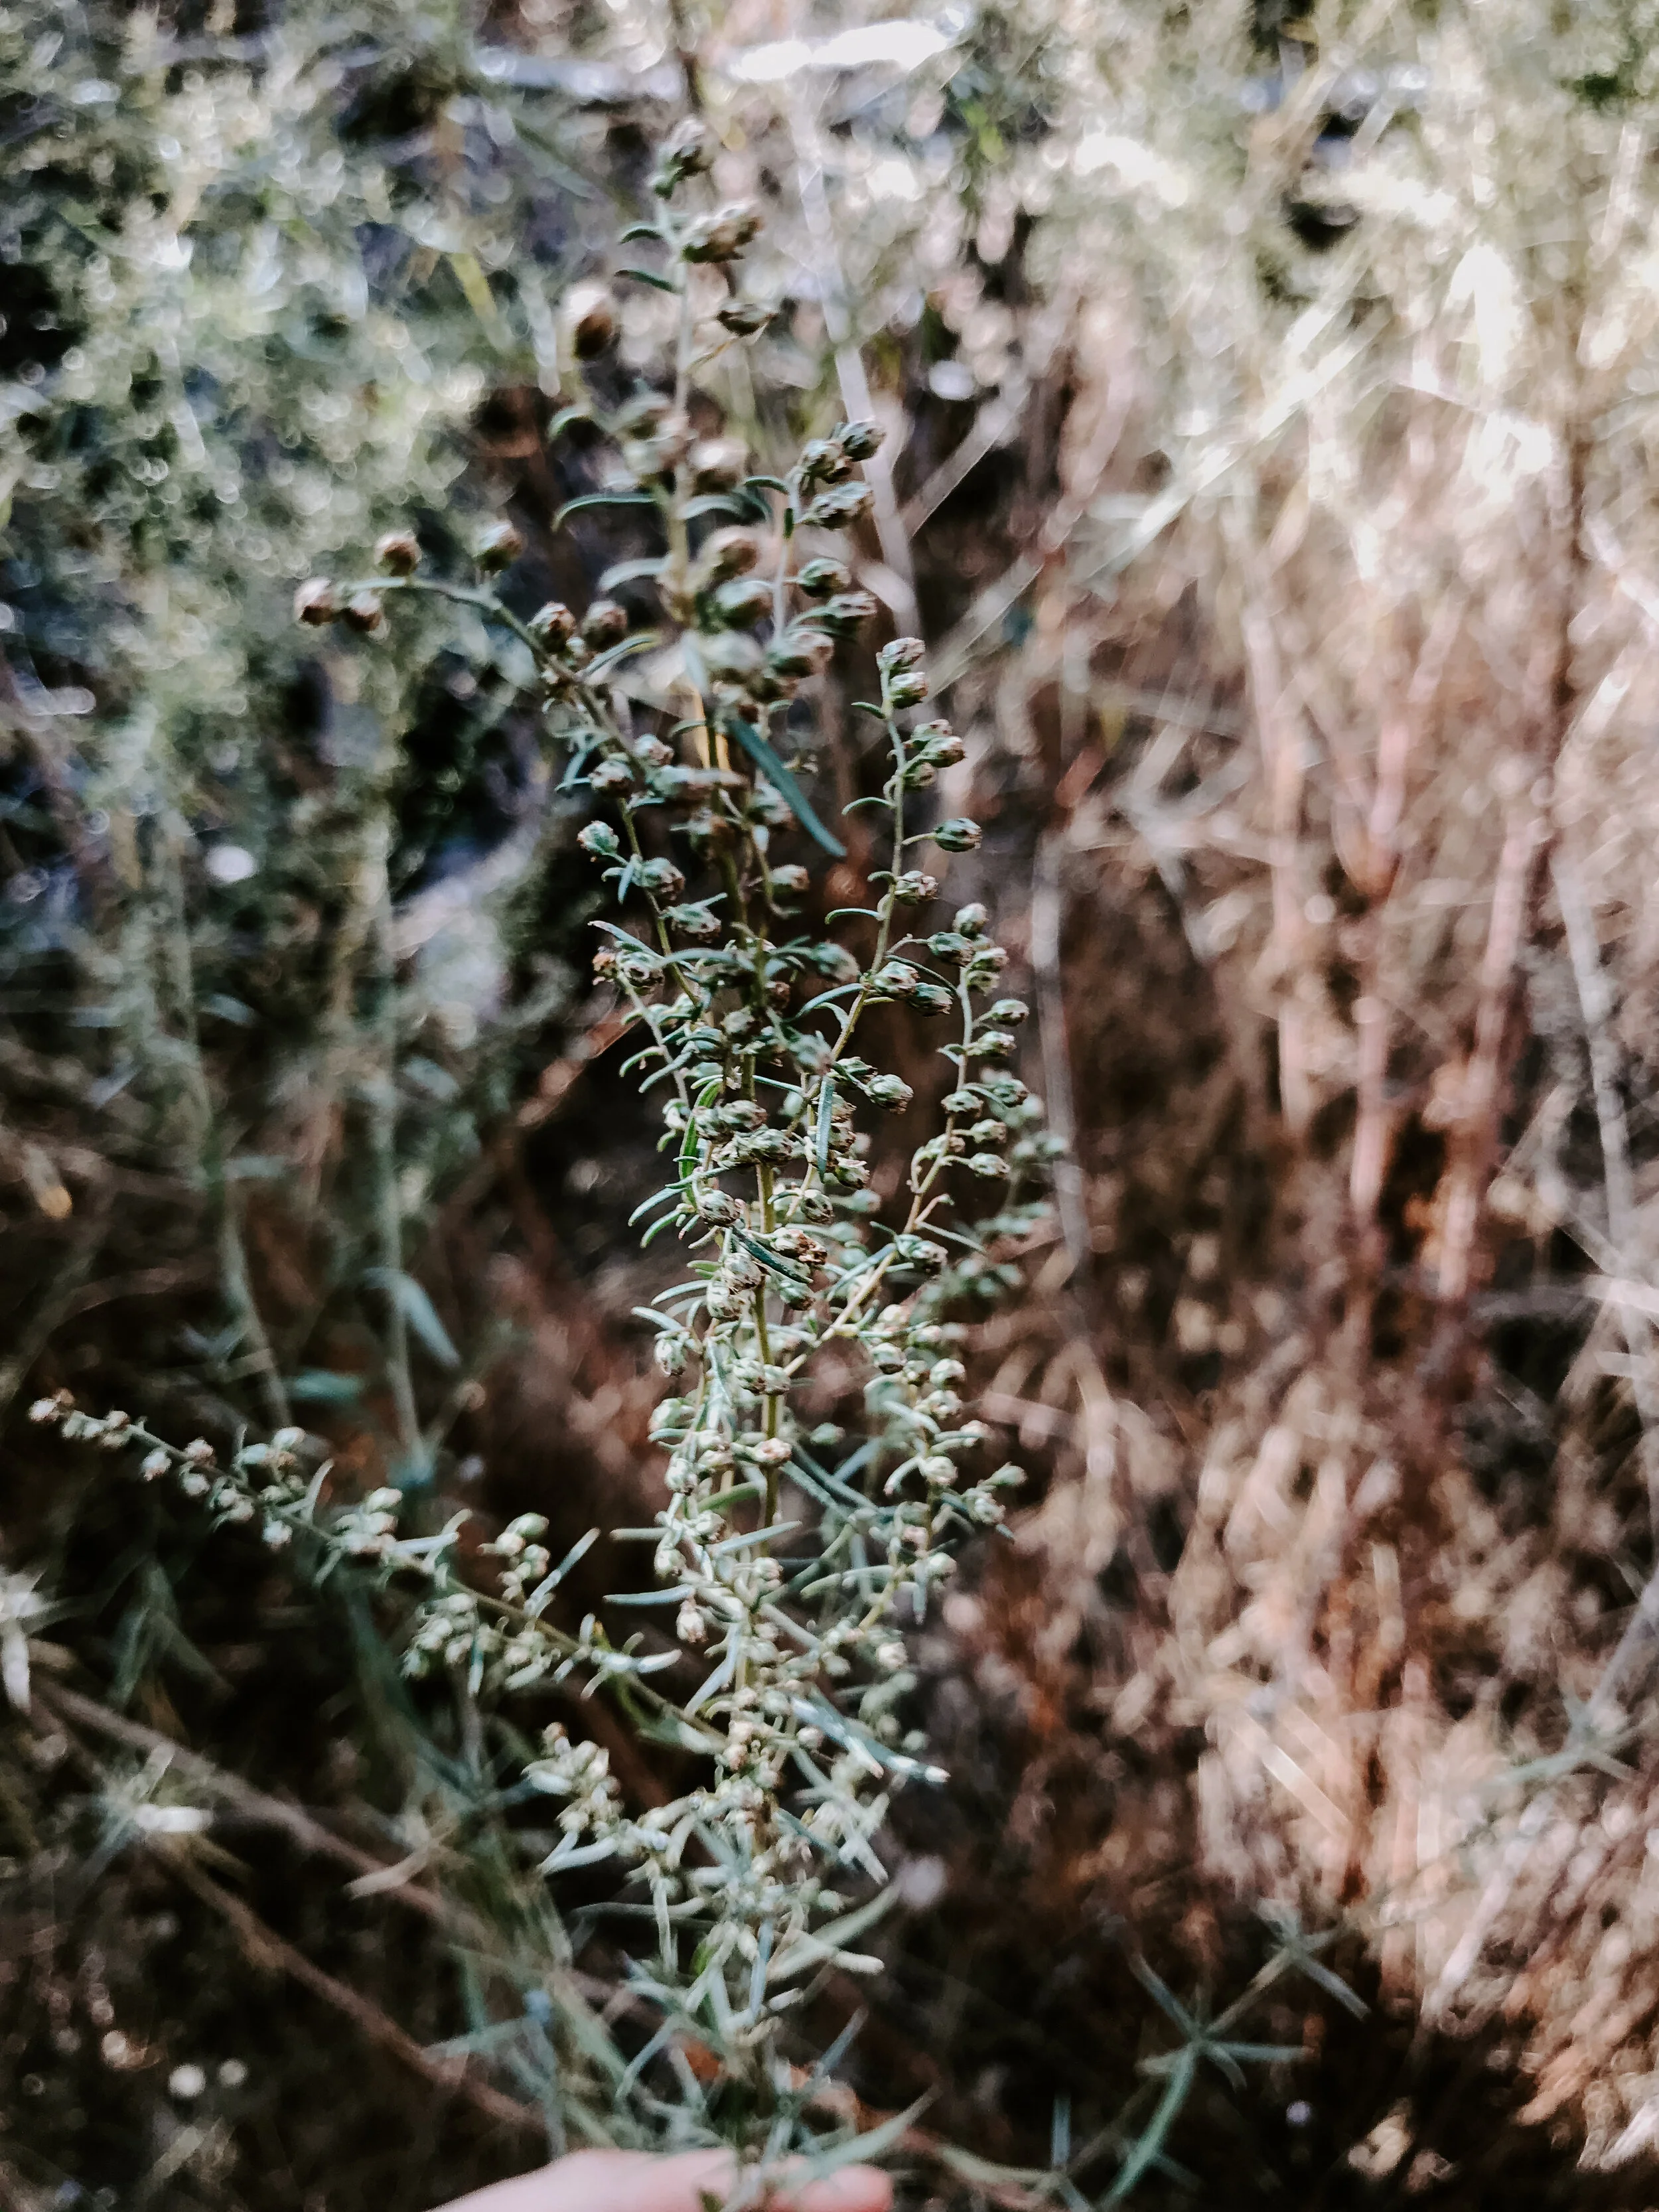
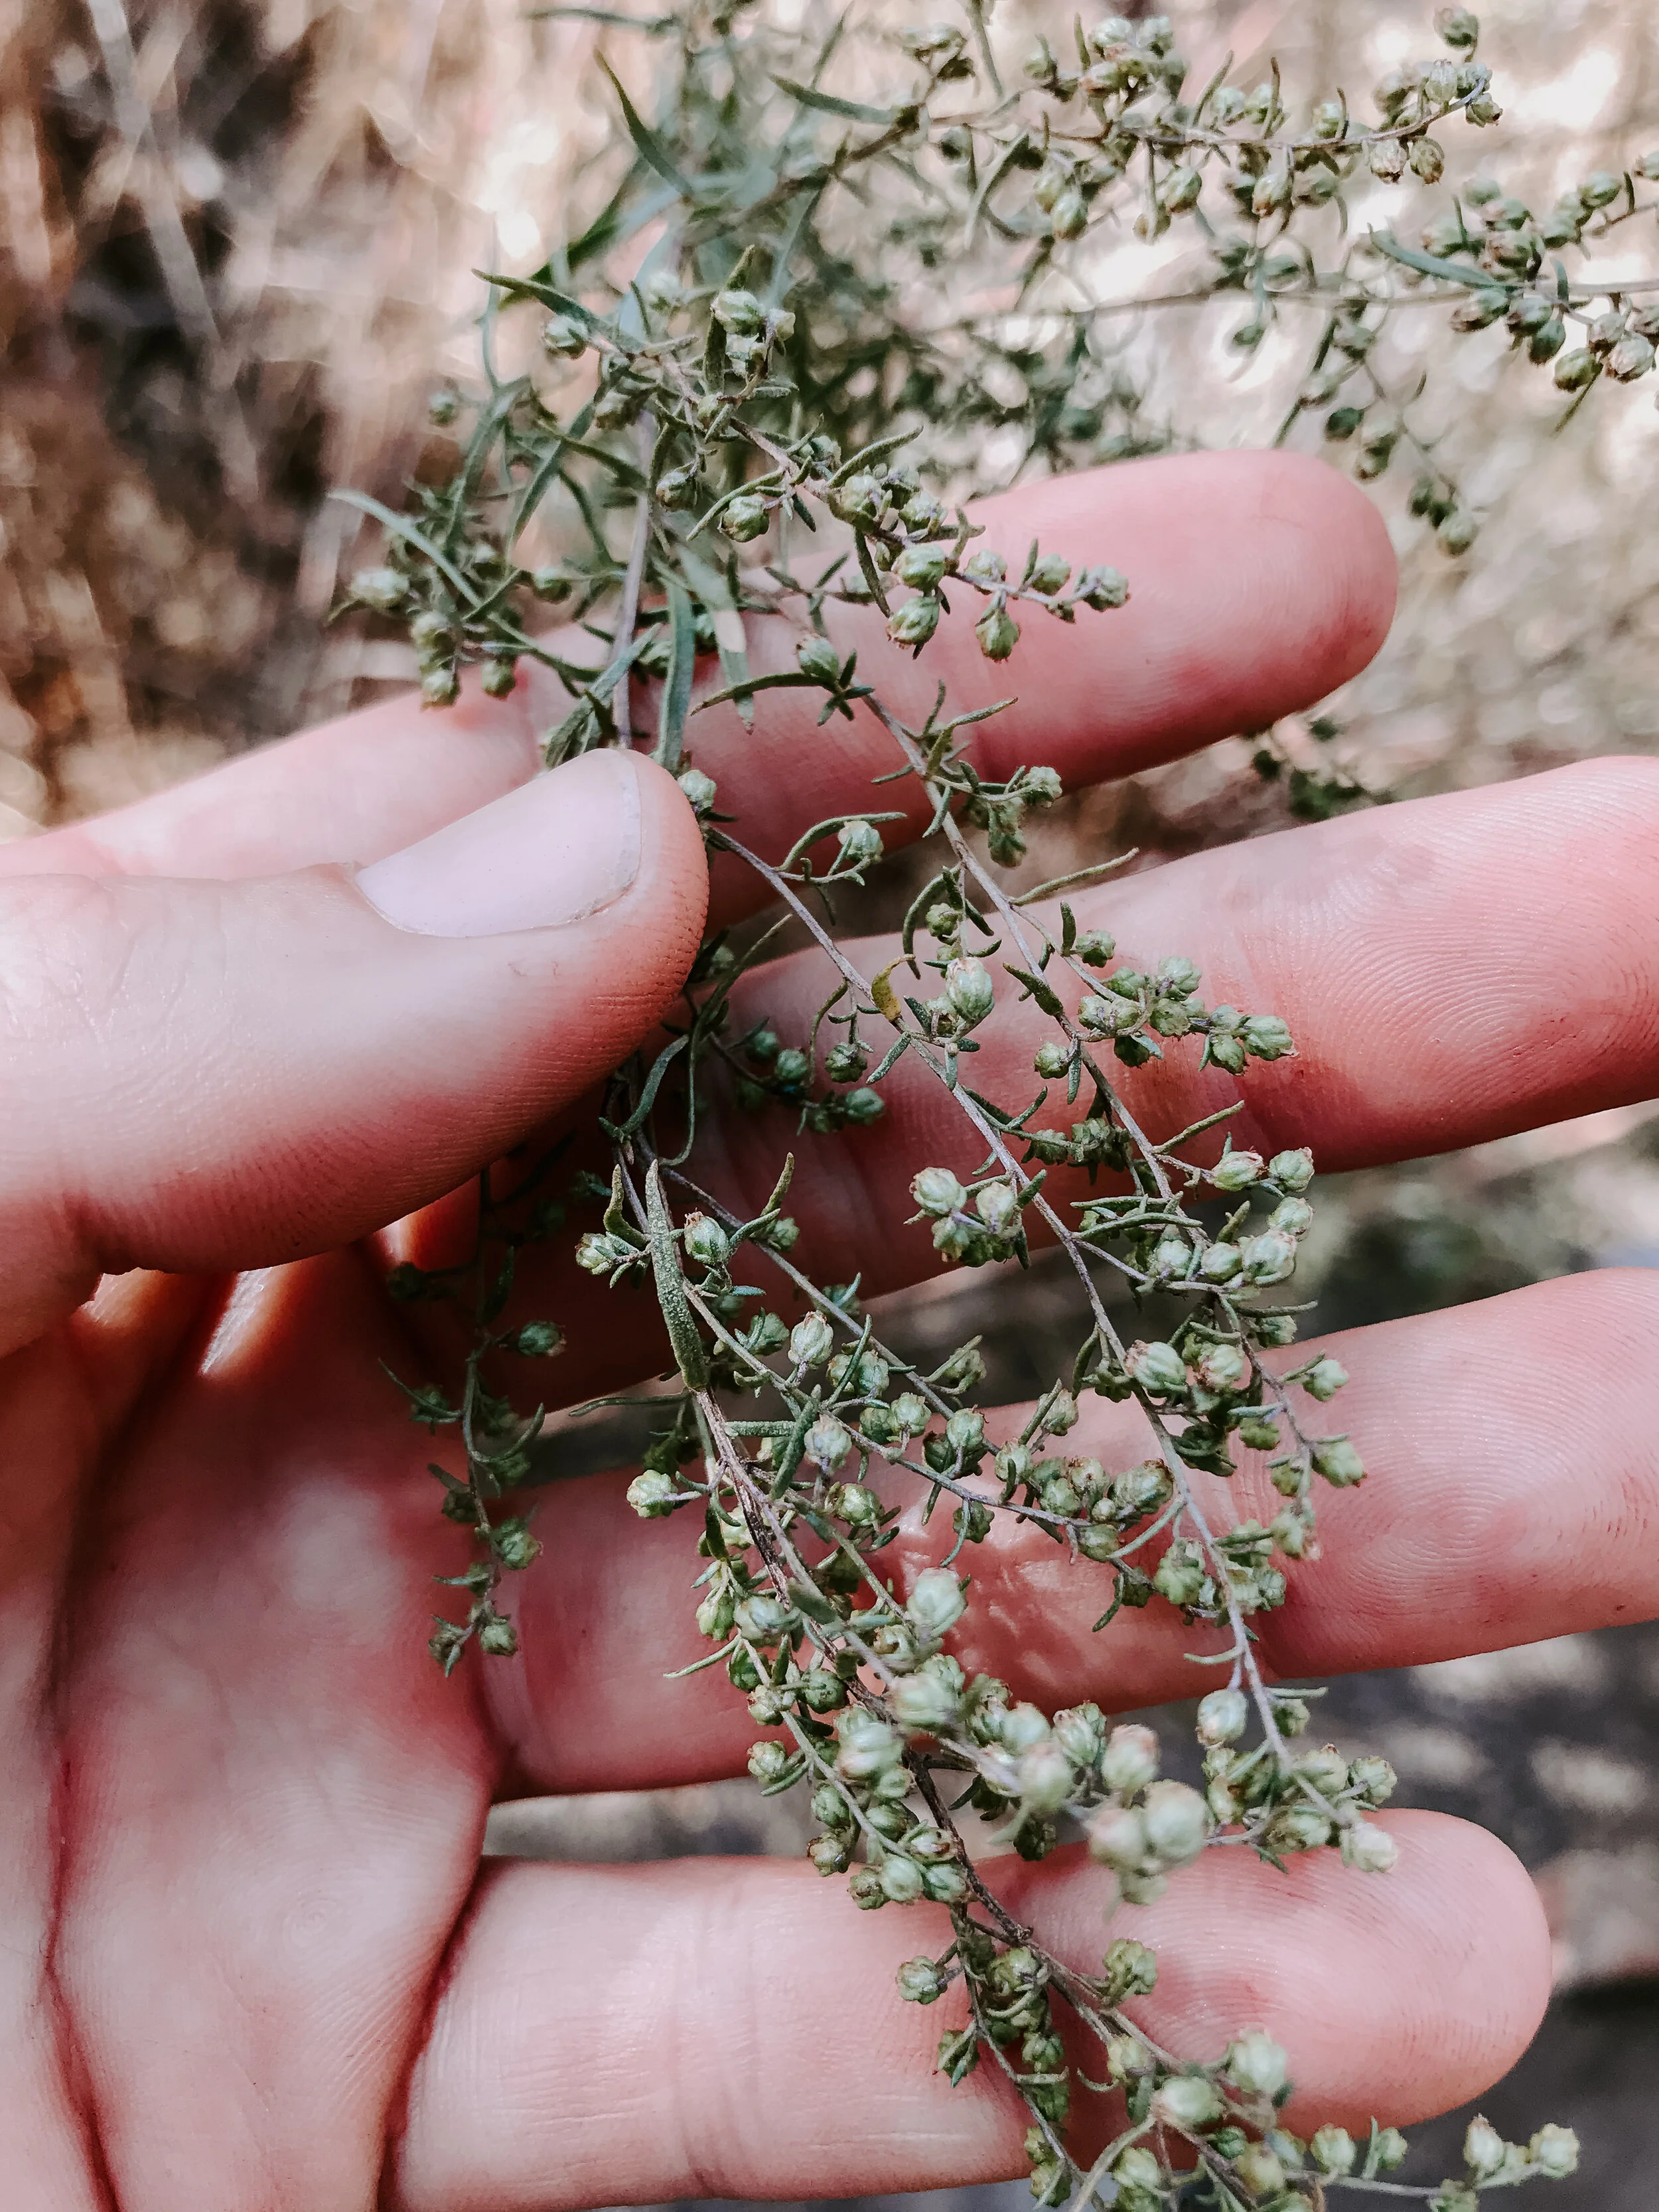
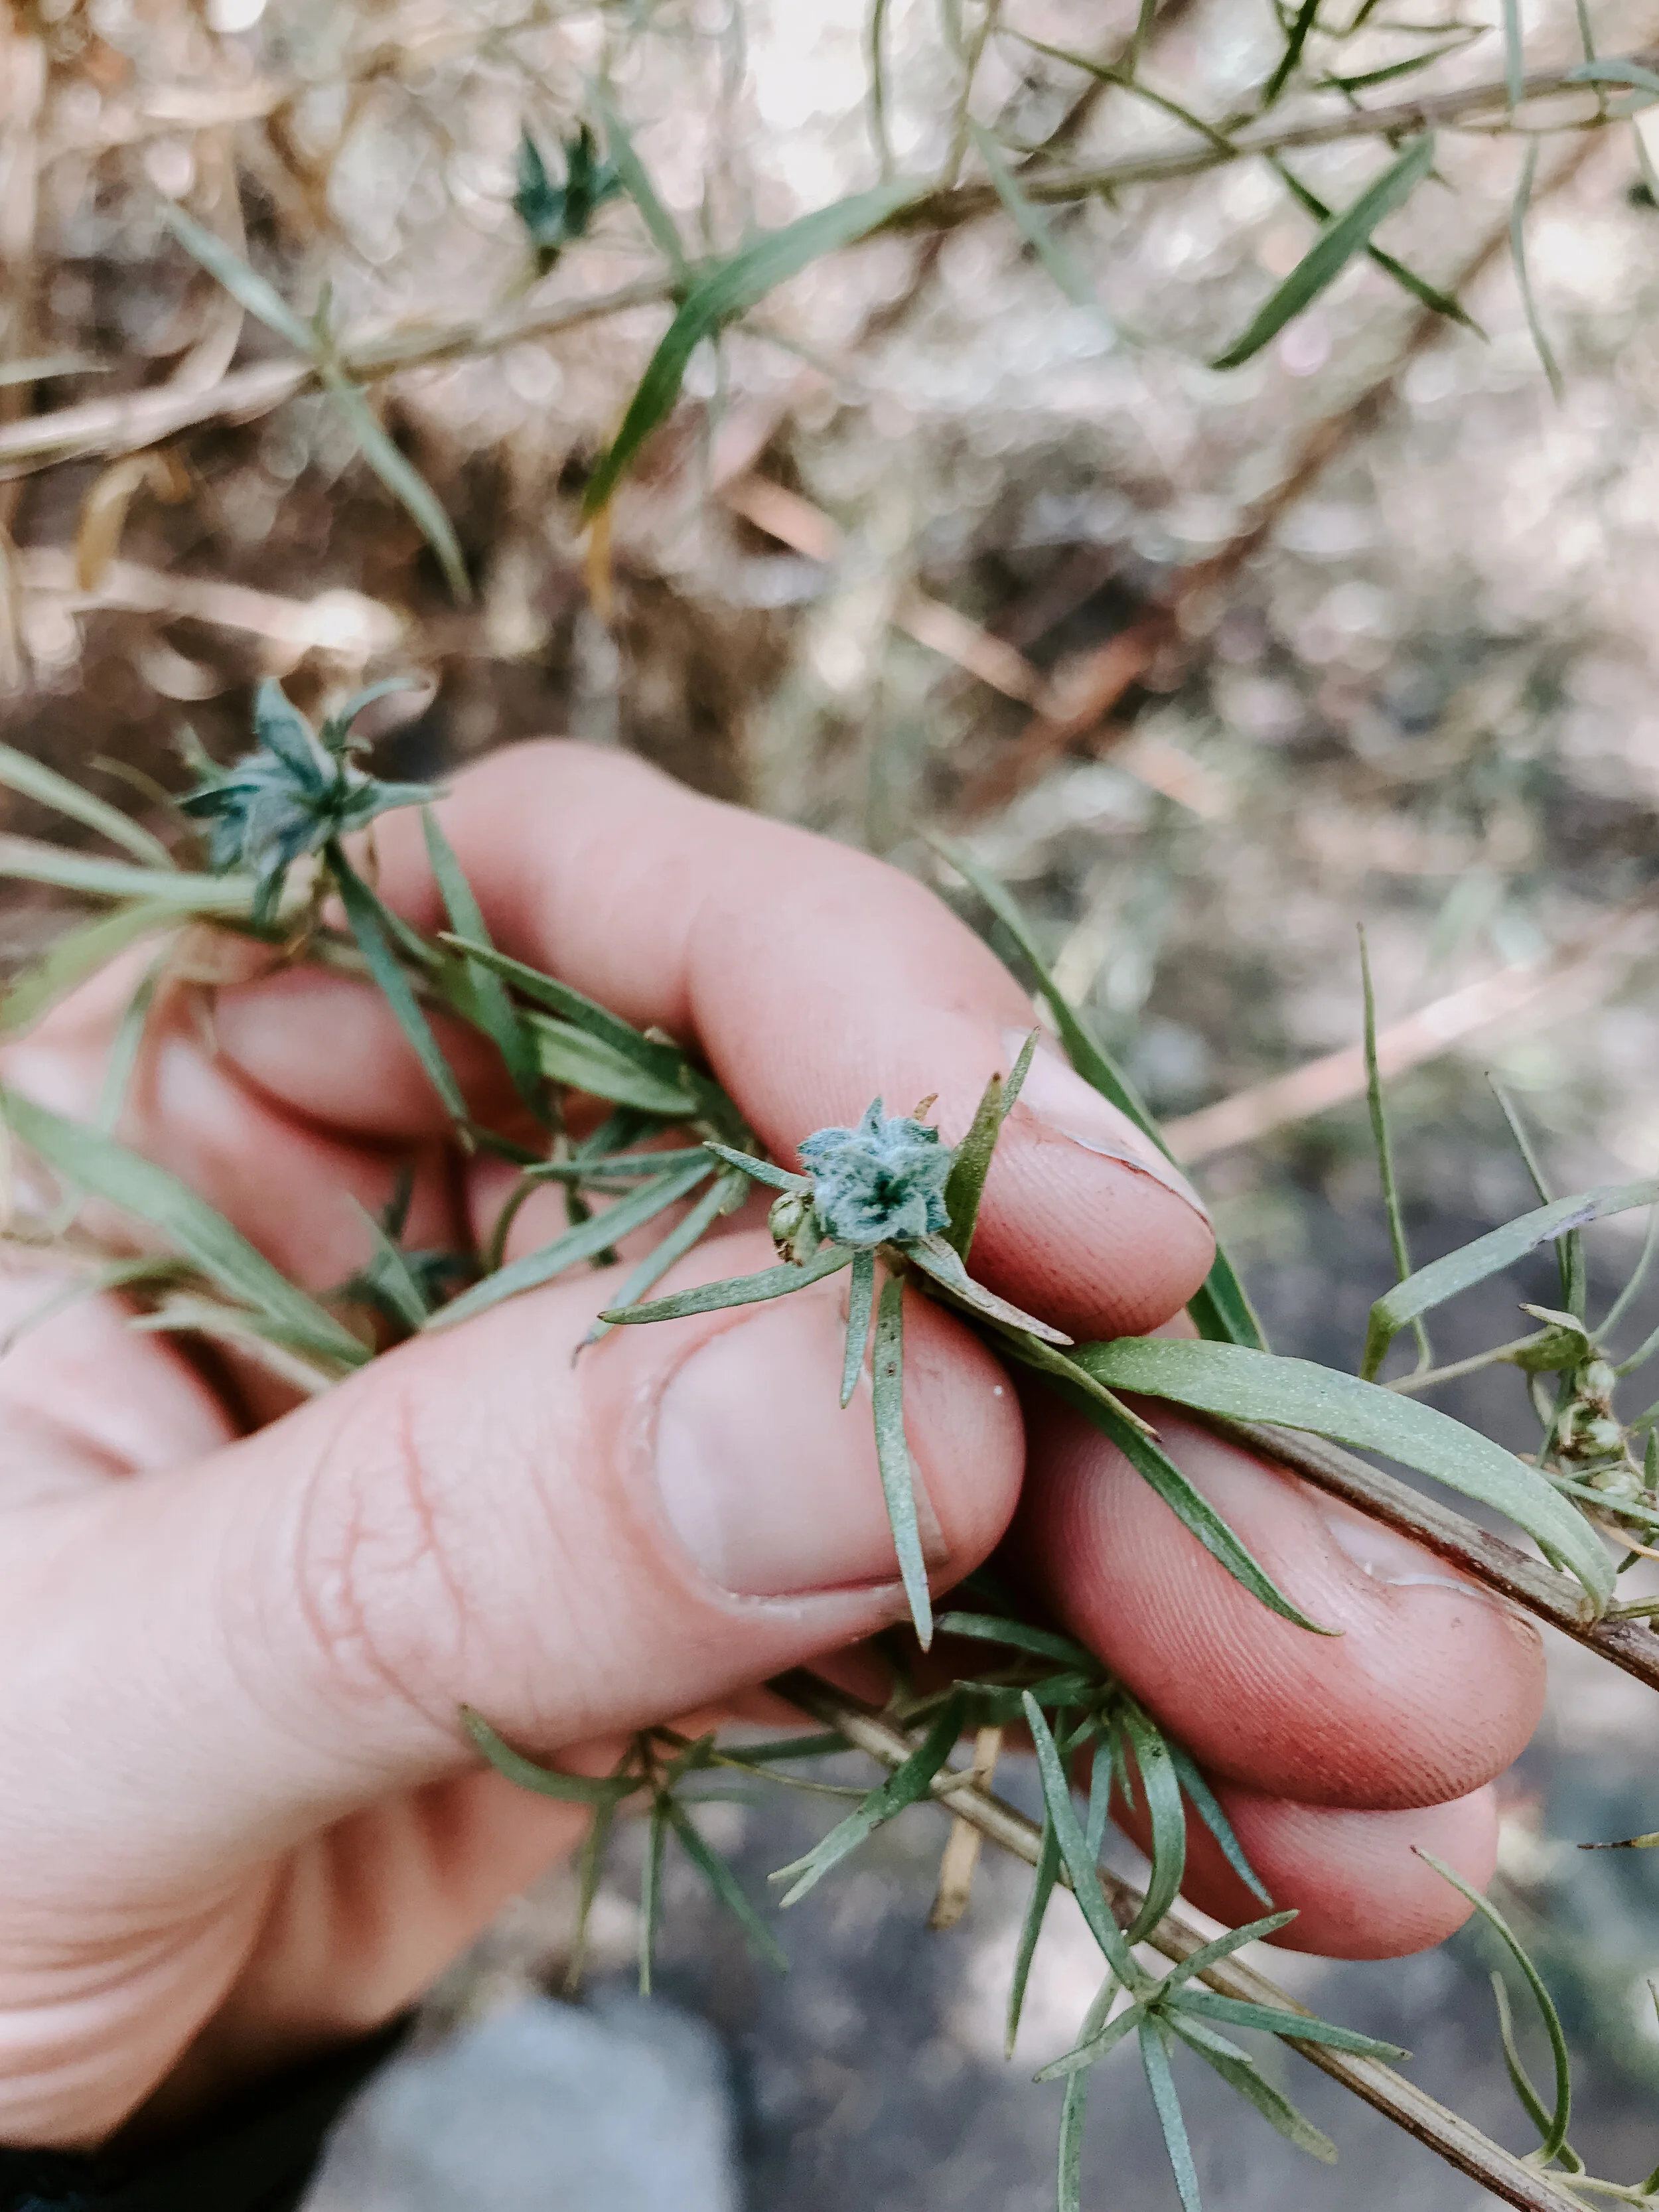
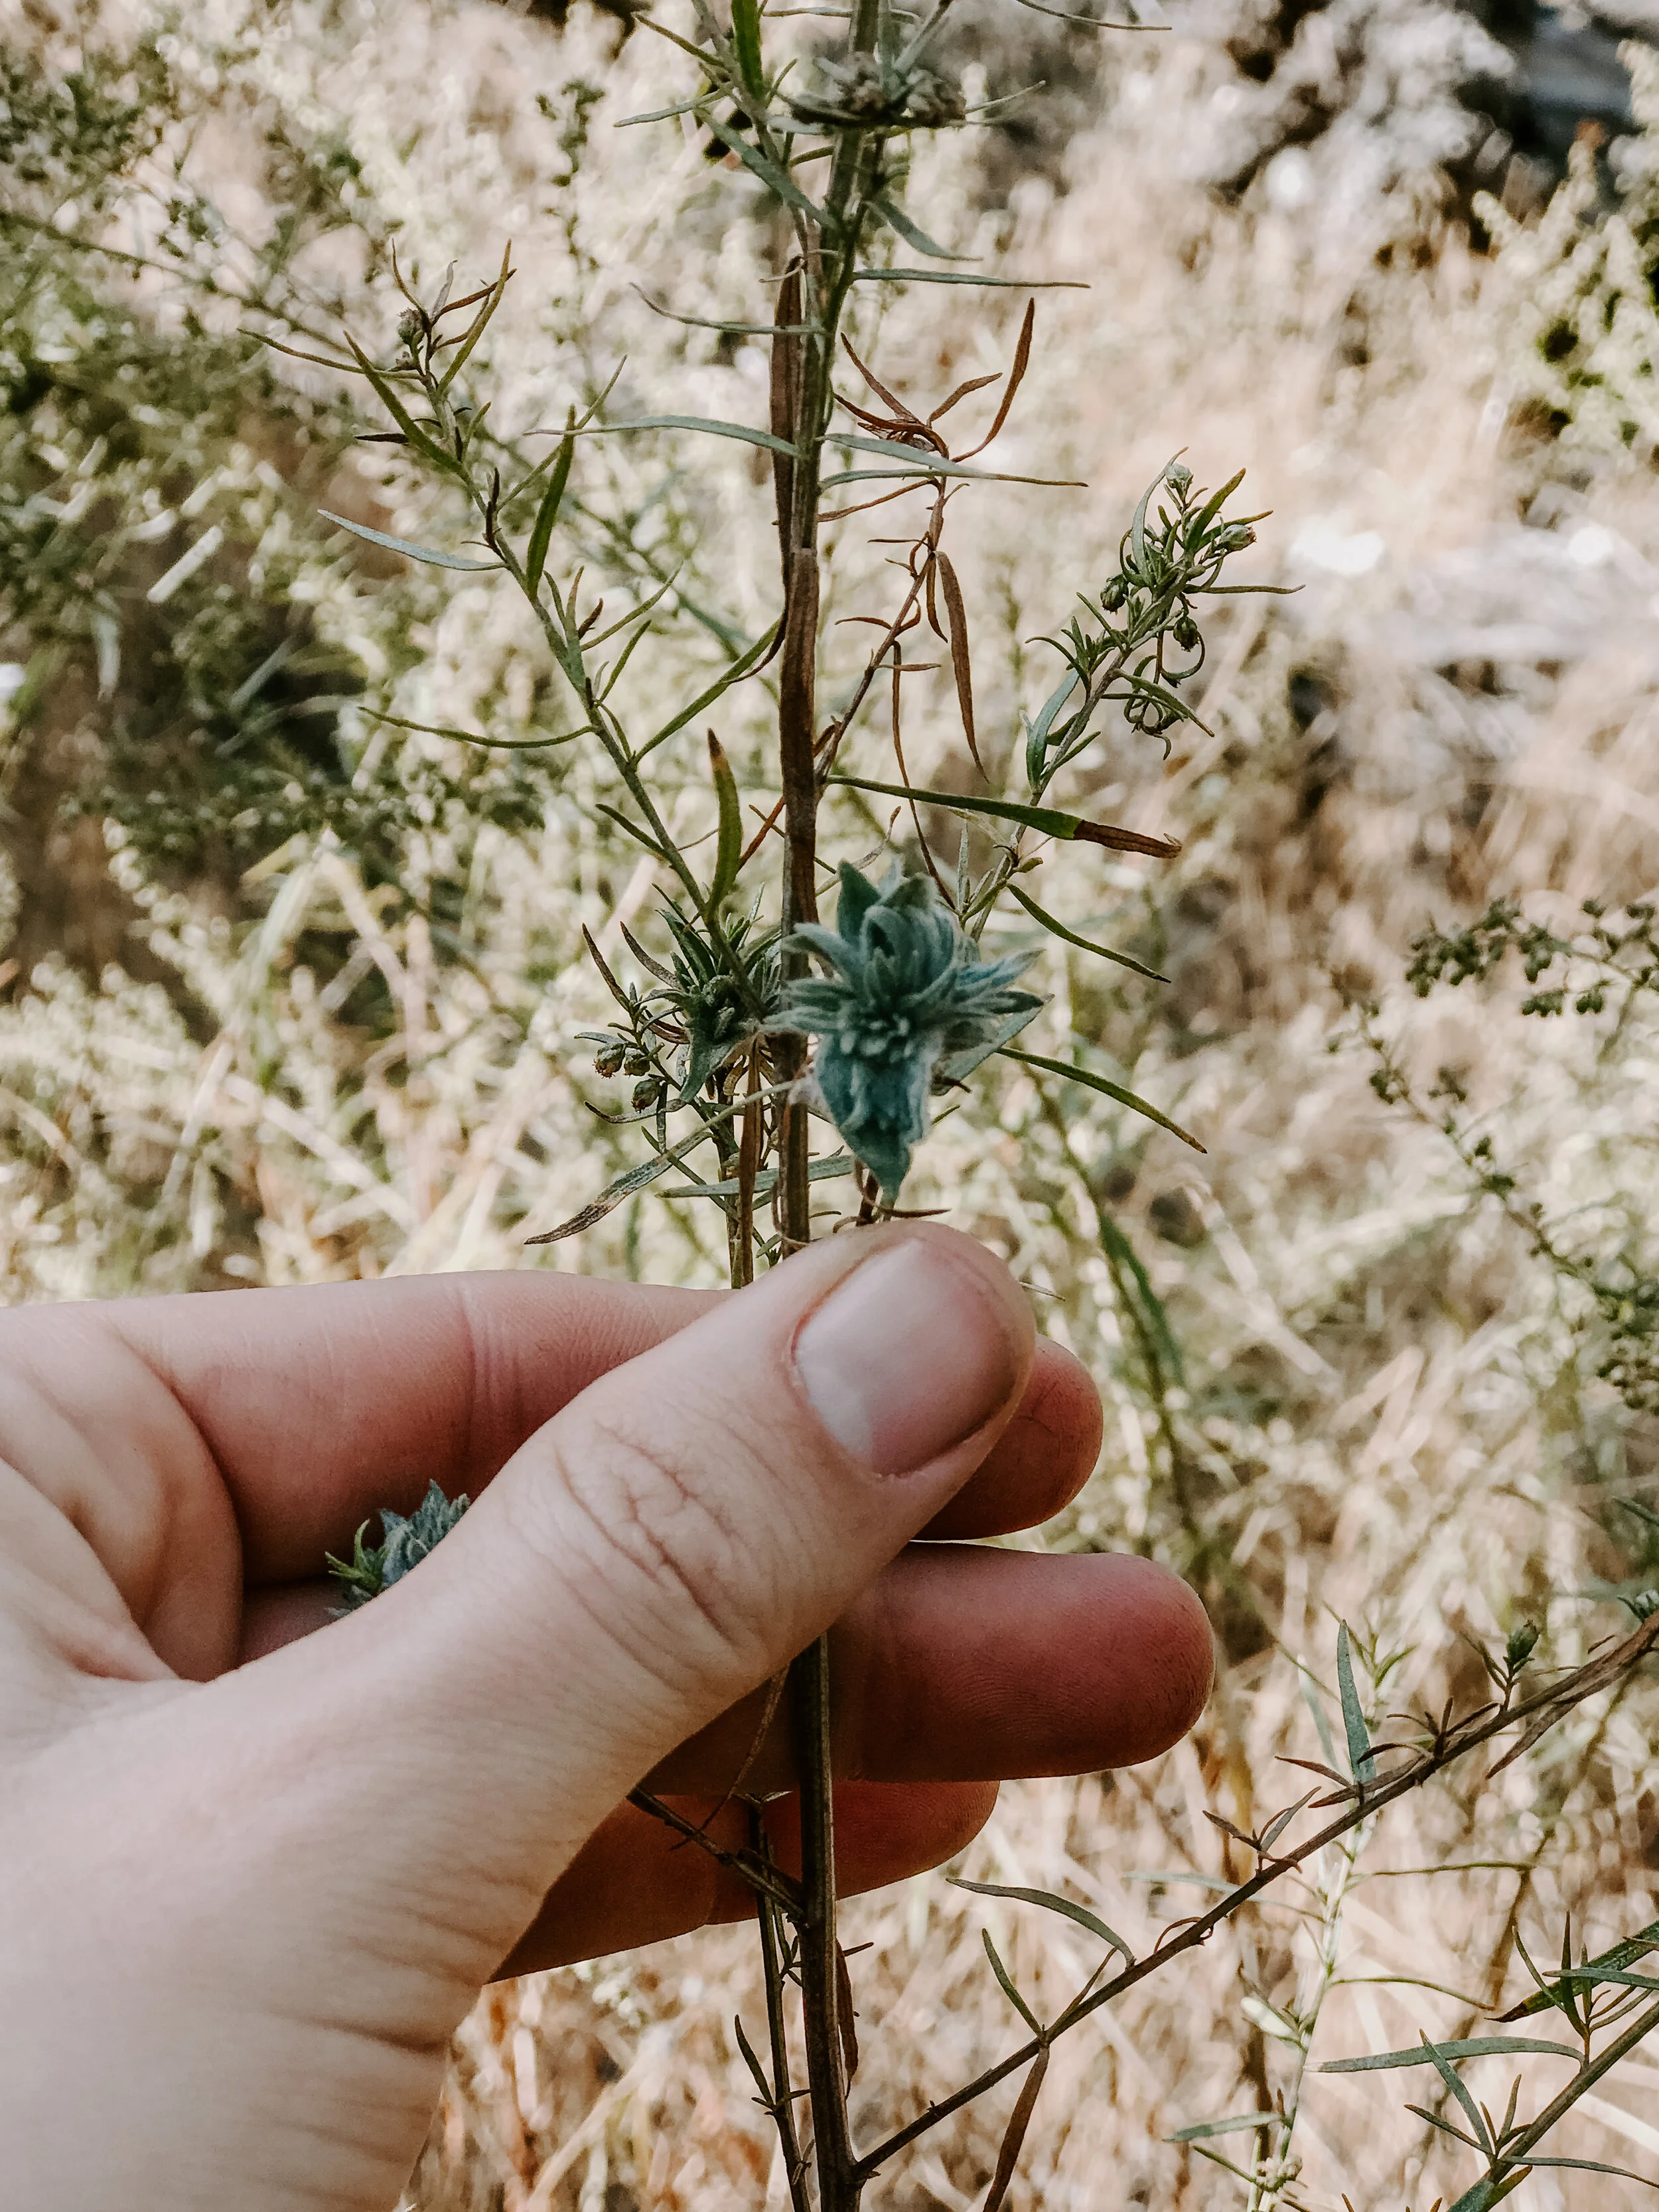
Tarragon // Artemisia dracunculus
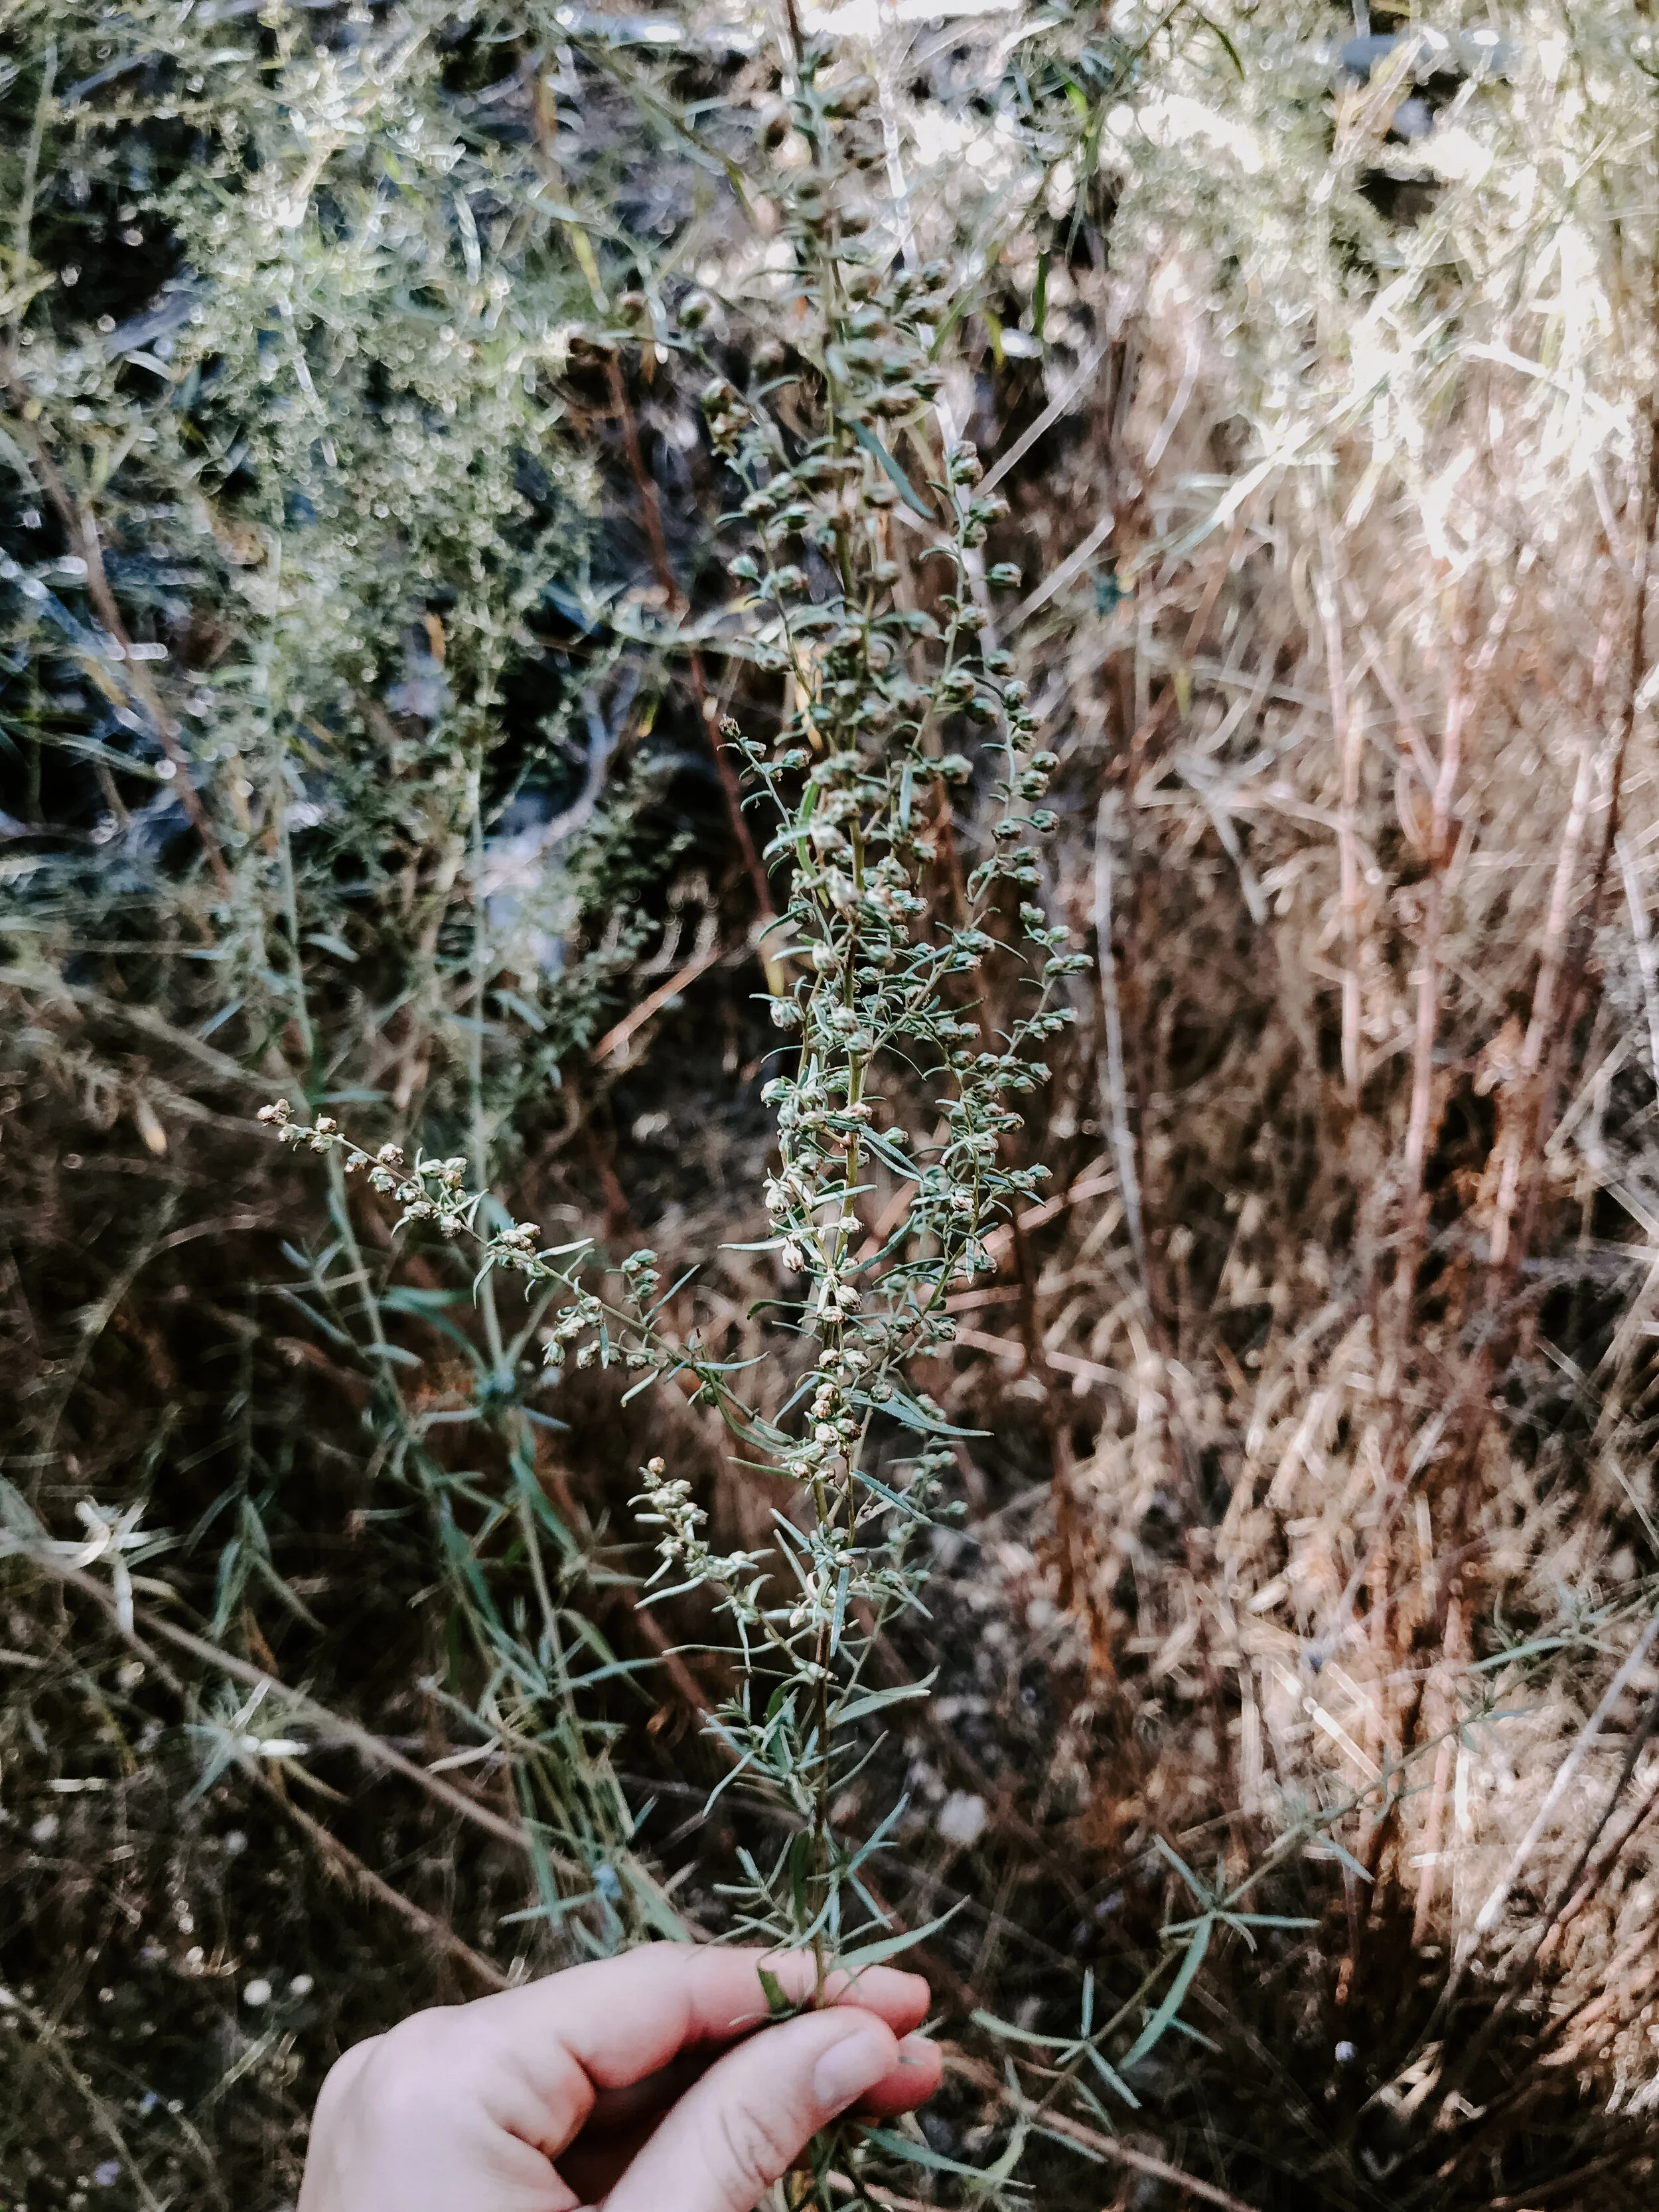
Harvesting and Using
Harvest sprigs through the summer but stop harvesting in fall to discourage winter damage. Harvest six to eight weeks after planting and until leaves turn yellow in the fall.
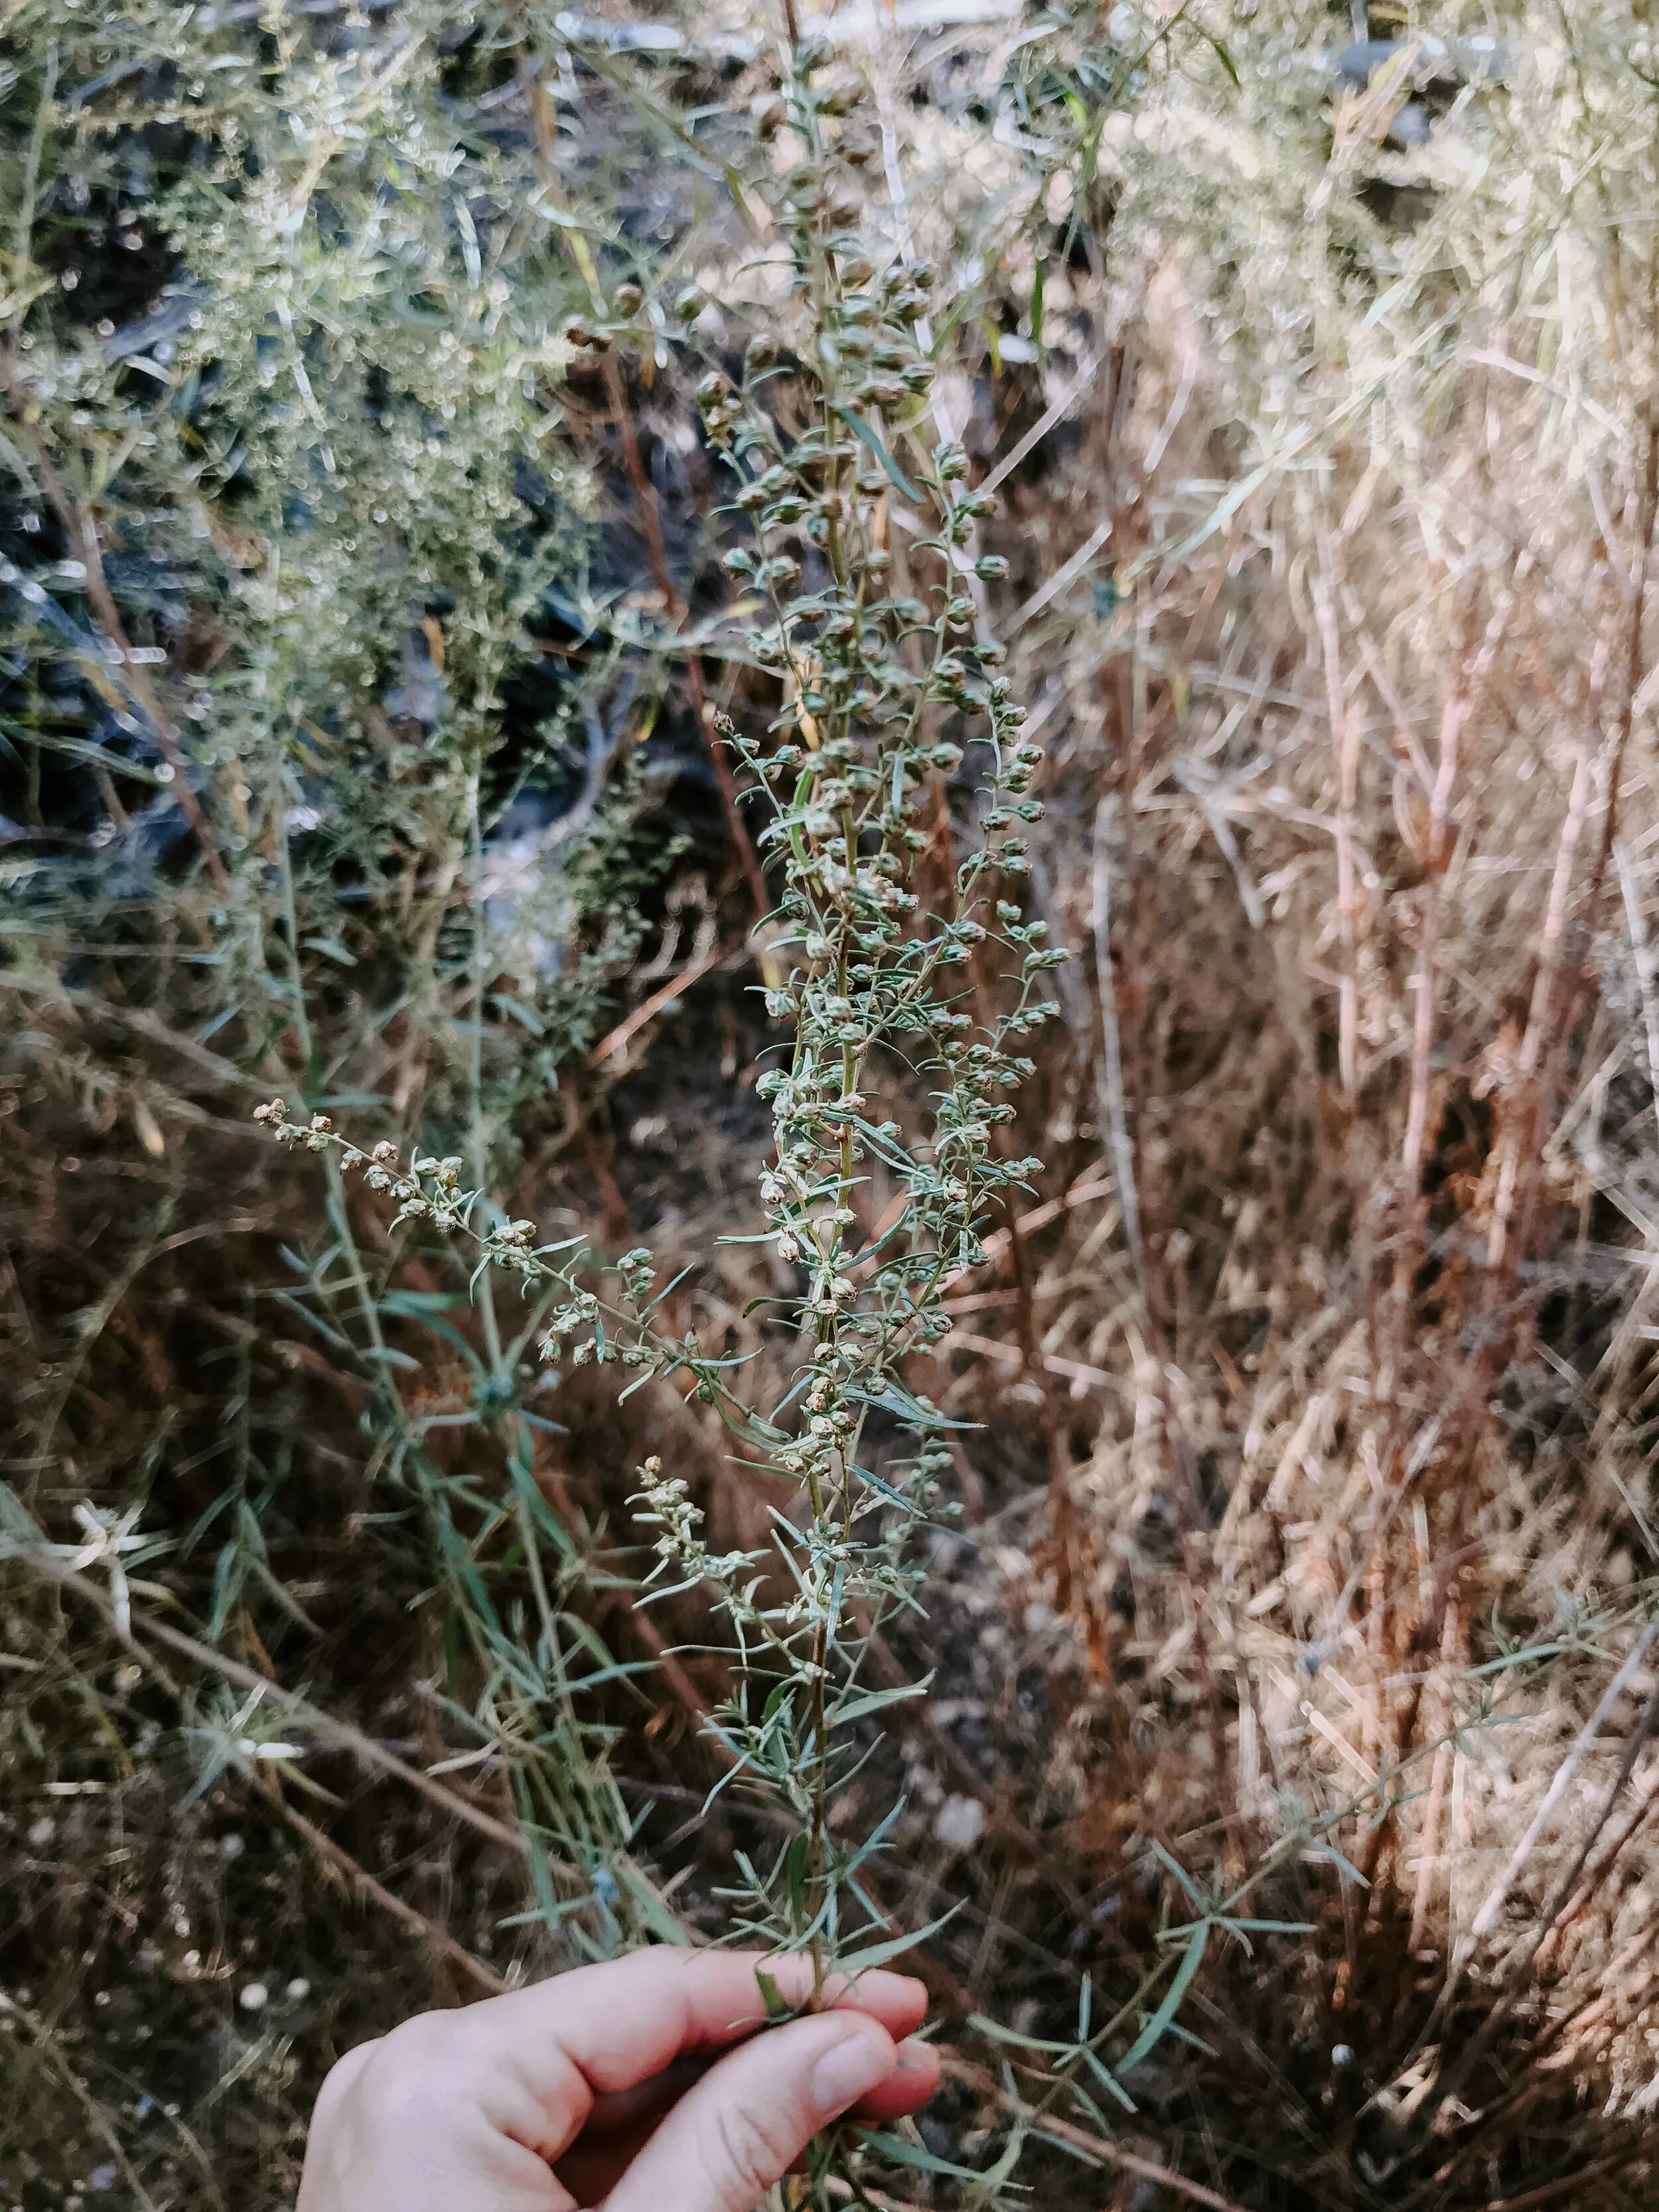
Medicinal
High in vitamins A and C, the leaves from this herb are believed to help stimulate the appetite and a tea made from tarragon has often been used as a tonic.
The root of Tarragon was formerly used to cure toothache.
Cooking
The bittersweet leaves with a slight hint of licorice flavor work well in many recipes, particularly salads and salad dressings, vegetables, poultry, eggs, sauces, and seafood.
An essential part of French cooking, Tarragon is part of the fines herbes mix (along with chives, parsley, and chervil).
The leaves of this herb are used in classic French sauces, egg dishes, flavored butters and creamed cheeses, soups and in poultry dishes.
A popular use is in Tarragon Vinegar, made by adding a sprig of Tarragon to a sterile bottle and covering with boiling white wine vinegar.
When tarragon is dried, the oils dissipate. Thus, fresh tarragon has a much more intense flavor than dried, and should be used sparingly.
arragon vinegar is easy to make. Put fresh tarragon sprigs into a sterilized bottle of distilled white vinegar. Taste after a few days.
Continue steeping until it suits your taste. Once desired strength is achieved, remove the sprigs.